

Naomi Vanderleest, Education Assistant
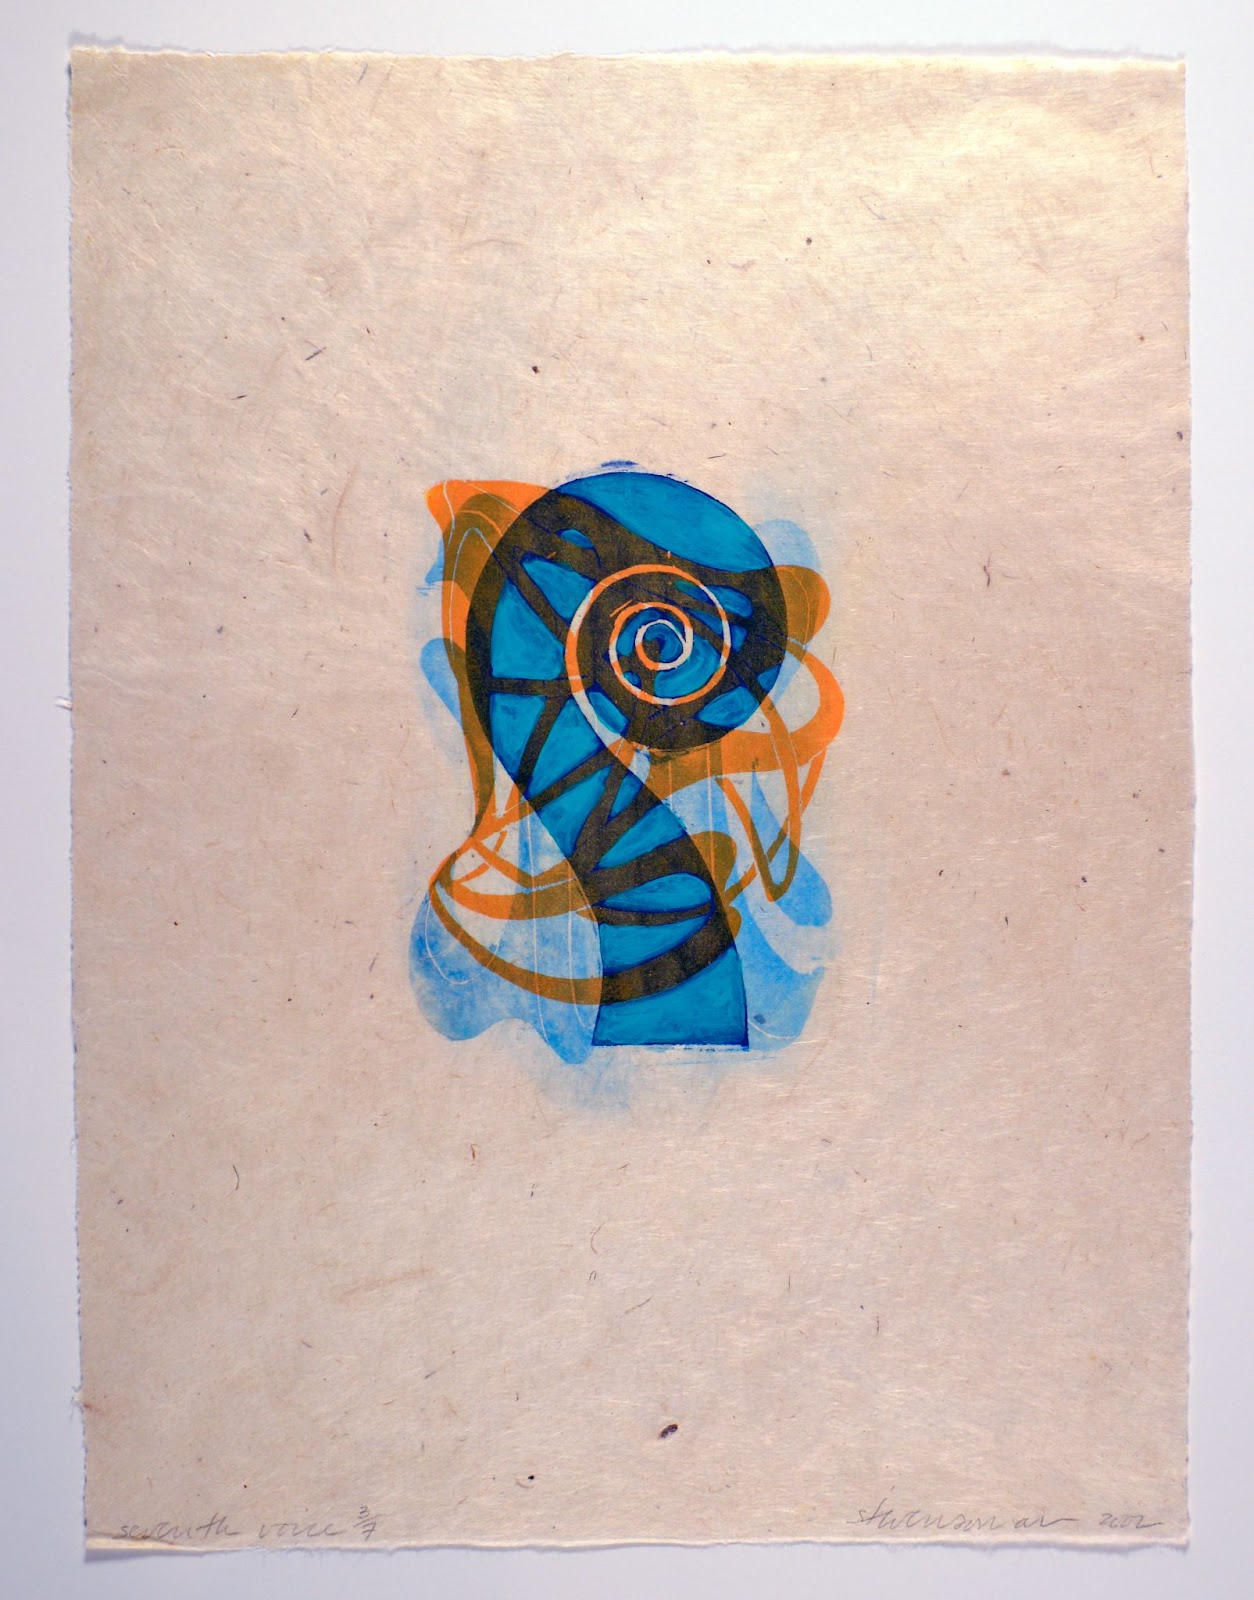
What do you think of when you read the words “paper marbling”? I think of what marbles look like. Marbles resemble round beads, in a variety of designs and colors, and can be used to play games. Another word for paper marbling is suminagashi, a Japanese word that means floating ink, which describes how these designs are created. Practiced by Japanese priests as early as the 12th century, they would use a calligraphy brush soaked in ink and dip it in water; each time the priest dipped the brush in water the ink would float to the surface. This created a swirling effect over time. The process of paper marbling has not changed over the centuries, but the materials have! The Fort Wayne Museum of Art doesn’t have paper marbling in the collection, but there are works that are reminiscent, and perhaps influenced, by the swirls of suminagashi prints. Take a look at the work below, does it look like this design is floating?

This is a woodcut print by Steven Sorman, an abstract artist known for his fascination with lines. How do your eyes move when viewing this work? I start in the middle of the swirl and then work my way out to the top layer. Do you think this is how Sorman created his swirl? I think Sorman started with the swirl underneath, layering the next design on top. Sorman’s goal, no matter the process, is to guide the viewer’s eyes through his work. How do your eyes move when looking at this next work?
Focusing on movement is a meditative technique, and the reason why Japanese priests practiced suminagashi in the first place. Meditation is common practice for priests to focus their minds, and having an understanding of focus can apply to other aspects of their job, such as worship. Creating artwork can allow you to focus on whatever is in front of you. Here is everything you will need to create your own marbled paper:

- A deep container filled with an inch of water. Try to find a clear container so you can easily see the ink floating.
- Black Tempera paint. Other colors can be used, but you might not be able to see them as easily in the container. You can use ink or watercolors as well!
- Paintbrushes, preferably a round brush that comes to a point, or a dropper for even more control of the paint.
- Plastic cups
- Toothbrush
- White printer paper
- Paper towels
- Pencil
- Soap
- A substance that reduces the surface tension of water, which can be anything that thickens water, such as glycerin or cornstarch.
- Paper strips about the width of the water container
- Tablespoon
- Teaspoon
First, prepare the materials for the creative process. To create the perfect basin of water, thicken the water so the paint floats to the top. I used about three tablespoons of glycerin to thicken one inch of water in my six-inch deep container. Dilute the paint with water in a plastic cup, using an equal amount of paint and water, and mix thoroughly. You don’t need a lot of the paint mixture, just enough to dip your brush in the cup! Prepare another cup with one teaspoon of soap, fill it with water, and mix. Lastly, use the strip of paper and run it along the surface of the water. The paper should pick up any dust particles that are floating in the water. (Dust particles can interfere with the printing process. You want your design to show up on the paper, not dust.) Now we can start to create!
Dip one brush in the paint mixture and dip another brush in the soap mixture.

Holding both brushes in your hands, start by dipping just the tip of the loaded paintbrush (the one with the paint on it) in the water. You should see a black circle form. If the paint is not floating to the surface add more water to the paint mixture. Now, dip the soap brush and a clear circle will form. Keep repeating these steps until you start to see a variety of rings like in the picture above. During this step think about your movement: how does the artwork move as you work?
You can stop this process whenever you think it is best, but the longer you continue the thinner the lines will become. You can also manipulate these lines using your breath or a pencil, just be gentle so nothing mixes together. For an extra flair, dip a toothbrush in the paint mixture and flick the bristles to create a variety of little dots and rings.

Once you believe your design is complete, create a print! Gently lay the paper on the surface of the water. Be sure that when you lay the paper down you allow the middle of the paper to touch the water, and then let go of both sides so the paper lays flat in the water. Don’t submerge the paper in the water, this could alter your design and stop the paper from soaking in the paint.

Do you see the design soaking into the paper? This is how you know your paper is ready to leave the basin. Leave the side that was in the water facing up so the artwork doesn’t smudge as it dries.

Here is my first marbled paper print!

You can create multiple prints with the same container of water as long as the water is still clear. Here is my second print:

Which print do you like more? Why did you pick that one?

Thinking back to Sorman’s work, do your eyes move when looking at these prints? Looking at this print reminds me of the movements I made during the process. I believe this print has captured my hand at work. When you create your print today look closely, how do you see your process in your work? Meditate on your actions and your work will reflect it.