

Naomi Vanderleest, Education Assistant
Today in the studio we’re creating stencils, a design cut from a piece of material, which you can use again and again! Have you ever used a stencil? A stencil is usually a piece of paper or thin sheet of cardboard, plastic, or even metal with cut into letters or patterns. Using the cut design, the artist can lay it on their chosen surface and use ink or paint to transfer it, like screenprinting. Looking at the work of Paul Valadez, shown below, can you tell this is a stencil?

This is a self-portrait of Valadez! Look at the shapes that the artist used to create his face; instead of creating multiple lines to depict the planes of the nose, just a line and the shadow of the nostrils are registered and the hair on his head is reduced to a curved rectangle right above the eyes. How did he form his hat? Many use stencils to replicate something they can’t make on their own, tracing a difficult or complicated form; Valadez uses stencils to simplify the form.
Valadez is inspired by old signage when creating his artwork. Using pieces of the past can repurpose objects destined for the landfill, and this print recycles an old letterhead. Why do you think the artist selected this paper for his artwork? I think Valadez wanted to recognize his Hispanic heritage, so he used paper printed with Spanish words. Once a stencil is created the artist can take it and paints with them and leave an image behind anywhere! For this reason stencil art is commonly referred to as graffiti art, but it can be used for various purposes in all kinds of art-making.
This is what you will need to create today:
- Access to a printer
- Xacto-knife (have an adult help you!)
- Cardboard or other material to cut on
- Tape
- Sponge
- Colored construction paper (try to repurpose old paper!)
- Scissors
First, you need a picture of you! Like Valadez, I used a picture of myself, or a self-portrait/selfie. With the picture selected, use a filter to turn it black and white and adjust it to have high contrast.

Next, print out the image, the larger the better. Now you have the perfect guide to create a stencil! Using an Xacto-knife (have an adult help you!), cut out the most prominent or important features of your face. TIP: Cut on cardboard or matboard, otherwise your table will be ruined!
How did I decide where to cut first? Look for ways you can convey the face without tracing every line, or else your stencil will be a big hole on your paper. Look at Valadez’s work for guidance; he includes details that are important, yet simplified. What aspects of his face does he highlight, or include, so we see a face? Each cut you make should have a planned shape. For example, Valadez included his hat by cutting out the lines that create the hat, instead of the full silhouette of the hat, letting the yellow paper underneath fill in the spaces. TIP: If you cut all the way around a previous cut out, you will lose what was inside of that cut. While you cut be sure to occasionally flip the paper over, do you see the face starting to emerge or have you cut too much?

Once your face is present it’s time to print! Place the colored construction paper underneath your stencil and cut off any excess construction paper to ensure that the paint only goes through the stencil. Tape the stencil to the paper so it stays in place. Next, dip the sponge in paint.

Press the sponge lightly onto the stencil and repeat until the color of the construction paper is no longer visible. Now, take the stencil off of the construction paper. Your portrait will emerge!
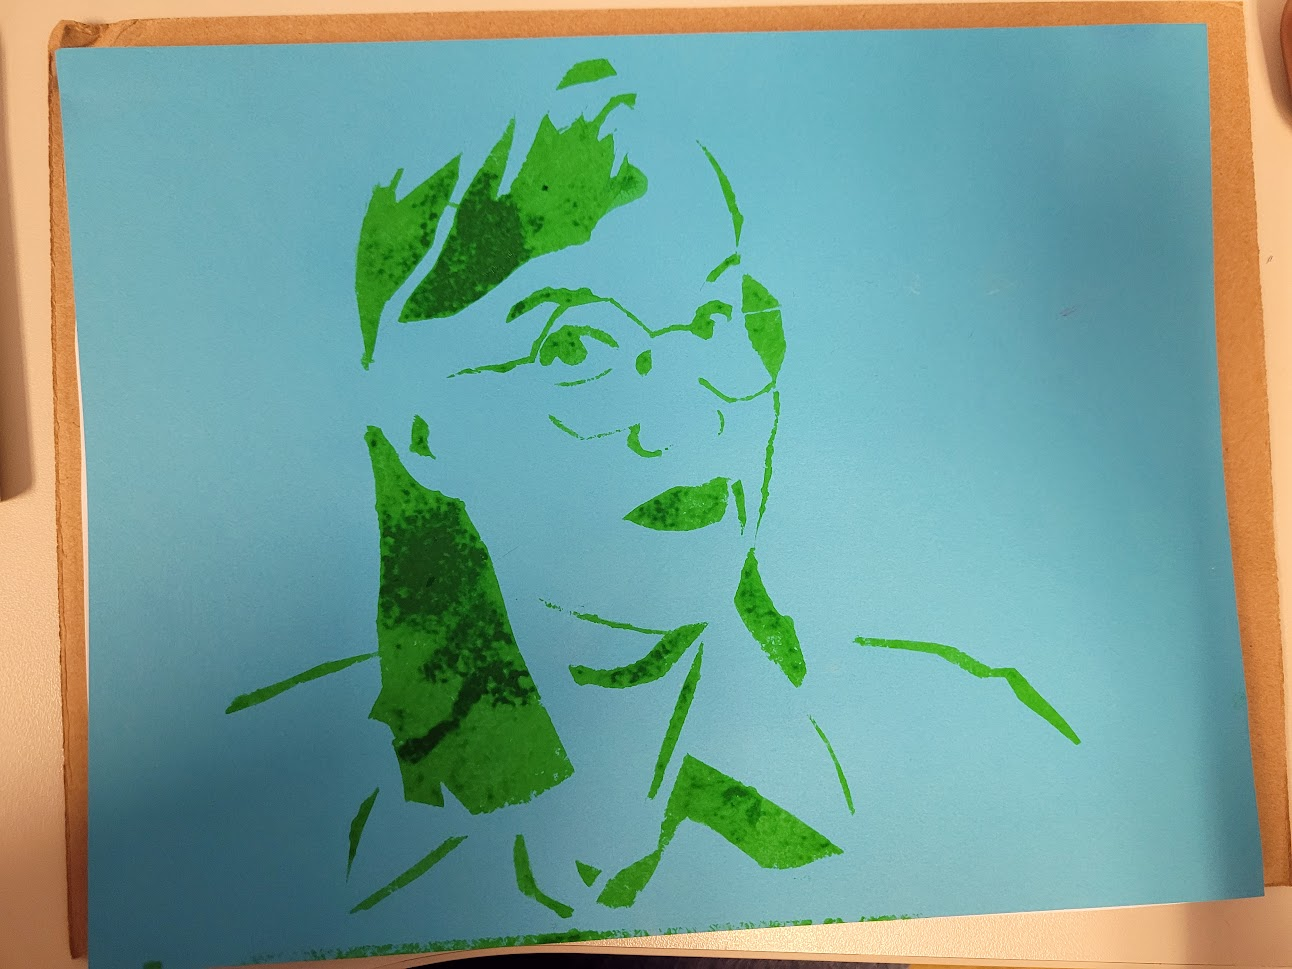
If you want to make another print, wait for the stencil to dry completely. A wet stencil can be fragile and tear with use. Learning from Valadez’s print, I was able to look at myself in a new way. Without my glasses, I don’t think I would have recognized myself! What helps you feel like you? Use those qualities to create a self-portrait that is uniquely you! Then, create one of a friend or family member. What do you find yourself having to include to make it look, and feel, like them?