

Alyssa Dumire, Director of Education
We’re shifting our Saturday Studio schedule to coincide with Second Saturday Family Tours! We invite you to join us at the museum in the morning, then come home and make art inspired by something you saw. A full Saturday of art sounds pretty good to me! The next Second Saturday tour will be January 14, and you can register to attend on our website.
Since December is the darkest month, we’re looking to the glass collection to provide some illumination! One of my favorite works in the collection, which was recently donated by Carl and Stephanie Beling, is Hiroshi Yamano’s Fish Catcher Bag #3, so I was excited to see that it is still on view in the recently reinstalled glass wing! Take a look:


With any sculpture, it’s important to observe it from as many angles as possible, but Fish Catcher Bag #3 really rewards close looking. The outside of the vessel is covered with silvery swimming fish, but if you peer through the translucent areas of the glass, you can see the light shining through each fish’s outline.
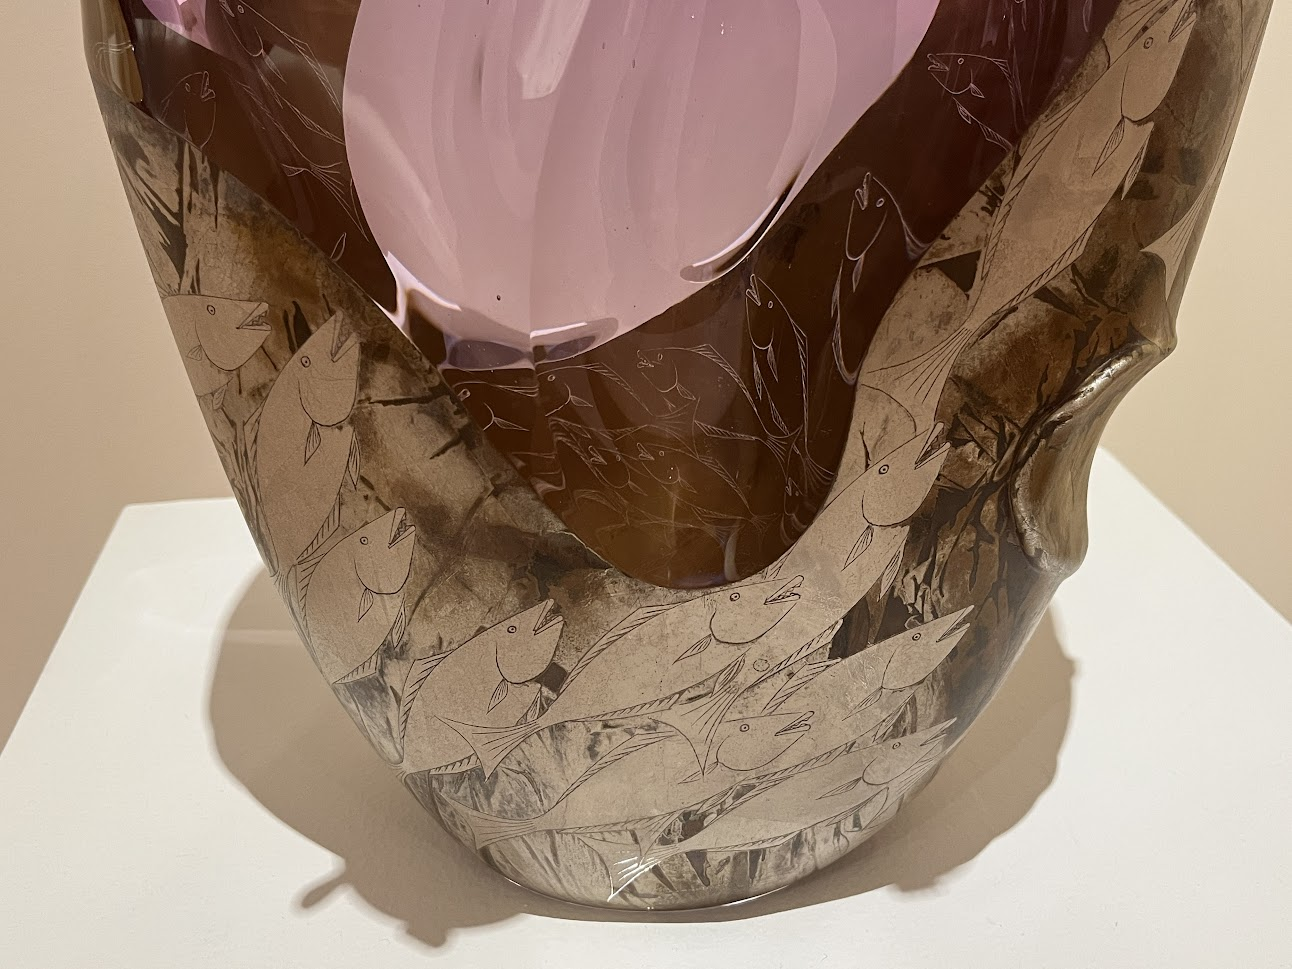
Yamano uses a variety of techniques, both hot and cold, to really emphasize the properties that make glass so special–no other material would allow the light to shine through or distort it in such a way as we look through the carved “windows.”
We won’t be blowing glass at home, but think of all the ways you use glass in your everyday life–it’s likely that you have a piece of discarded glass laying around! Raid your recycling bin for a glass jar and think of an animal you’d like to “catch” in it as we experiment with translucency and light.
You’ll need:
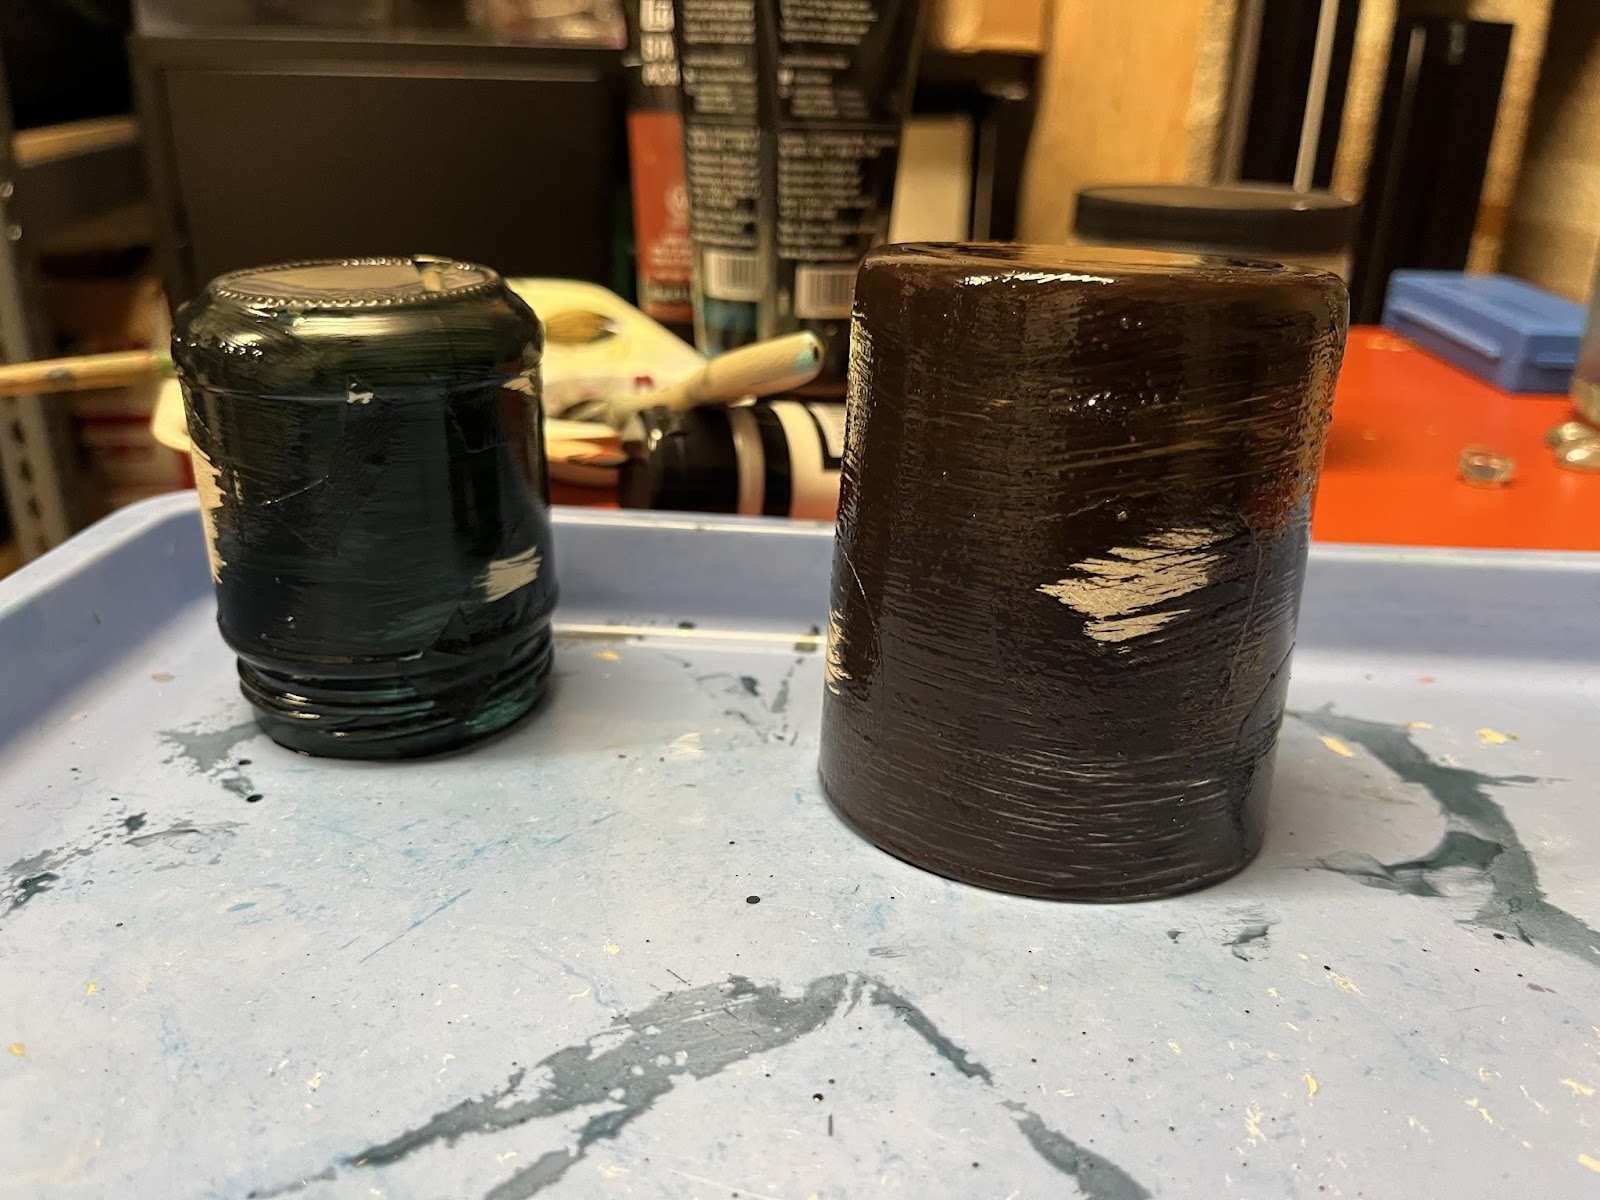
- A piece of recycled glass (I found a small jar and an old candle holder)
- Acrylic paint and brushes
- Liquid soap (dish soap or hand soap)
- A toothpick, skewer, or other pointy object for scratching (a drypoint needle works great if you happen to have one!)
- Masking tape or stickers
- Optional: flat marbles and hot glue
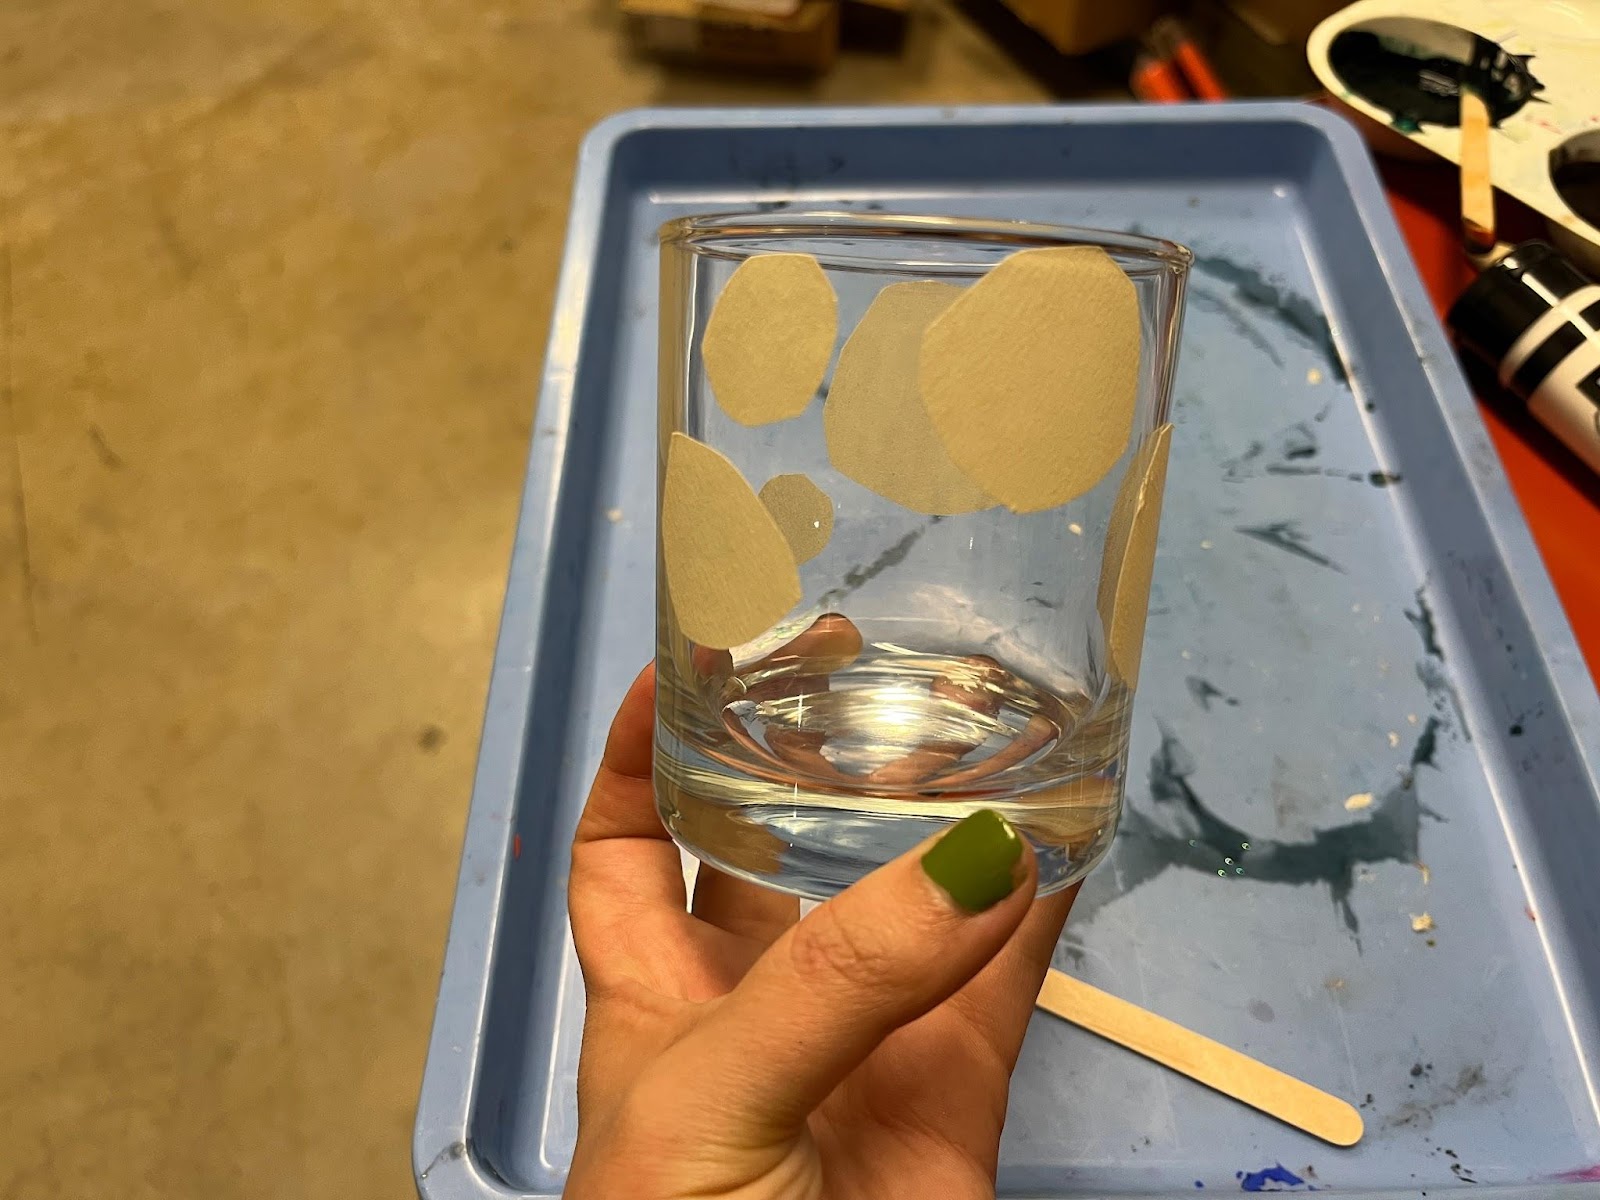
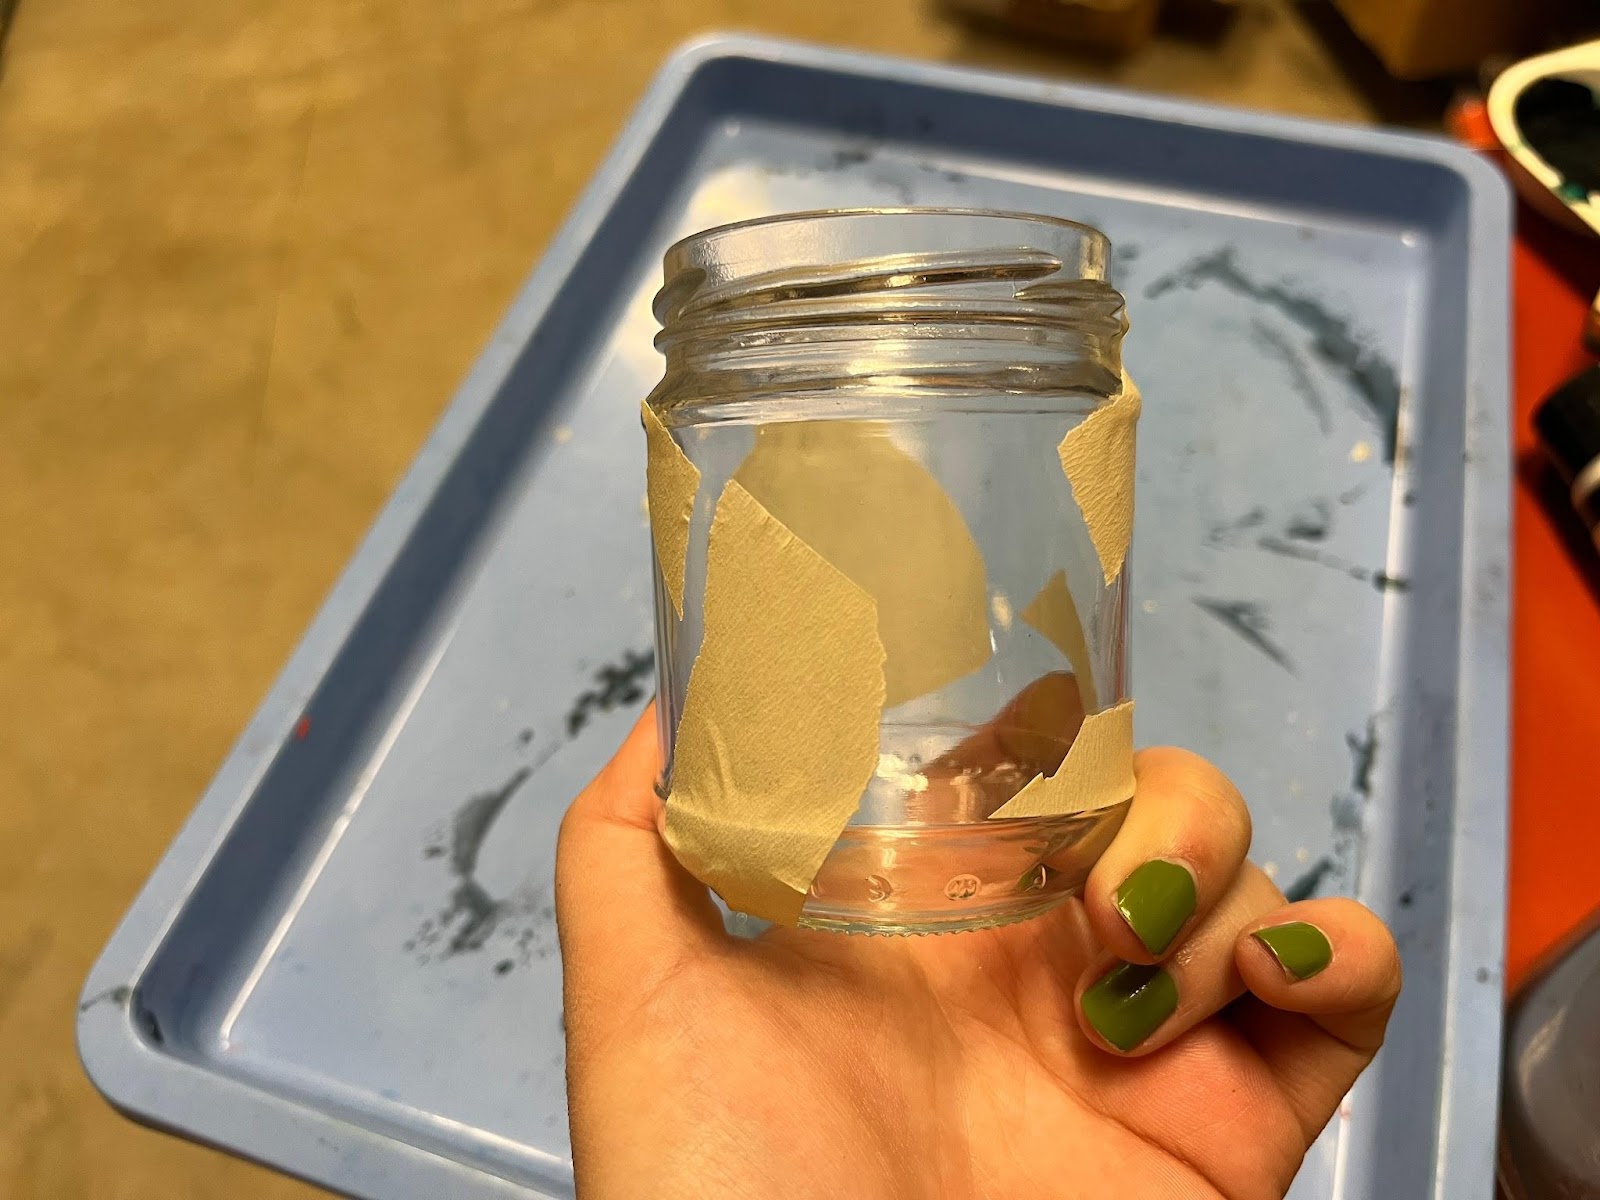
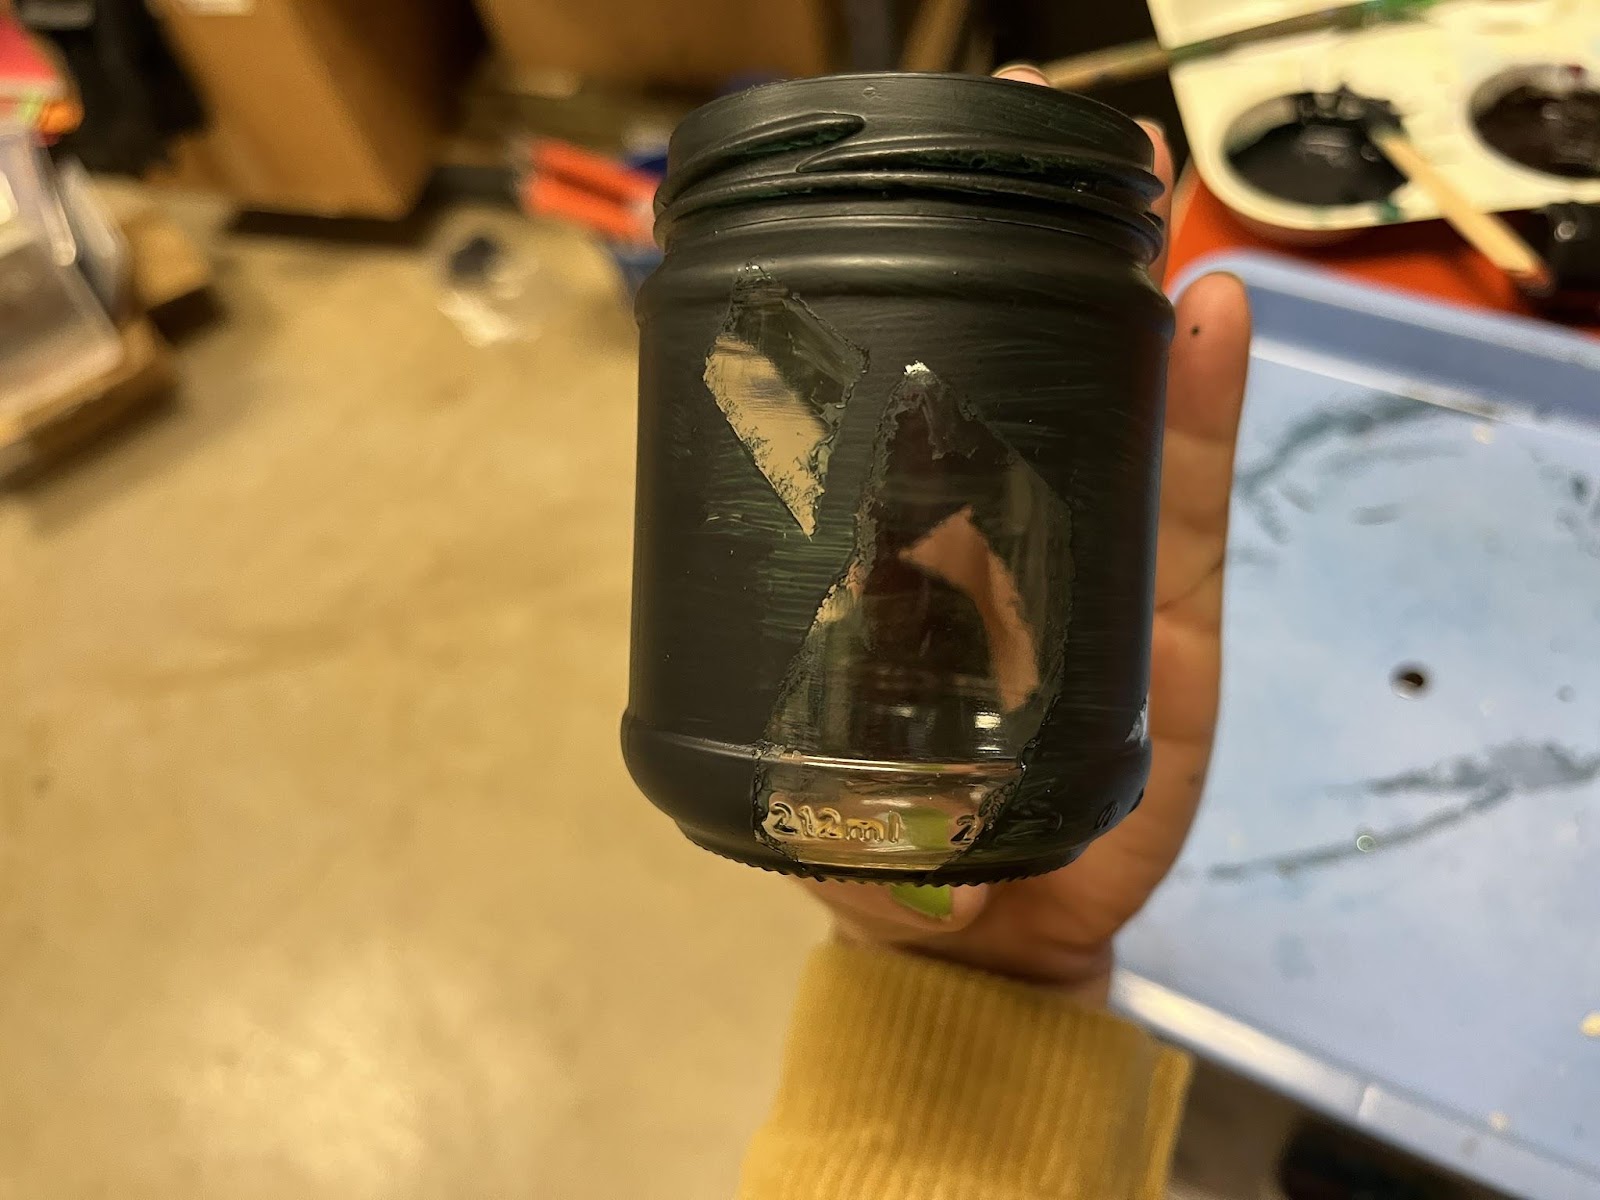
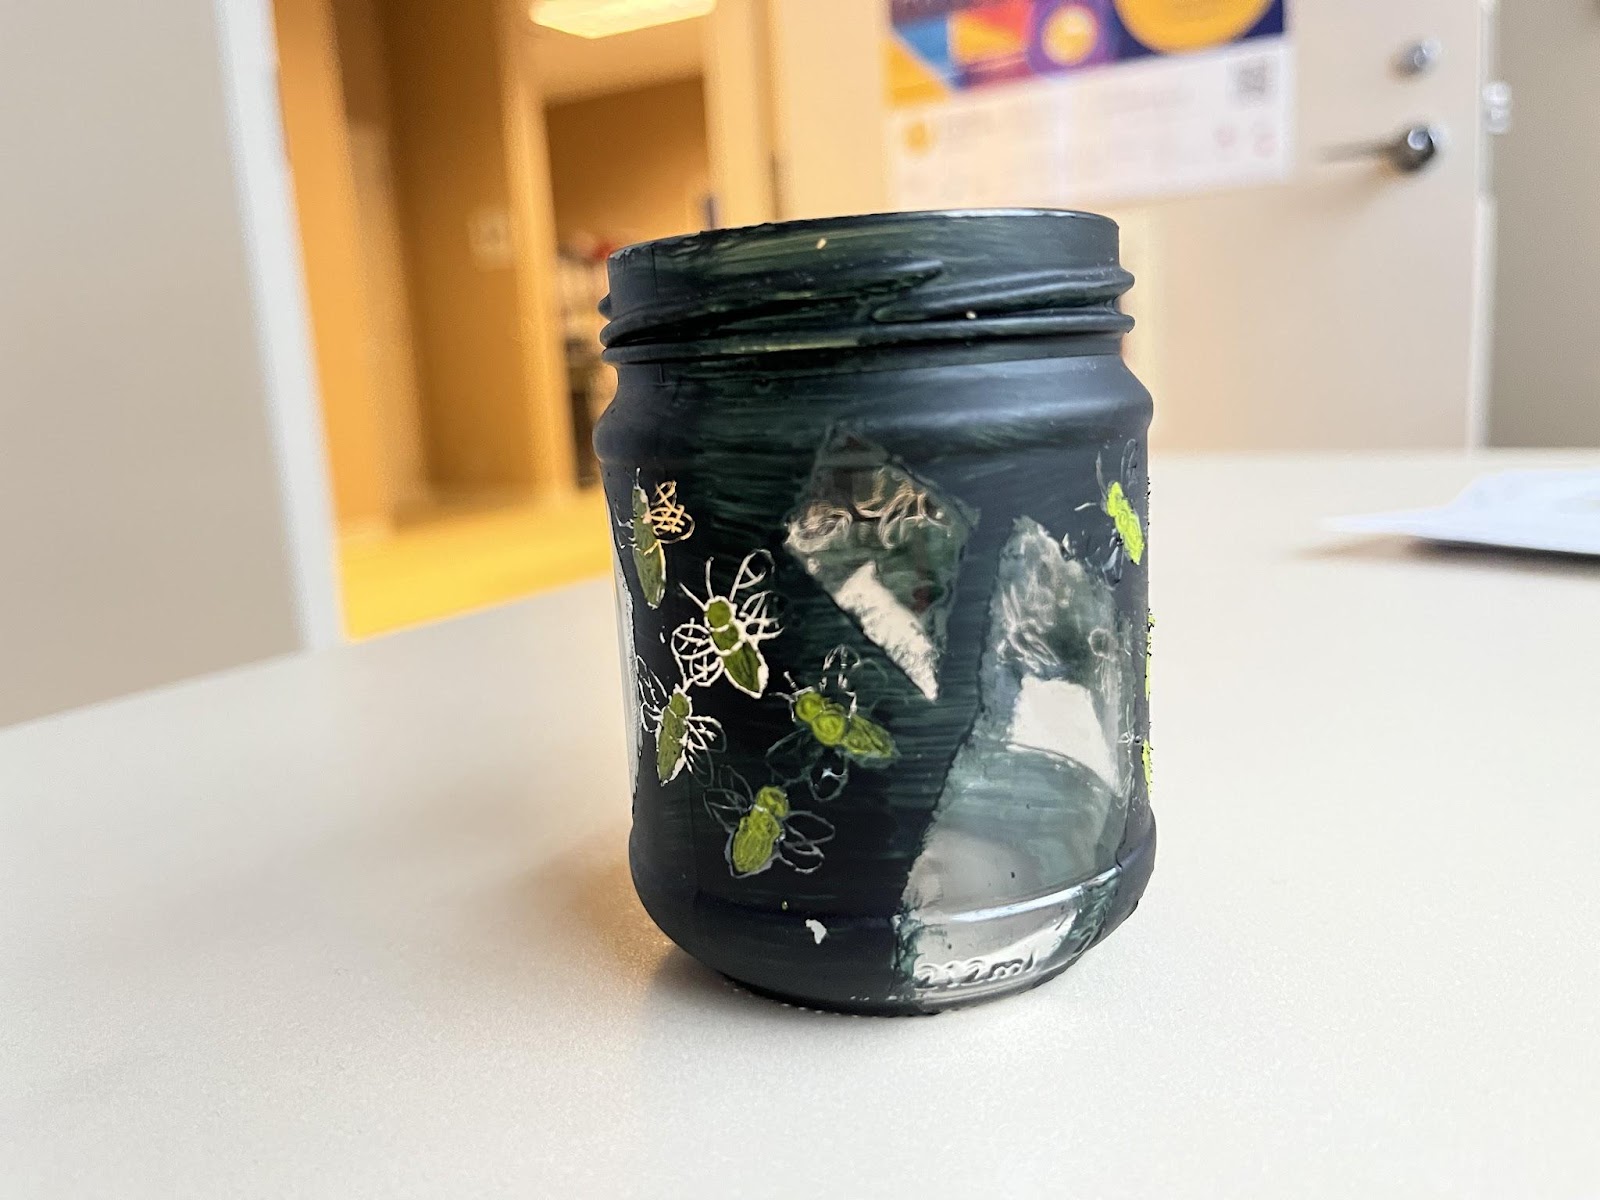
First, mask off the “windows”–areas of your vessel that you want to remain clear! You can cut or tear shapes from masking tape or use stickers. Be sure to turn your jar as you work so that it is interesting from all angles, but also that you leave sufficient areas to paint your animal(s).
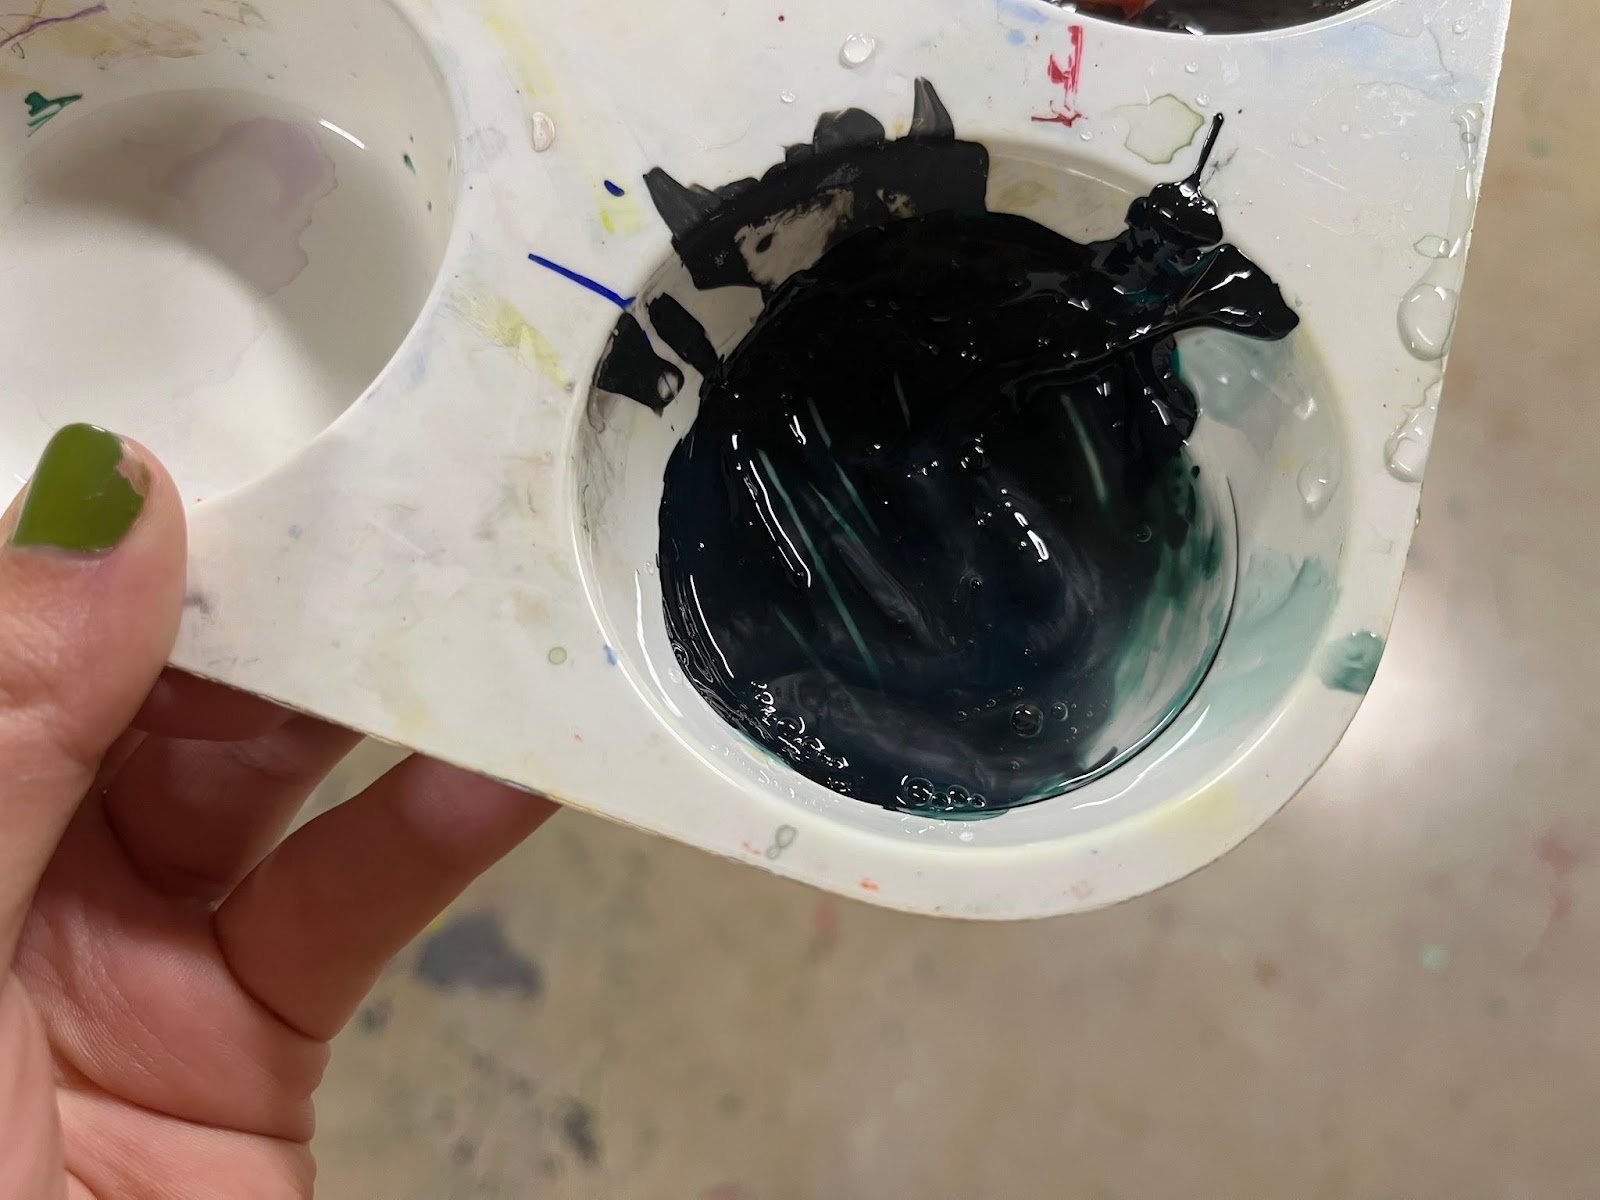
Mix your base paint color and add a drop of soap. The soap will make it easier to scratch through the paint without it peeling off in big sheets. You may also wish to add a bit of water to thin it slightly. Brush on a thin coat all over your jar. Thicker paint will tend to flake off in larger pieces when you scratch through.
Let it dry.

Then peel off the stickers or tape.
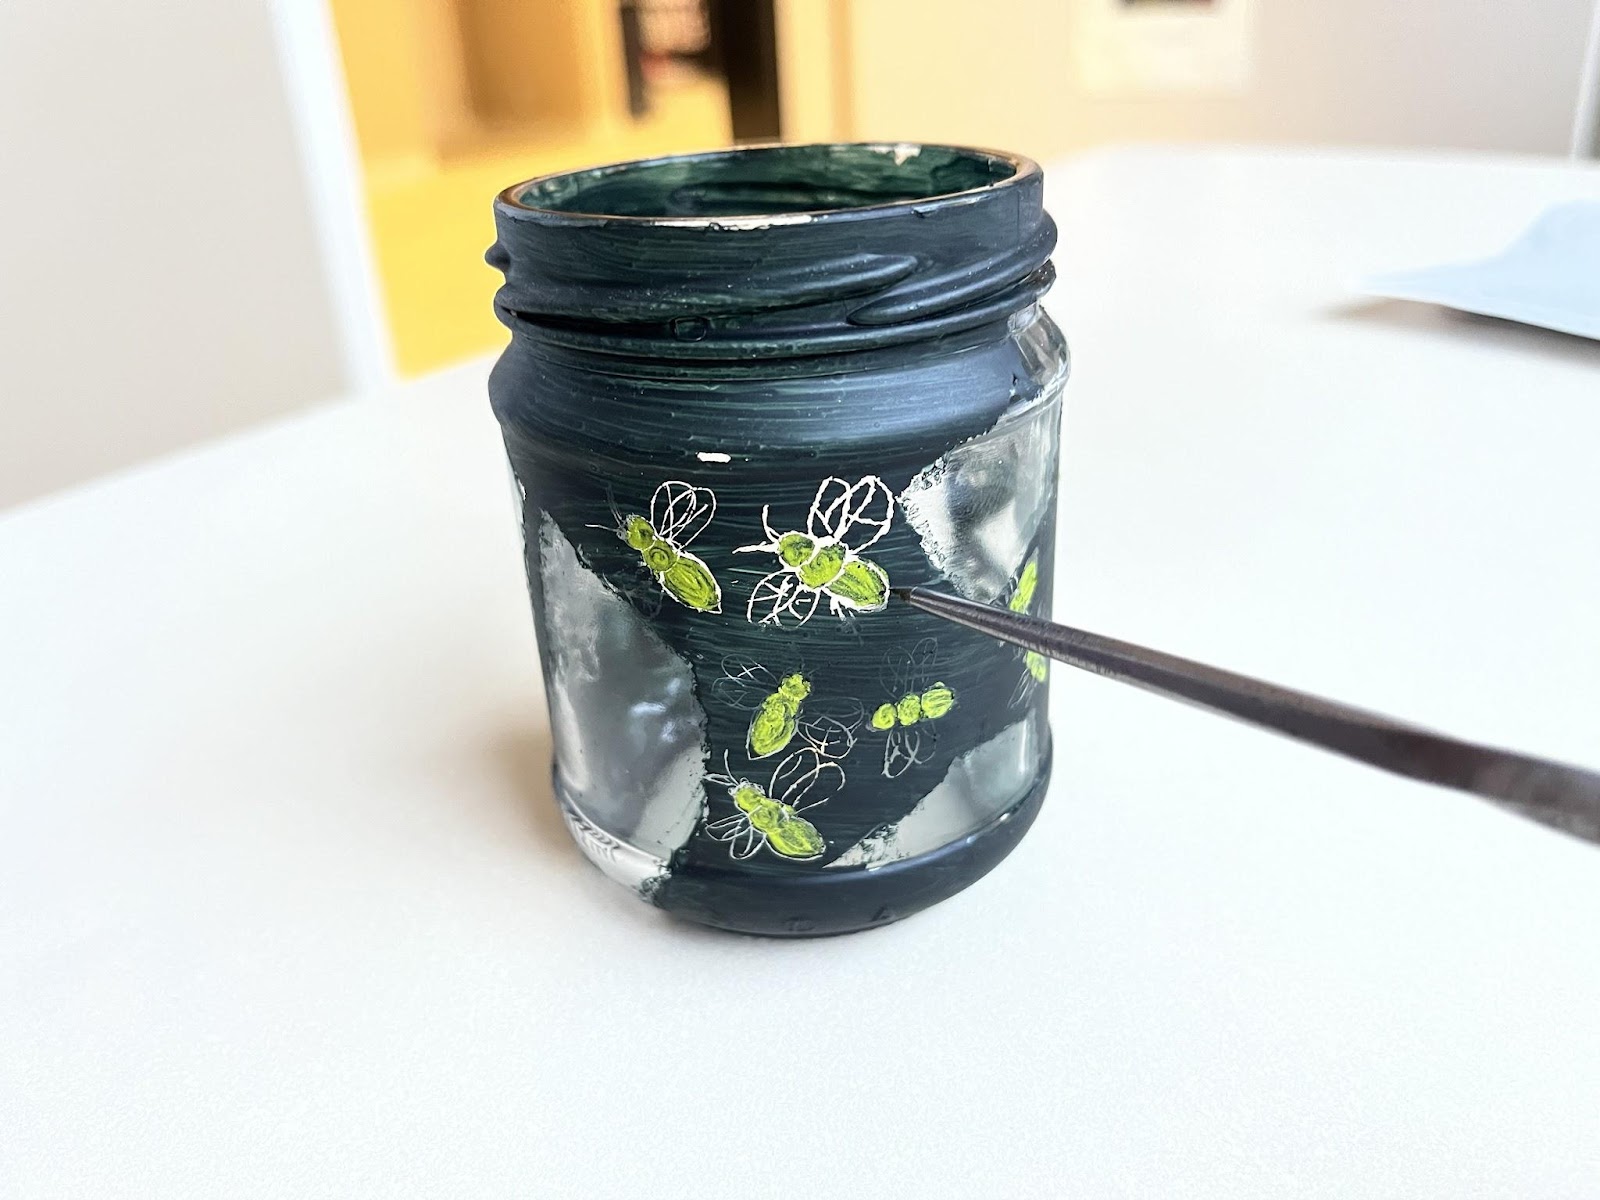
Now, choose a paint color for your animal and mix in a drop of soap. Paint the basic shape of your animal, again thinking about how your artwork will look from all angles. Let it dry.
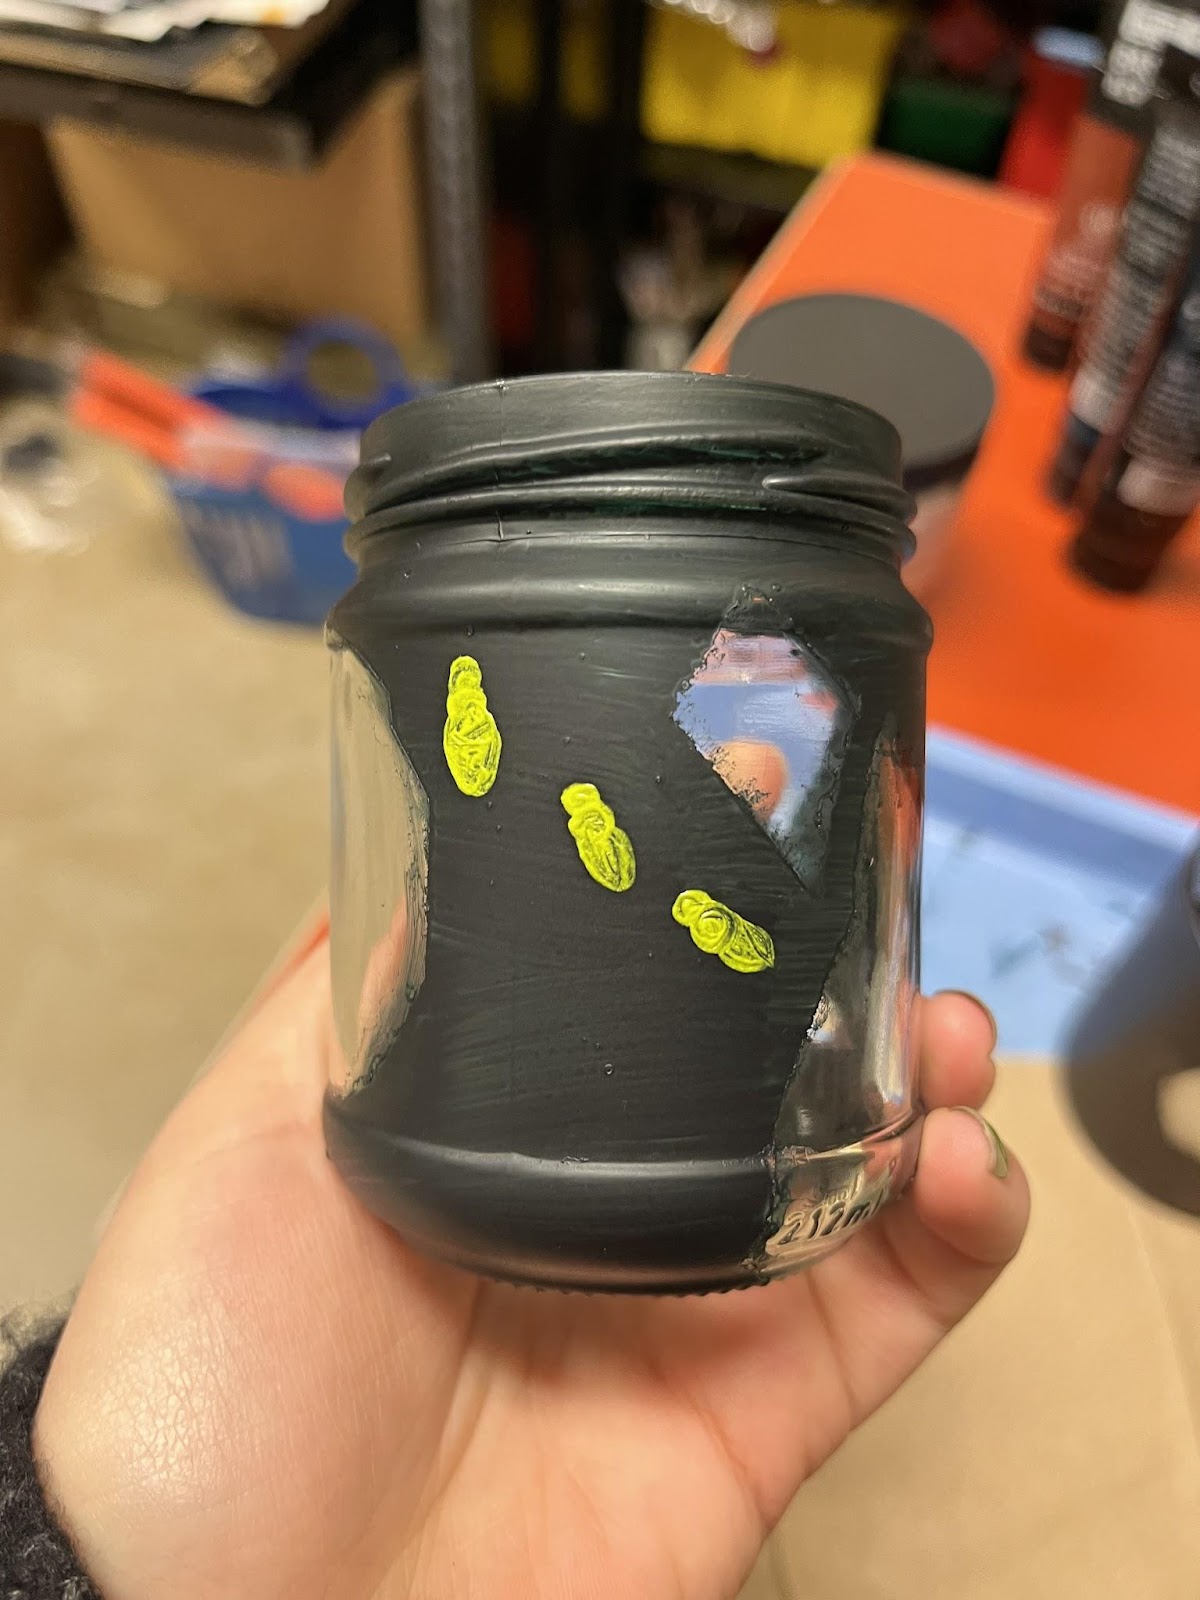
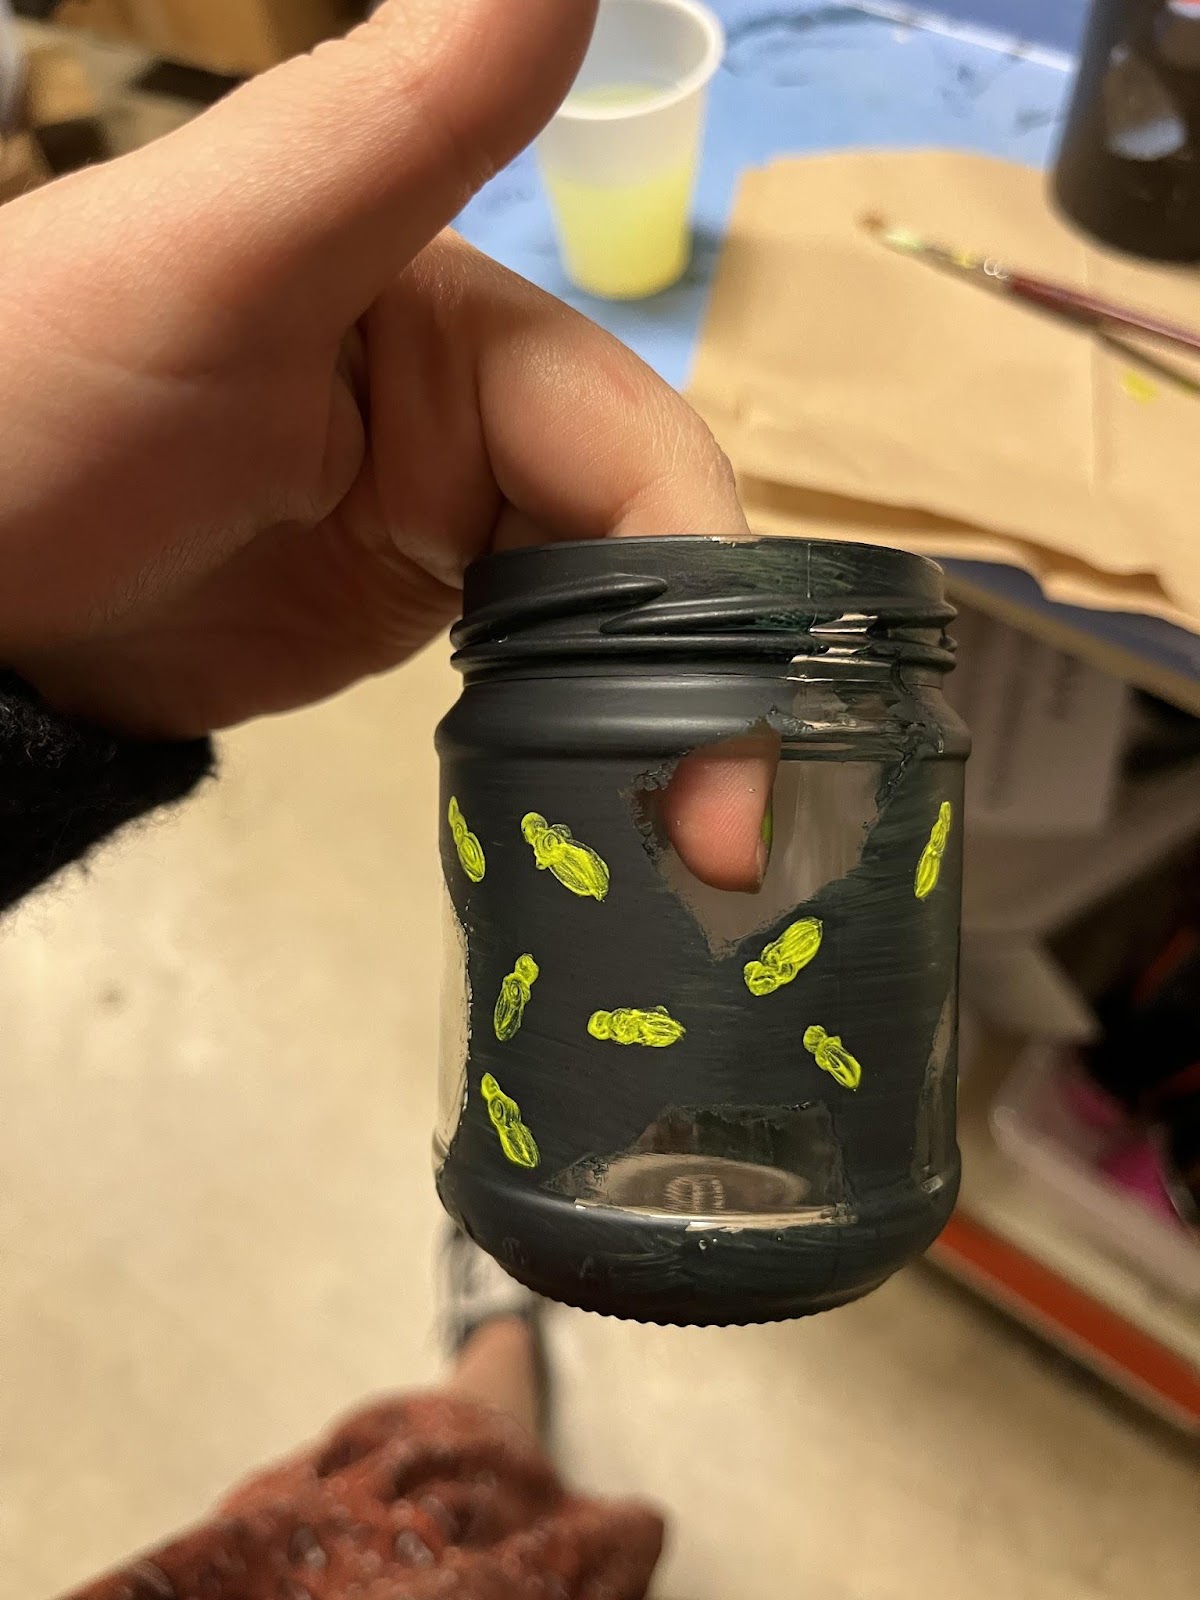
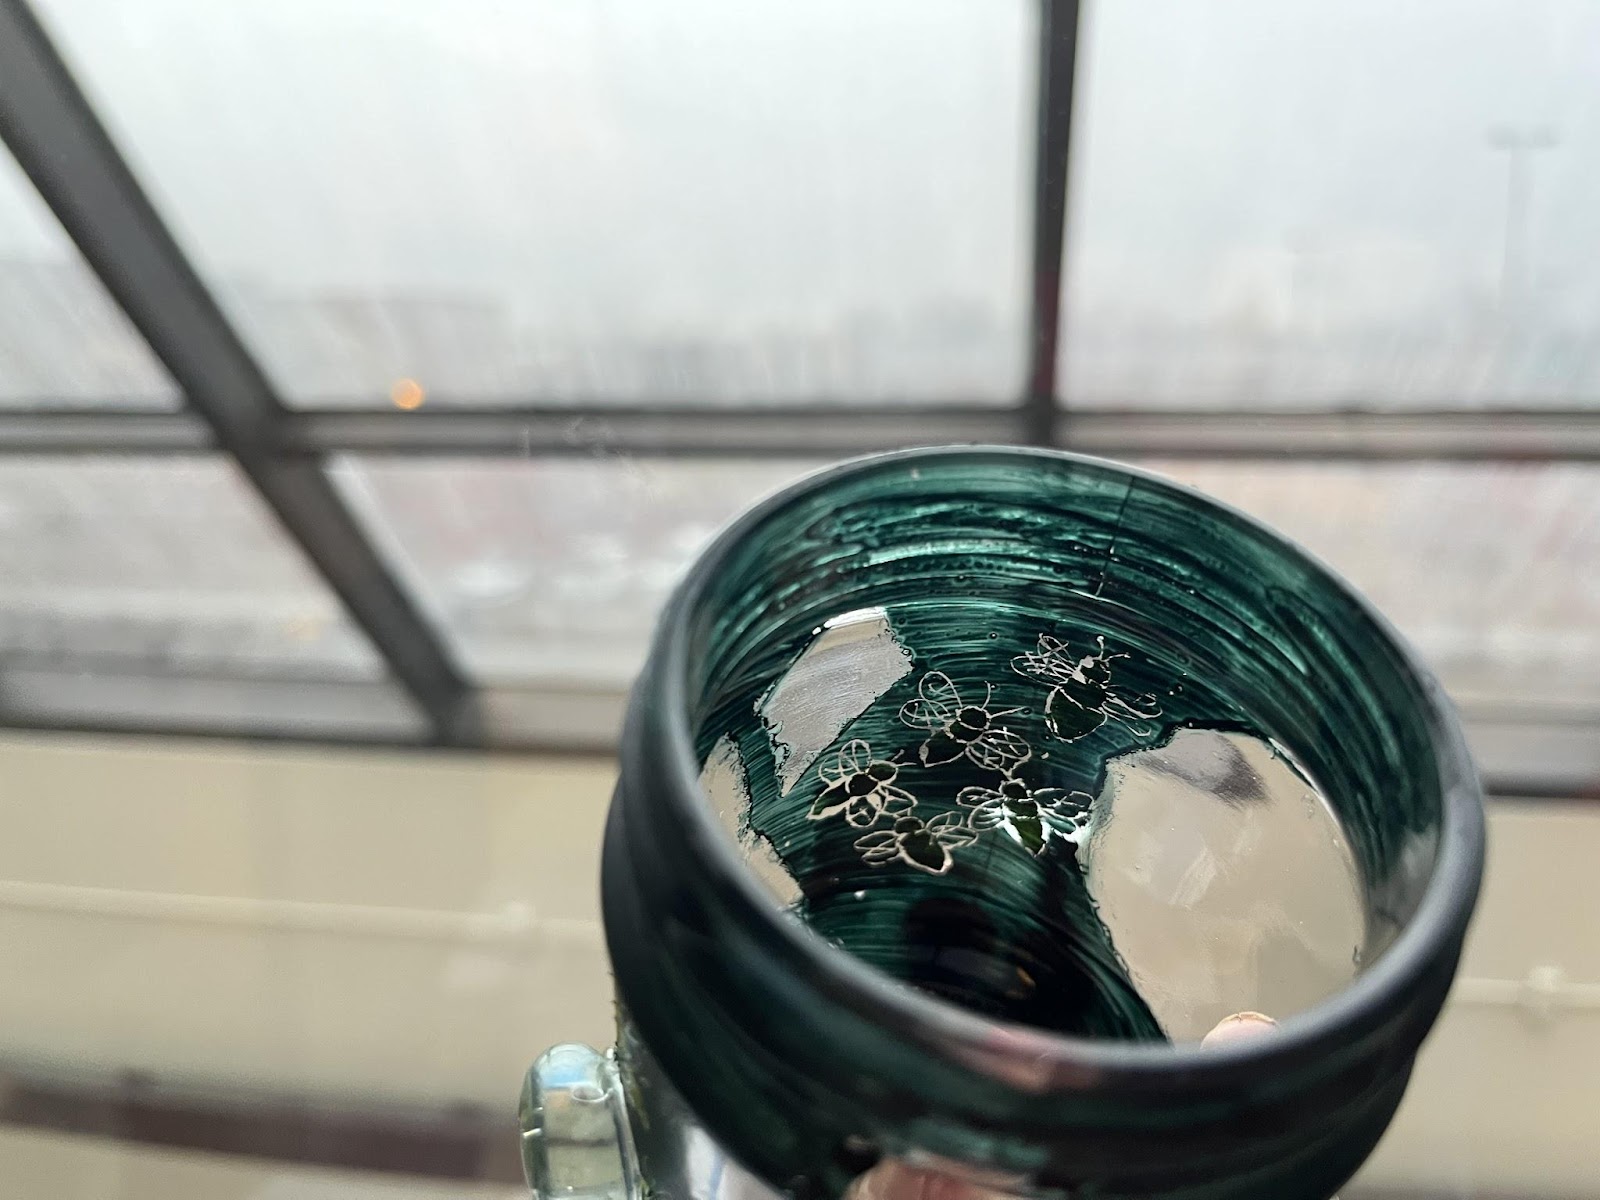
Use the pointy object to scratch lines and details through the paint–give your fish fins, your bugs wings, or your snake scales! As you work, check to see how your animal looks through the “windows.”
Optionally, glue on some flat marbles for more optical effects.
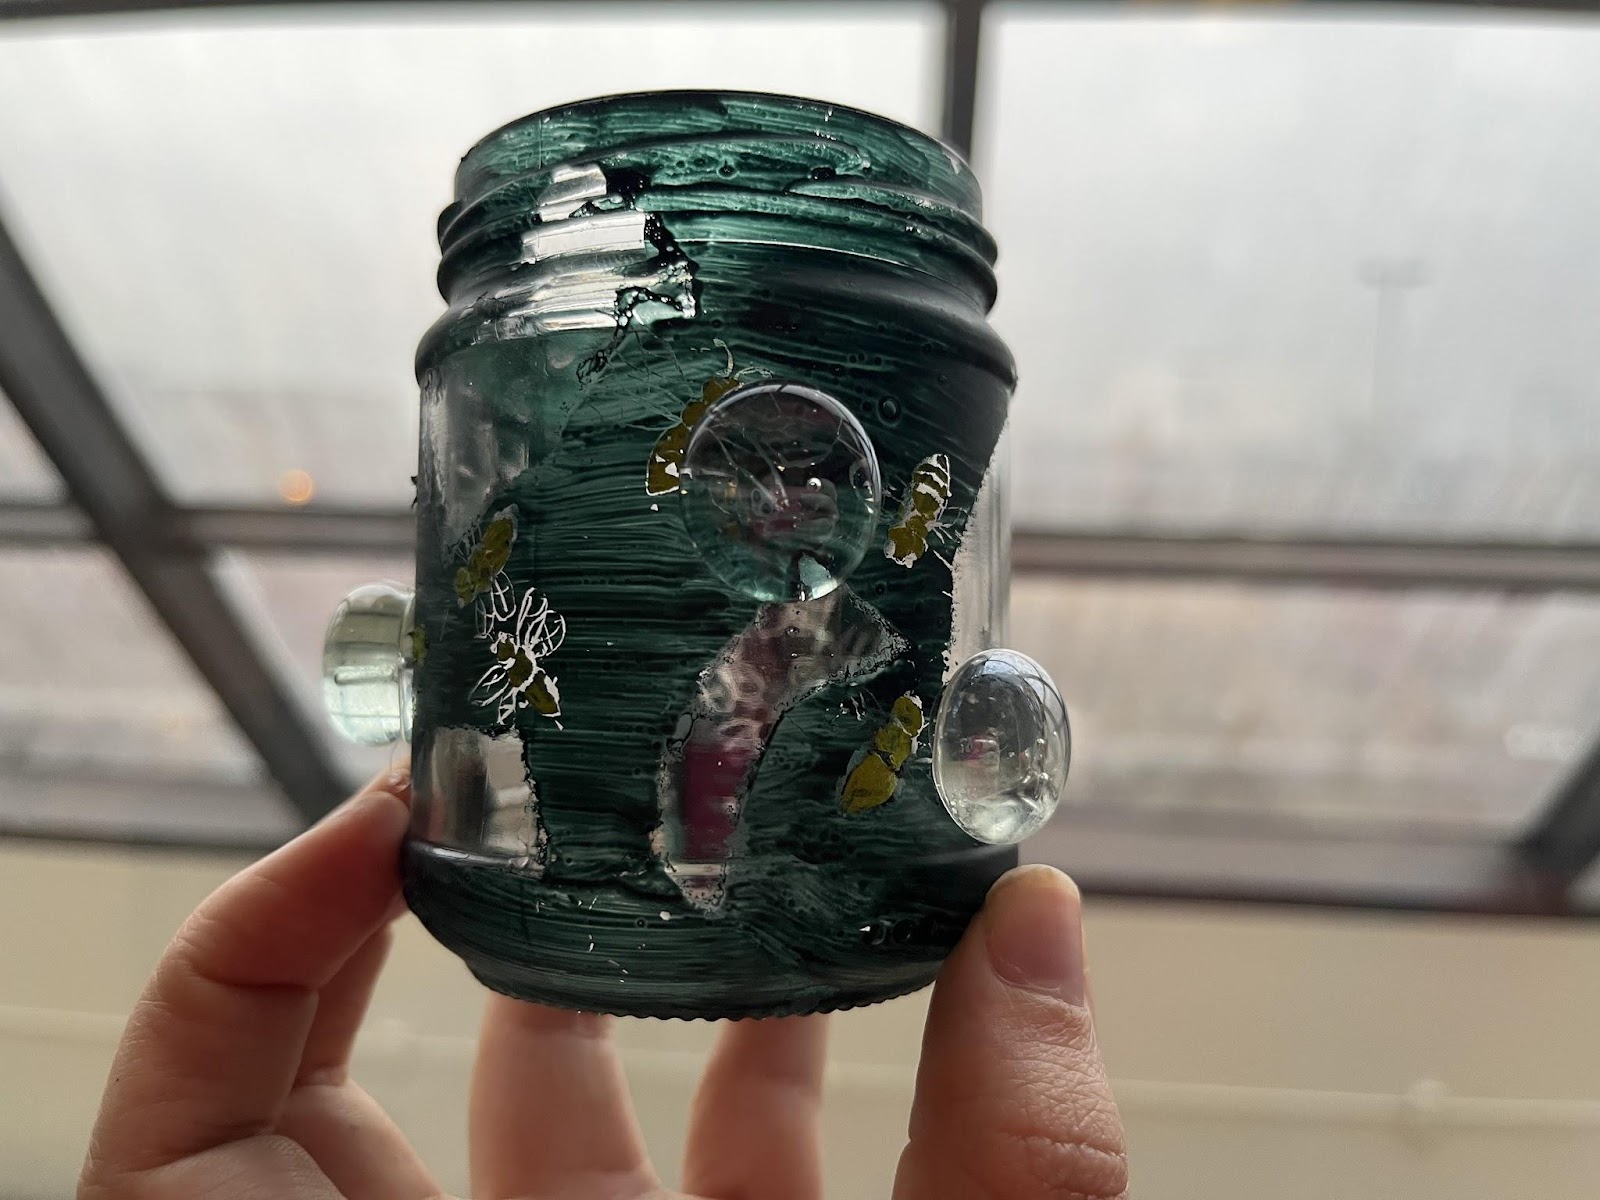
Finally, place a candle in your jar (or hold it up to a light source) and look how the light shines through!
I also made one with snakes!


Don’t forget to join us on our next Second Saturday Family Tour at FWMoA on January 14!