

Alyssa Dumire, Director of Children’s Education
Are books art? Certainly, beautifully illustrated story books contain art, but sometimes the books themselves are works of art, too! Artists have been involved in producing books since medieval times, but the credit for creating the first true artist’s book goes to the English Romantic artist and poet William Blake, who combined his handwritten poetry with vivid illustrations in hand-bound books. Artists’ books can be one-of-a-kind works or printed in small editions.
On display now, you’ll find beautiful books throughout the galleries at FWMoA! In A Century of Making Meaning, our 100th anniversary exhibition, there are course books and magazines, decorated almost like illuminated manuscripts. Notice the borders, illustrations, and decorative font choices.


In the 2021 Scholastic Art & Writing Awards exhibition are a few award-winning artist books, each exploring a different topic in-depth. My favorite might be the playful Spaghetti Overload, with the cover made from a box of pasta and a long scanned photo of spaghetti and meatballs folded to fit inside.


Creating a book is a great way to explore the different facets of a single topic, to illustrate a story, or it can act as your own sketchbook! Consider making a simple book to bring with you on your next trip to the art museum and record your favorite works through sketches (in pencil!). See below for how to fold a simple booklet, and some ideas for ways to fill it!
You’ll need:
- Paper (the bigger your paper, the bigger your book!)
- Scissors
- Drawing, printmaking, painting, or collage materials to fill your book
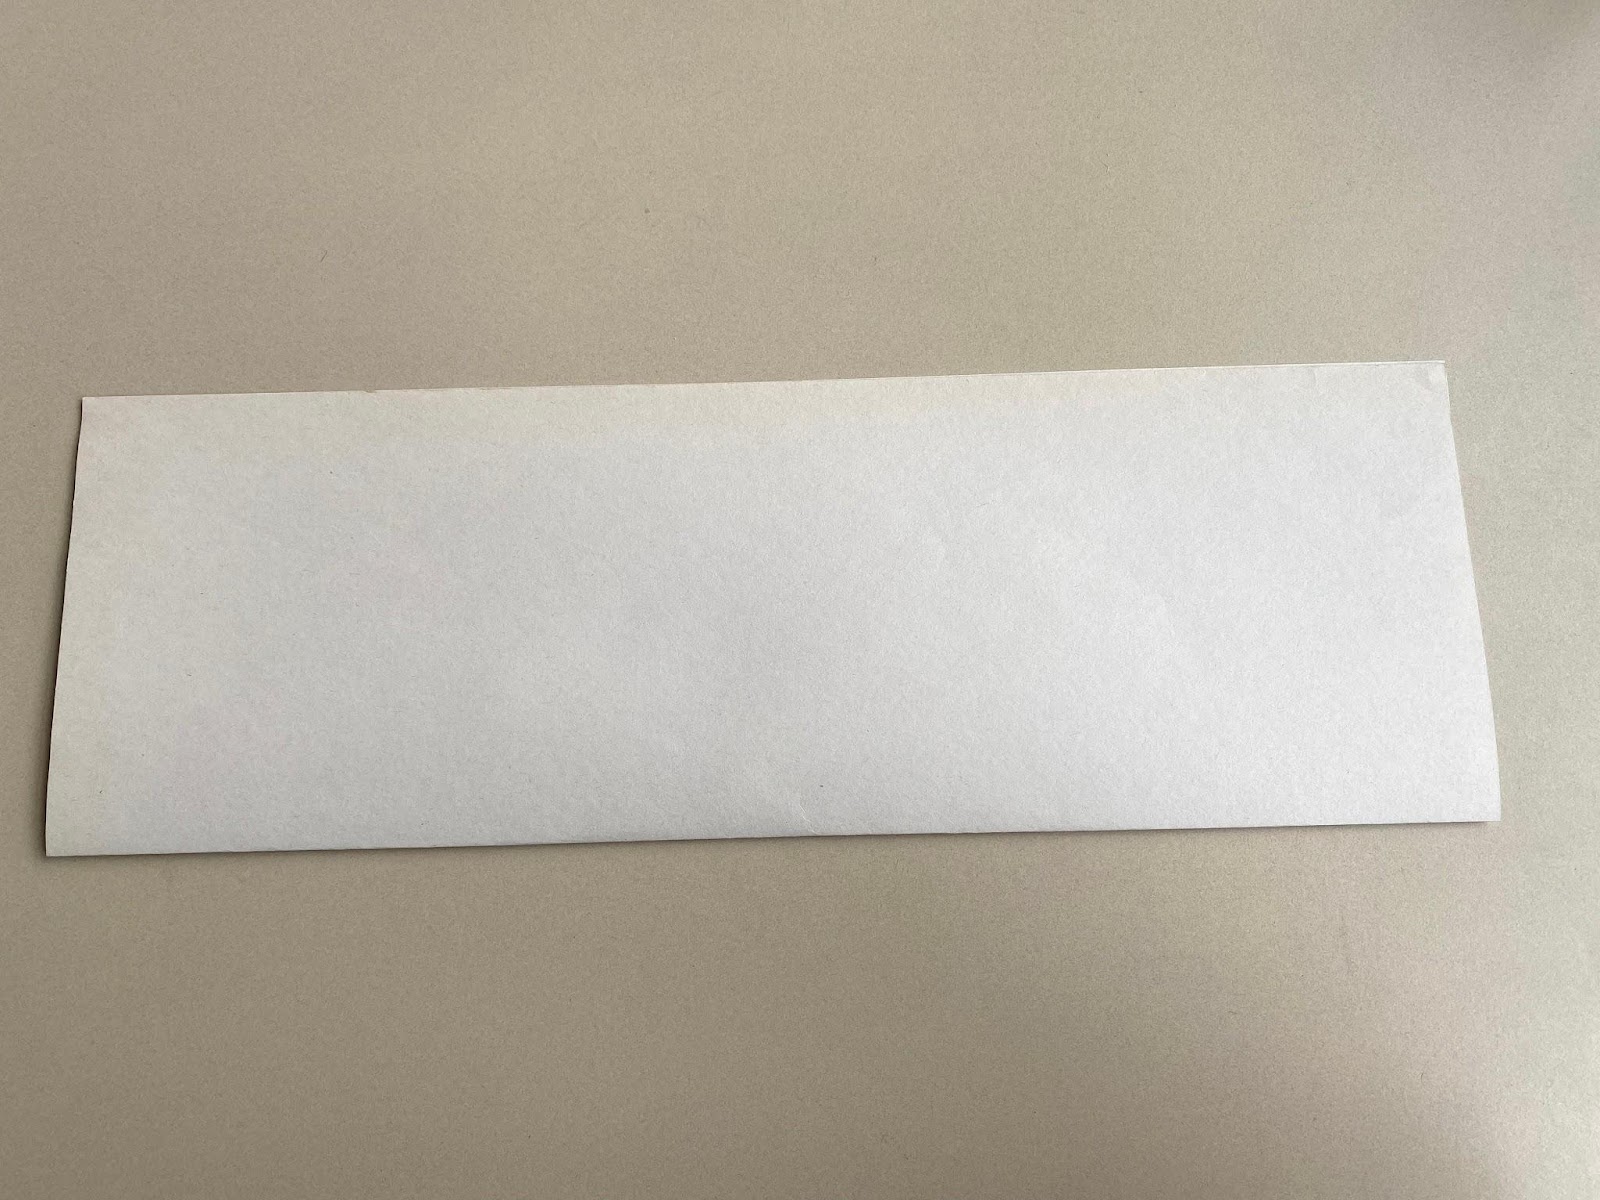
First, lay your sheet of paper on a flat surface. I am using 12” by 18” paper, which makes a book that is 4 ½” by 6”. A sheet of printer paper makes a pocket-sized, 2 ¾” by 4 ¼”, book! We’ll be making a series of folds to create our book. Each time you fold, make sure you’re really pressing down along the whole crease to make it nice and crisp.


Fold it lengthwise (hotdog style) and open it back up, then widthwise (hamburger style), and open it back up.


Now, fold each short end in to meet the middle crease and open them back up. When laying flat, the folds in your paper should divide it into eight rectangular sections.
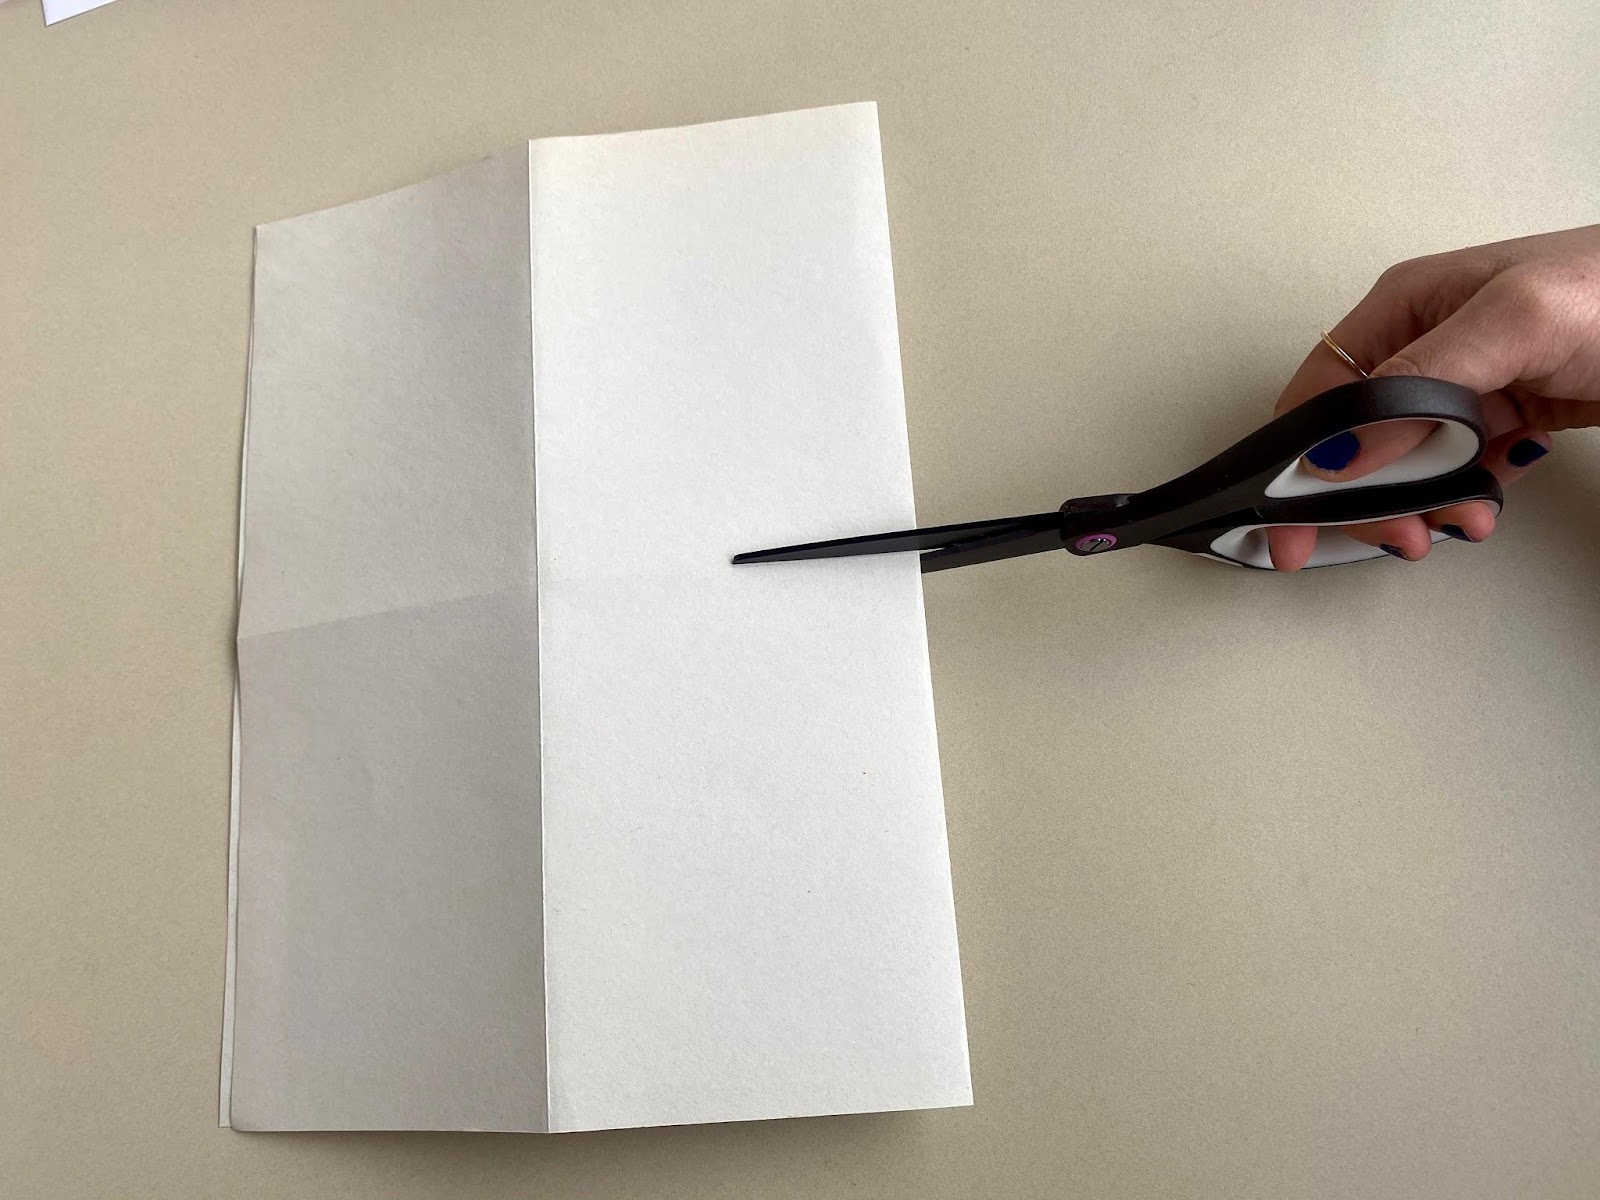

Fold it in half hamburger style again, then take your scissors and cut through the fold along the center line, stopping at the first intersecting line.
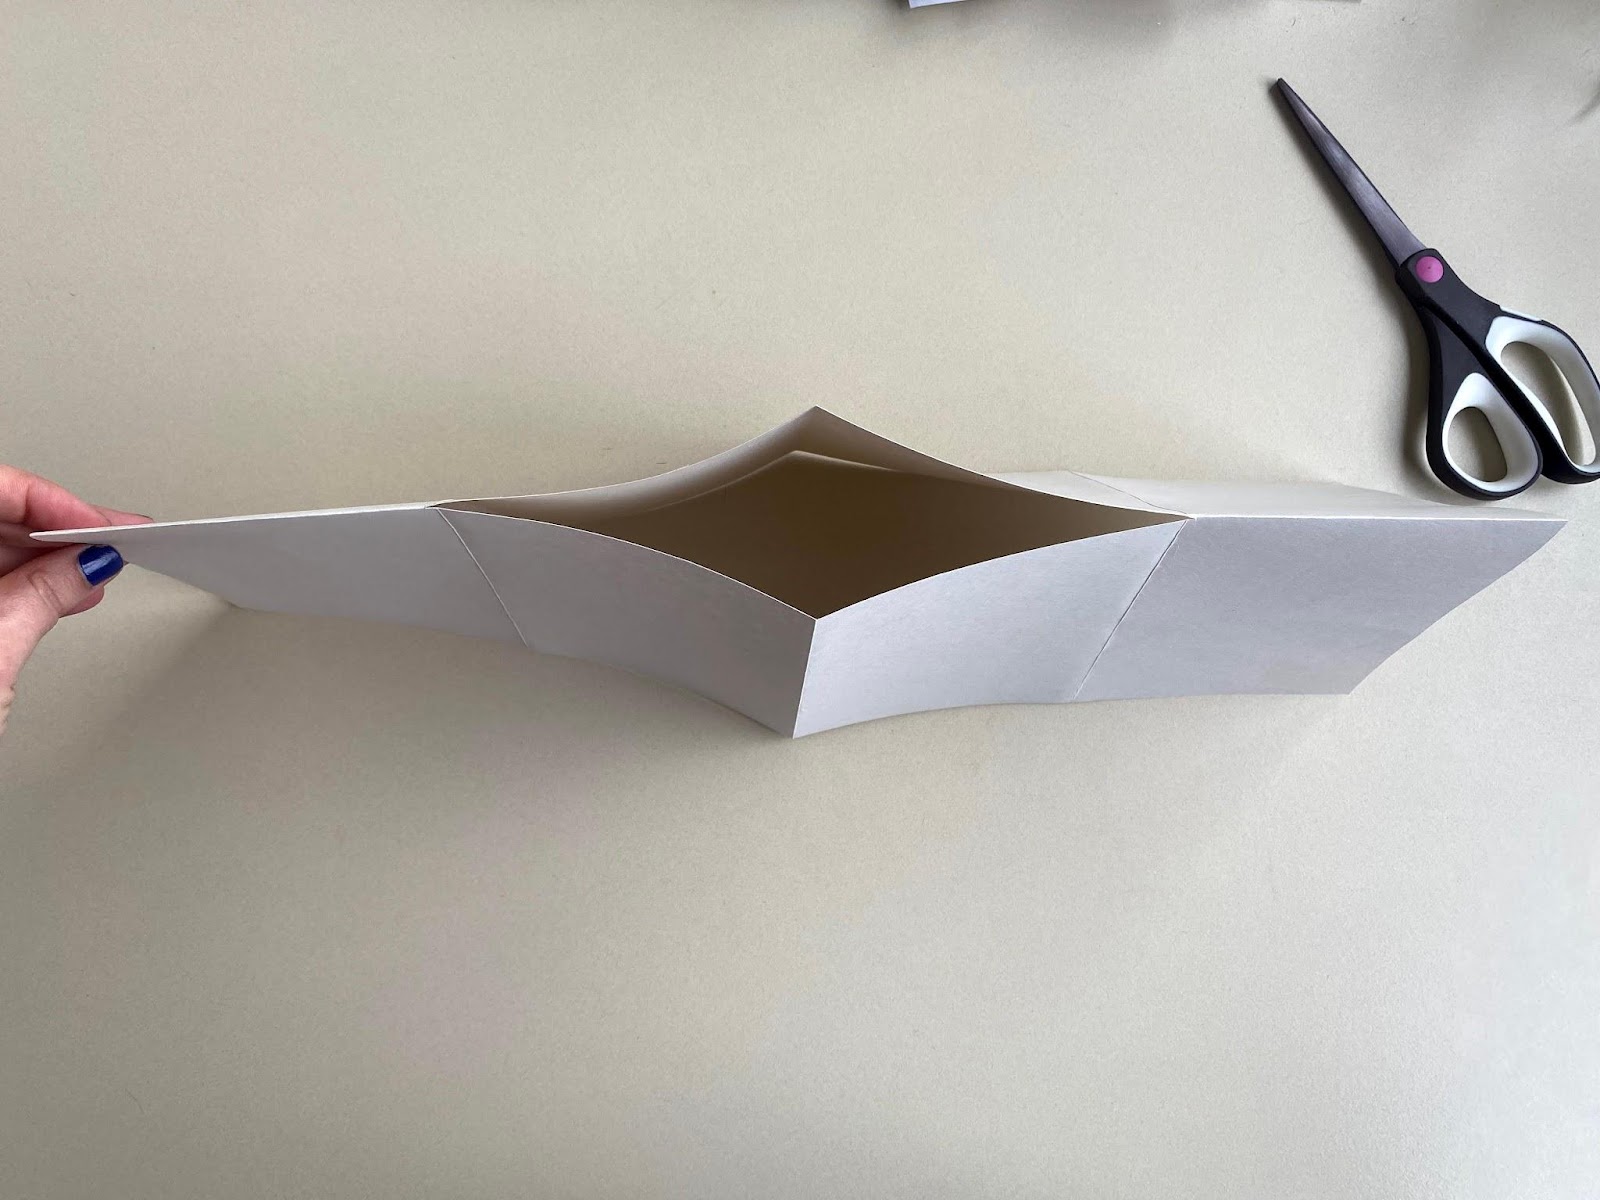
Unfold your paper and re-fold it hotdog style. It will want to open up into a diamond shape at the center. Holding the two ends, push your hands closer together so this diamond shape opens up more, then keep pushing until the two sides meet and squash the whole thing together into a book, flattening the folds down as needed.
I designed a cover for my book inspired by the fish motif on the Overbeck Sisters’ vase, on view in A Century of Making Meaning. I used cardboard to make some stamps, printed with acrylic paint, then went back in with pen to add detail. Now I have a sketchbook ready to use!


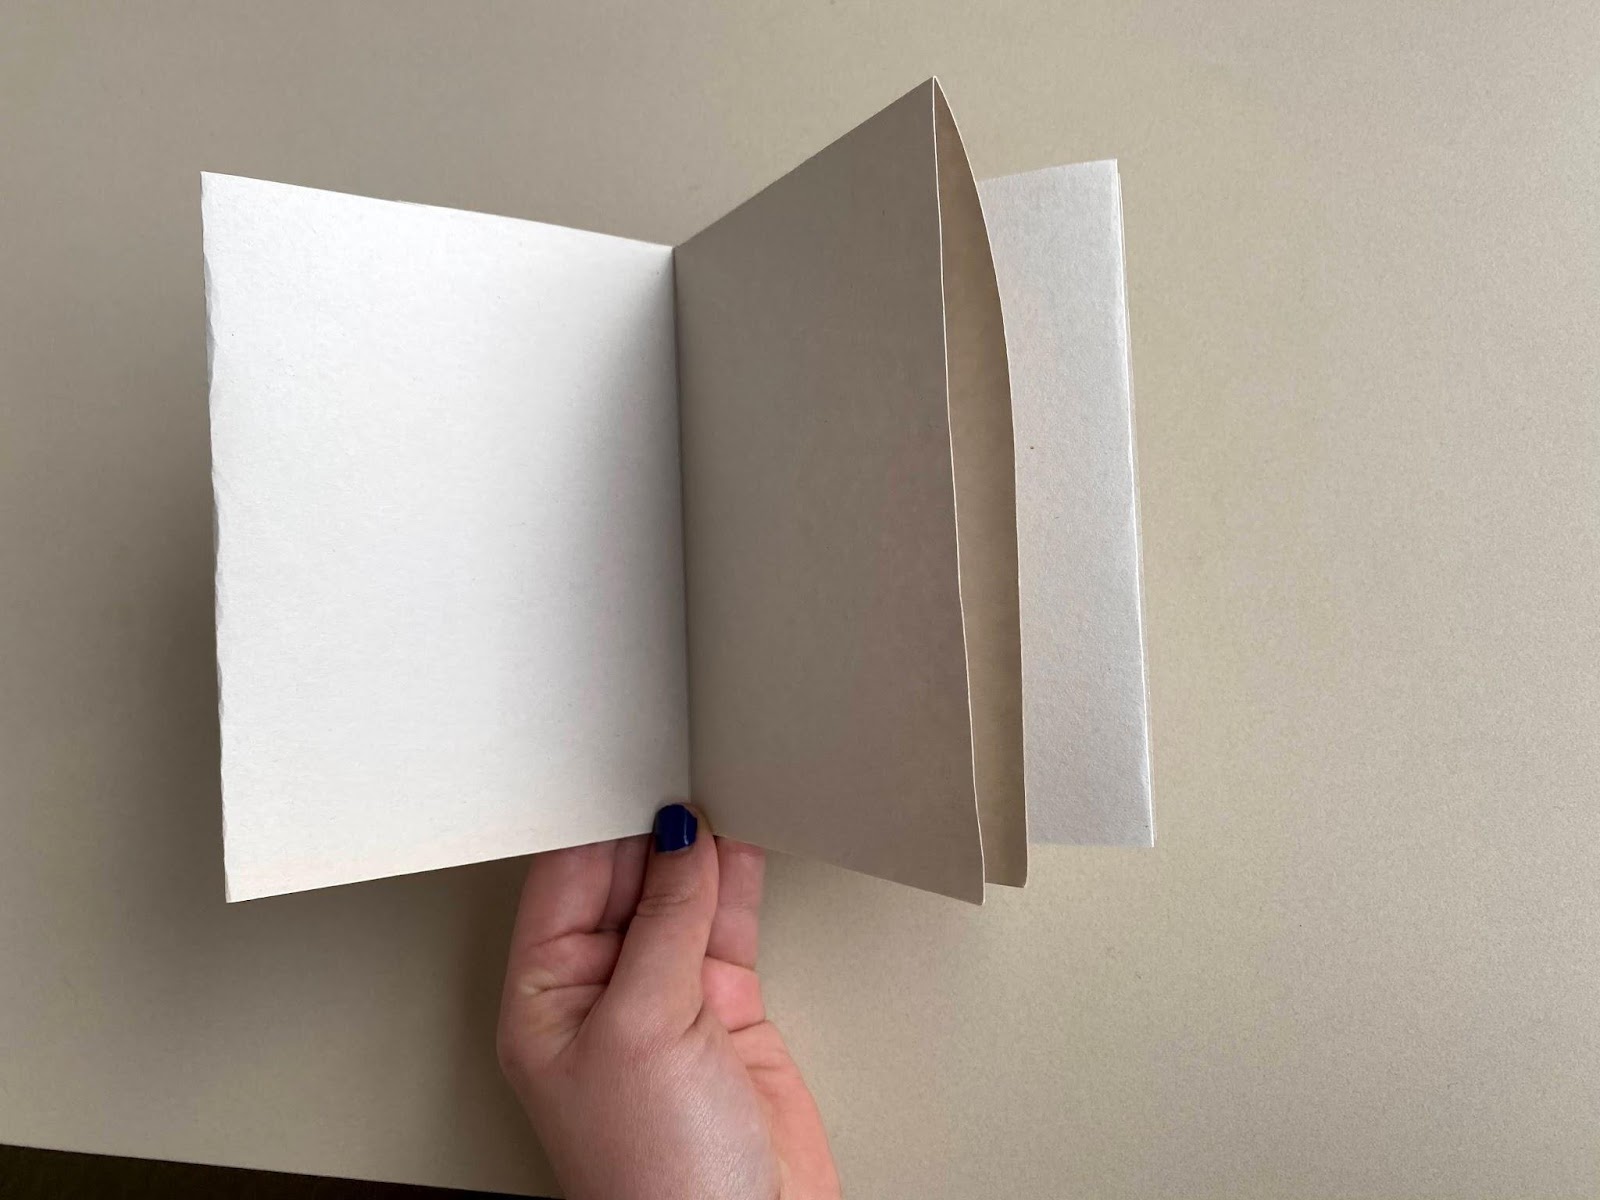
You should have a book with six pages to fill! Here are some ideas for your book:
- Carry it around and document your day through sketches
- Write and illustrate a story
- Explore a topic you’re interested in through both words and images
You can use any materials you like to decorate your book, but make sure that if you use paint, ink, or glue that your book is fully dry before you close it! If you use a printmaking technique, you can make an edition of multiple books (see Kitchen Lithography, Drypoint, and Collagraphs. You can even make a pop-up book!
Be sure to share your books with us here on the blog or on social media: Facebook, Twitter, Instagram by tagging us #fwmoa.