

Alyssa Dumire, Director of Education
Karl Zerbe’s Girl with Blue Mask is now on view in the John S. and James L. Knight Learning Center as part of the exhibition In Circles, curated by our Teen Council. Can you spot all the circles?
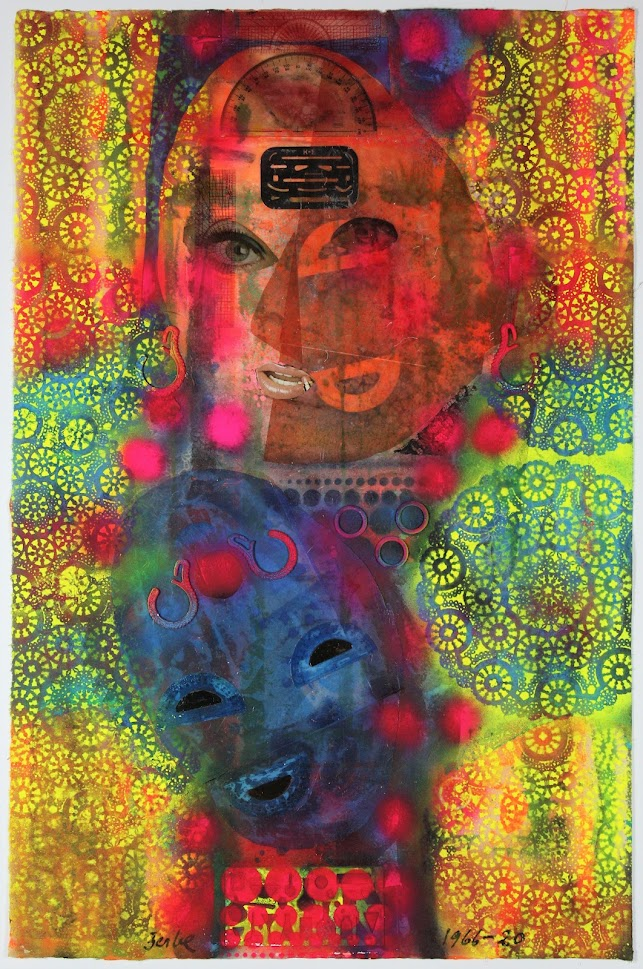
I notice hot pink dots throughout the center of the composition and the yellow doilies along the sides that radiate more circles. Repeated half-moons form the facial features of the blue mask, which are echoed in the upper face. Why so many circles? With lots of layered colors and objects, using similar shapes over and over helps unify an artwork that would otherwise be too chaotic. Zerbe also used collage and found objects to create Girl with Blue Mask, and circles are everywhere! Finally, consider his subject: a girl’s face (and a mask to cover it). Our faces are largely composed of curved shapes like half-circles and ovals. Although the lower visage here doesn’t have realistic features, we see them as eyes and a mouth thanks to their shapes and placement.
Compare the girl’s face with the mask beneath it. Her expression is difficult to read, but the mask, although it’s blue, looks unmistakably happy. With Halloween just a couple days away, you might have plans to disguise yourself as something spooky or your favorite character. How did you decide on your new, temporary identity? In the spirit of Halloween, we’re thinking about the idea of transformation and disguise to create our own mask inspired by Girl with Blue Mask. Whether your disguise is happy, sad, mad, or silly, it will definitely be strange and maybe a little spooky.
You’ll need:
- Cardboard
- Acrylic or tempera paint and brushes
- Found objects and collage materials (raid your recycling!)
- Glue
- Scissors and/or craft knife (with grown-up help!)
- String or a popsicle stick
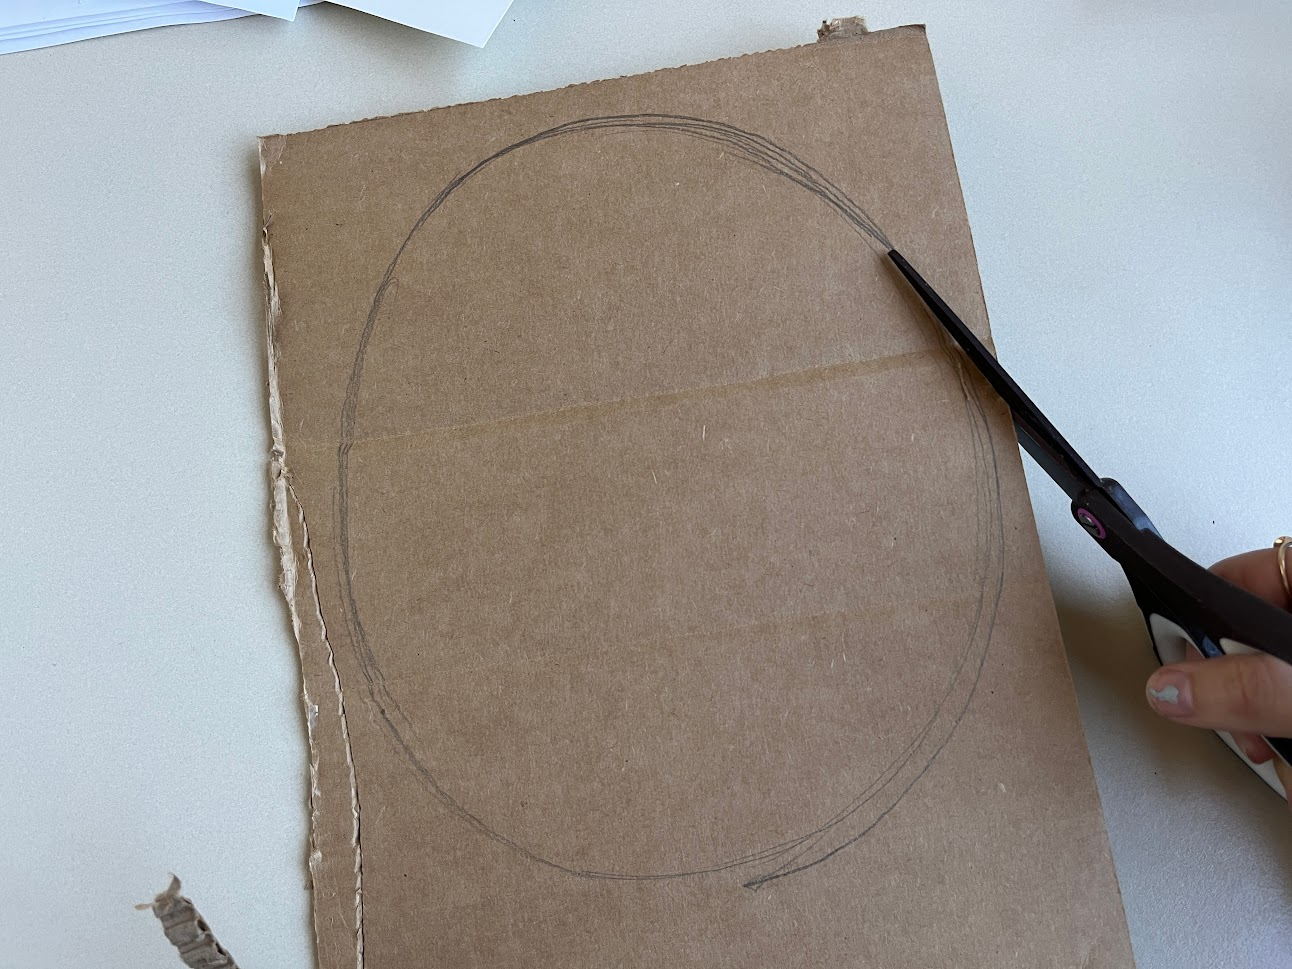
First, cut an oval from the cardboard for the base of your mask using scissors. Cut holes for your eyes and mouth if desired (a good idea if you plan to actually wear your mask, but this can be tricky, so get help if you need it!).
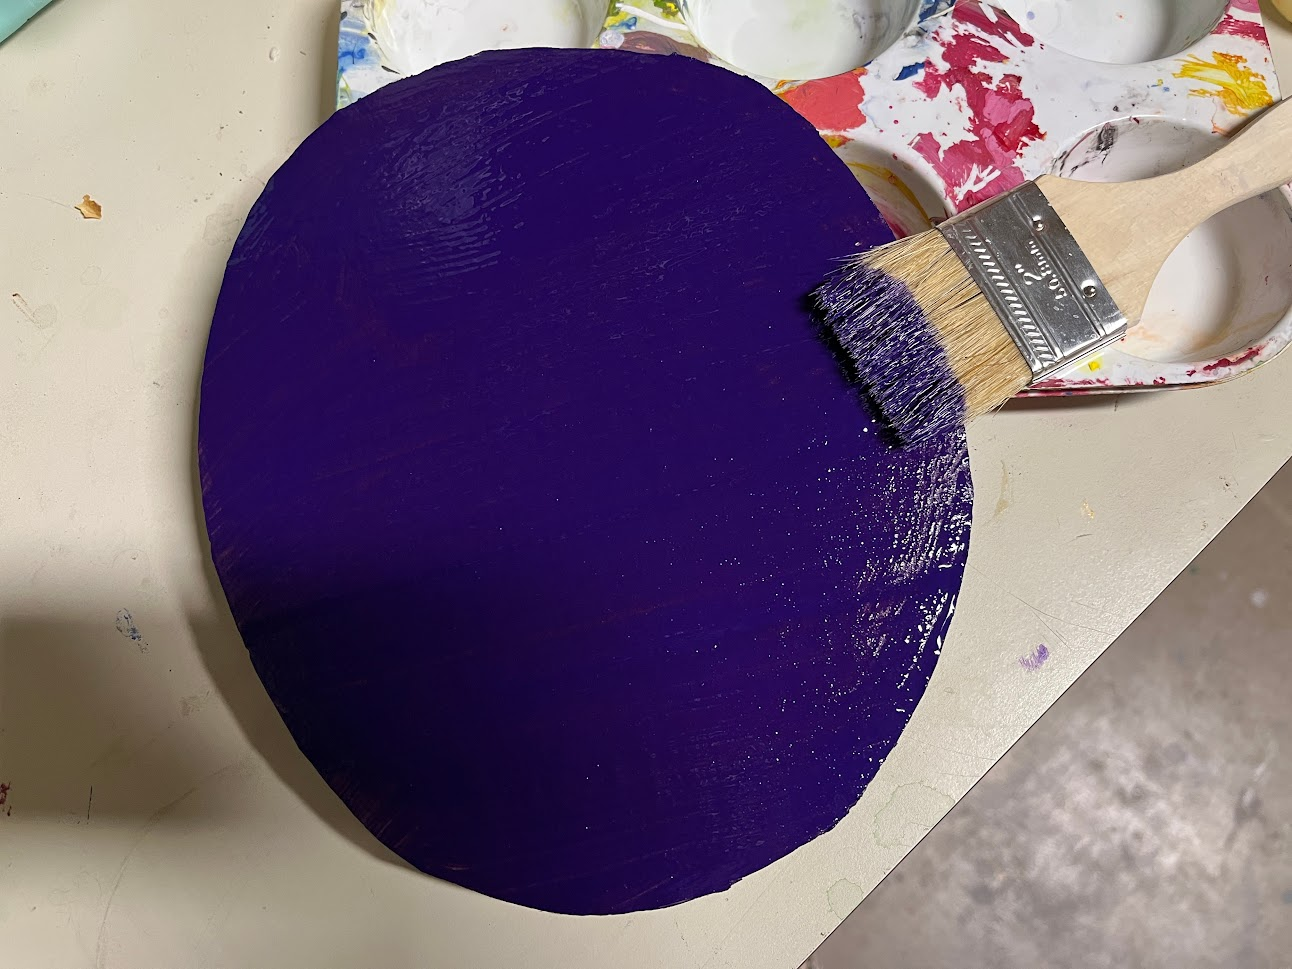
Paint the cardboard base a solid color and let dry.
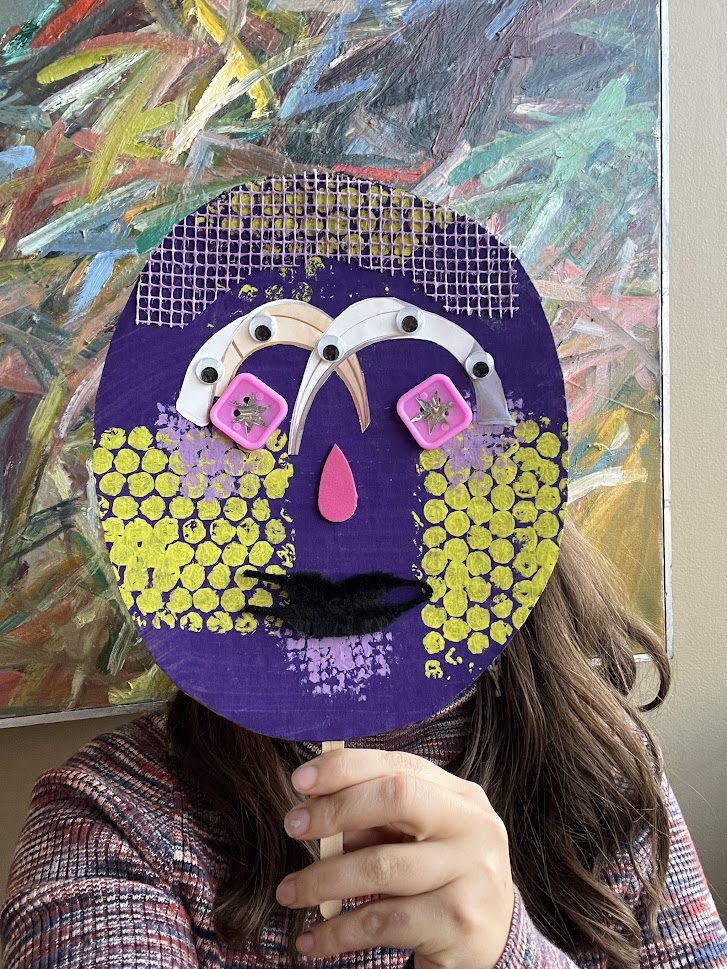
Either glue on your found objects or use them to stamp and stencil more paint. I used painted bubble wrap to add texture and pattern. Like Zerbe, consider both variety and unity: you can go crazy adding colors and shapes, but choosing one element to repeat across the mask will keep it cohesive. As you collect found objects, look for shapes that mimic facial features: I found an image of tent canopies in a magazine, which were perfect for eyebrows.
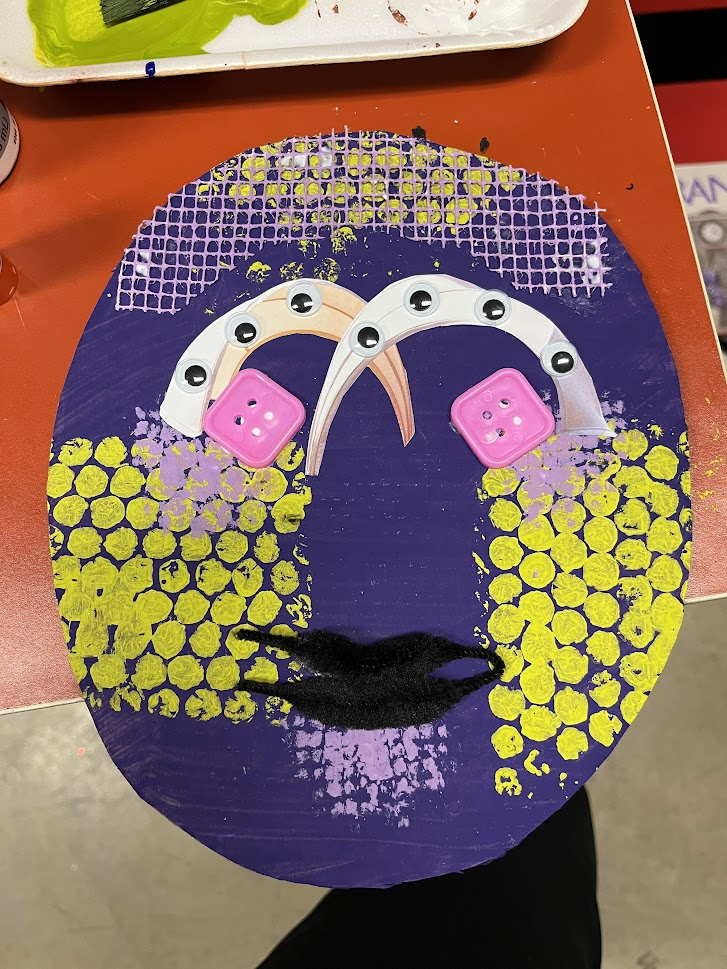
Once you’re happy with your mask, attach string to the sides to tie it on or glue a popsicle stick to the back of the chin so you can hold it up in front of your face.
Show off your disguise!
This is so cool! I love seeing my dad’s paintings used as a jumping off place for creative activities like this. Congratulations!
We’re so excited you enjoyed it!