

Alyssa Dumire, Director of Education
Today, April 8, is Draw a Bird Day! I often question these obscure “holidays,” but Draw a Bird Day has a spirit I can get behind. According to the holiday’s official website, it originated in 1943 when seven-year-old Dorie Cooper visited her uncle, wounded in World War II, in an English hospital. To lift his spirits, young Dorie asked him to draw a picture of a bird. Her uncle was no artist, and the finished drawing wasn’t very good, but Dorie told him she would hang it in her room nonetheless. On each of her subsequent visits, the wounded soldiers held contests to see who could draw the best bird. Dorie certainly achieved her goal and then some! Draw a Bird Day is not about artistic skill, but the simple joy of making something and sharing it with others.
There may be no better time of year to celebrate our feathered friends: while they chirp their triumphant return outdoors, you can also find a flock of them in the galleries! Between all of our current exhibitions, I counted 30 artworks featuring birds, but their numbers will drop by nearly half after today, the last to view the Scholastic Art & Writing Awards. The designs featured in Art Deco Glass from the David Huchthausen Collection bring a veritable zoo to FWMoA, with creatures from elephants to stingrays. The exhibition traces the development of the Art Deco style, starting with the more organic forms of Art Nouveau…
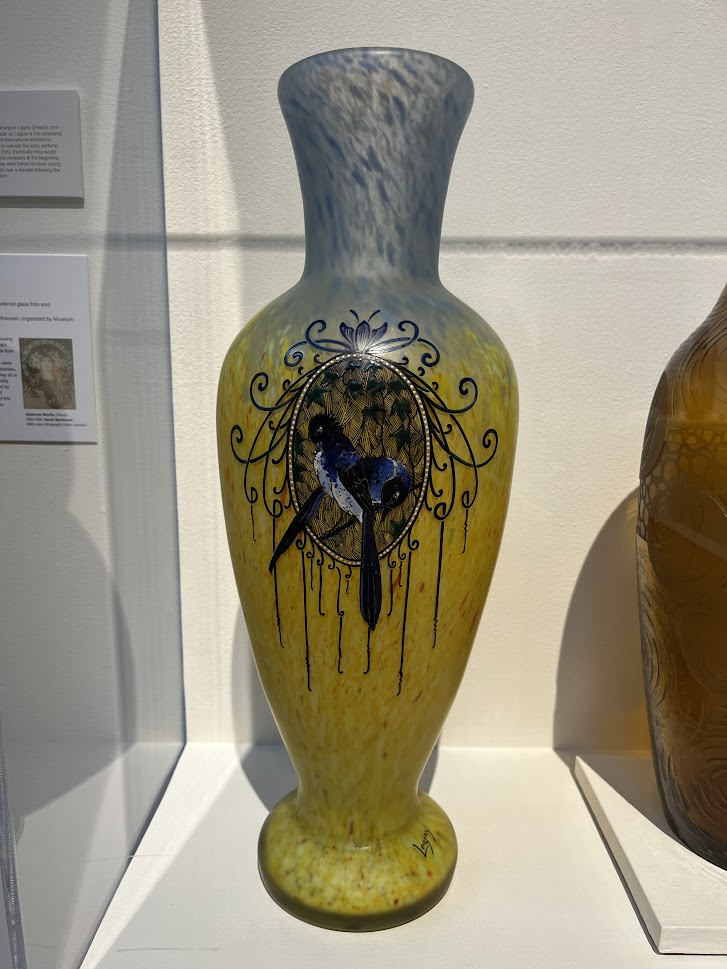
To the bold simplicity of Deco.


To suit an increasingly modern world, Deco designers used simplified geometric shapes to adorn their glass vessels. In the vases above, Muller Frères even included bits of shiny silver foil to enhance the effect (silver and chrome were big in the later Deco style called Streamline Modern–think of chrome-plated diners!). Many glassworks, like Muller Frères, used acid etching to eat away at the surface of the glass, resulting in an image that is slightly raised above the background. Others, like the oft-imitated René Lalique, left, squished molten glass into press-molds to create a more sculptural effect. We would say that both processes result in surfaces and images that are “in relief.” Relief sculpture projects from or is recessed into a (usually flat) surface; in this case, the surface is a vase.
The Art Deco period roughly ended with World War II, bringing us back to our friend Dorie. Today, in the Studio, we’re celebrating both Art Deco and Draw a Bird Day by creating a Deco-inspired relief sculpture of–what else–a bird.
You’ll need:
- Recycled Styrofoam (plates or cleaned meat trays) and/or craft foam sheets and/or cardboard
- Scissors
- Glue
- Aluminum foil (does not need to be heavy-duty)
- Large paintbrush
- Paper and pencil for sketching
- Permanent markers


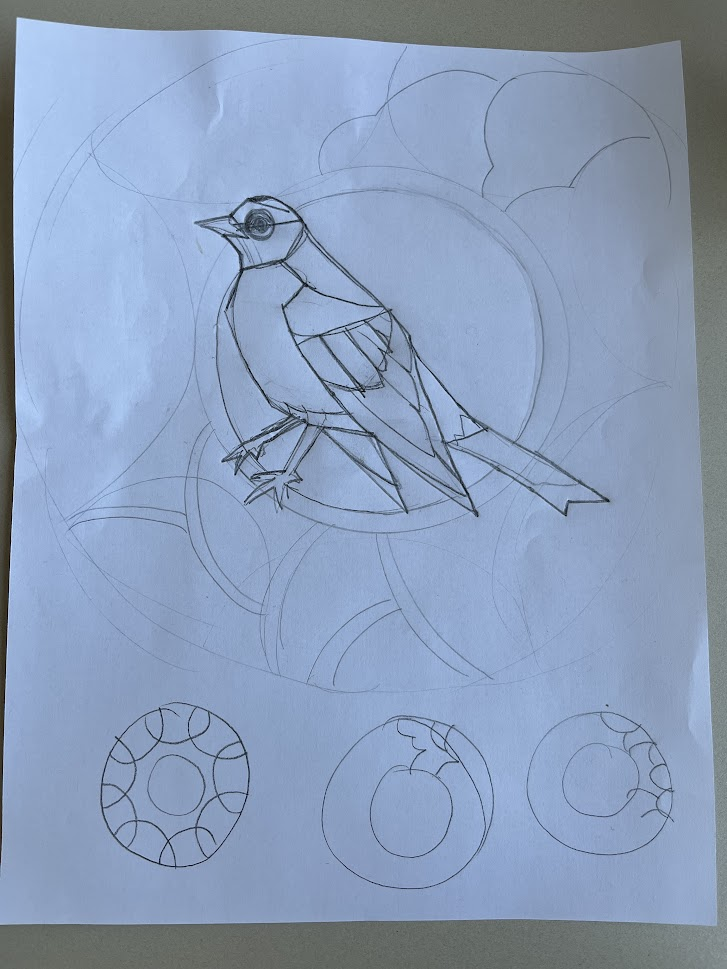
First, draw a bird to help you plan your design! Focus on drawing the most basic shapes of your bird–you won’t be able to capture much detail in the coming steps, but that simplicity is key to a good Deco design! You’ll be surrounding your bird with pattern, so you can sketch your pattern ideas as well.
Now, cut out a surface on which to build your relief sculpture. If you have a large Styrofoam plate you can simply cut around the edges to give yourself a flat surface. Otherwise, trace another circular object onto cardboard and cut it out.
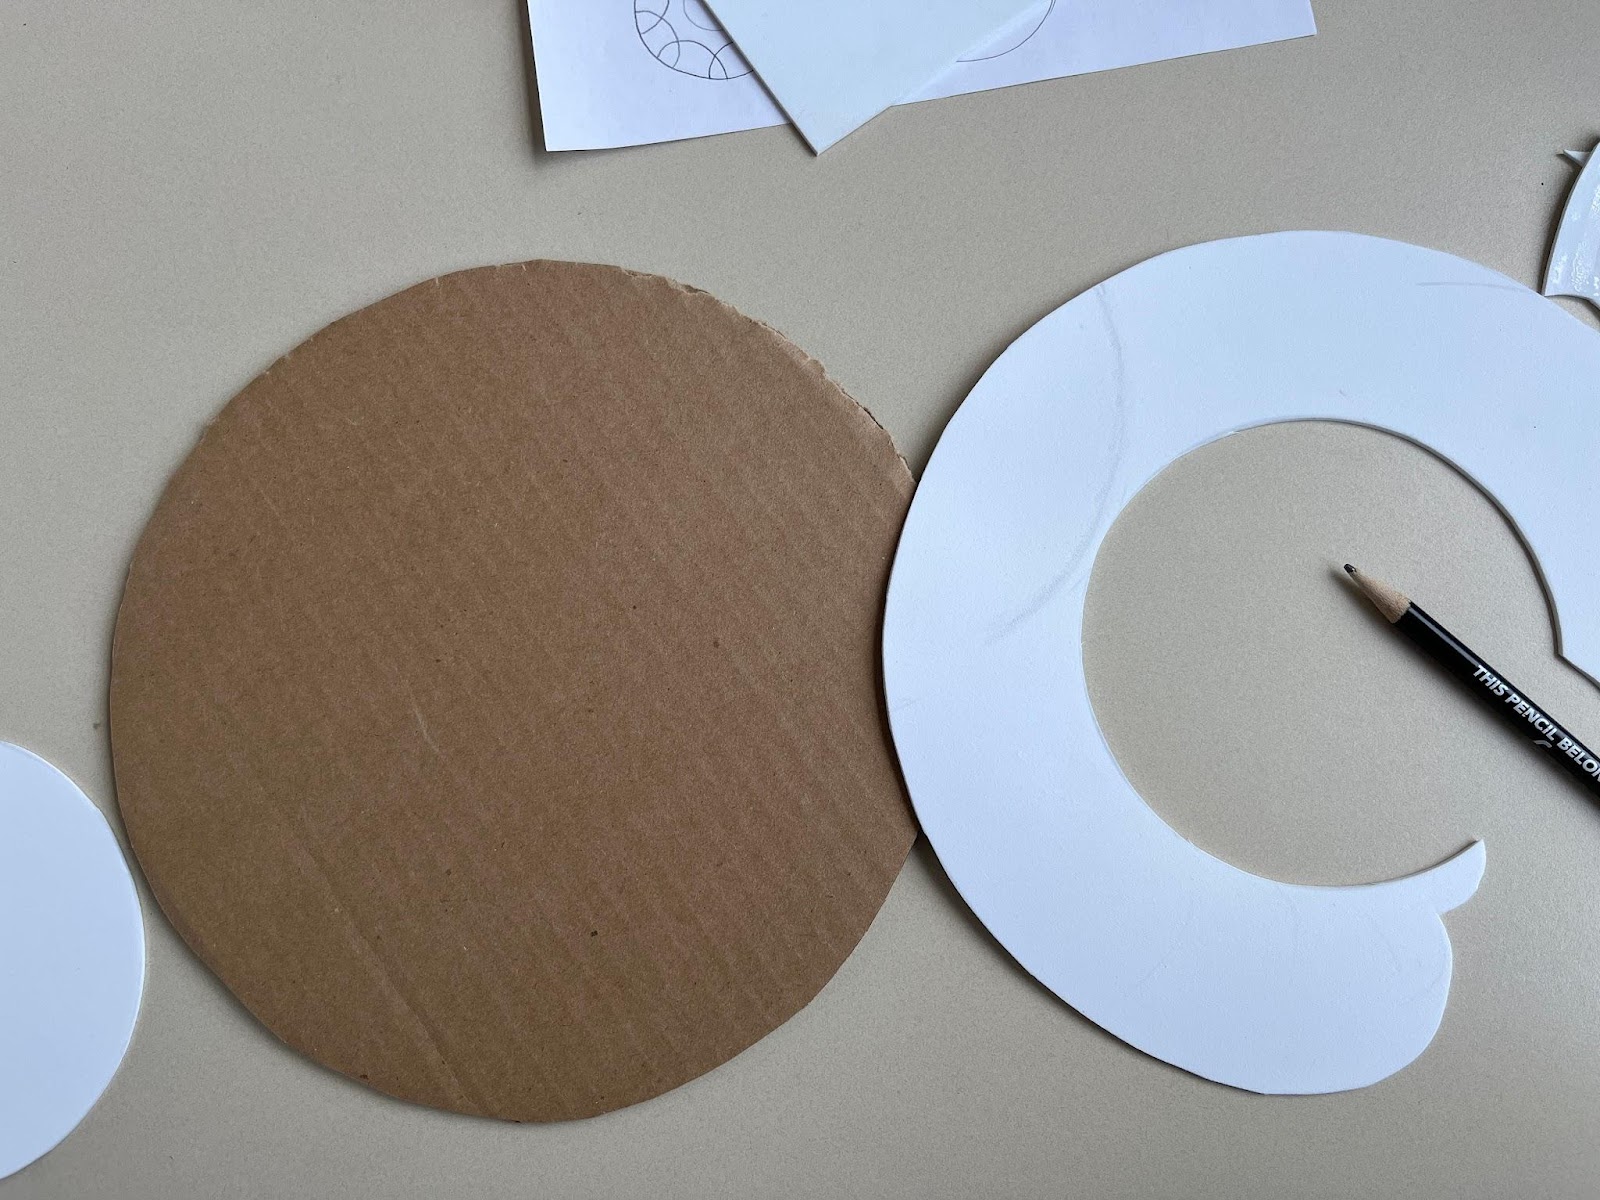
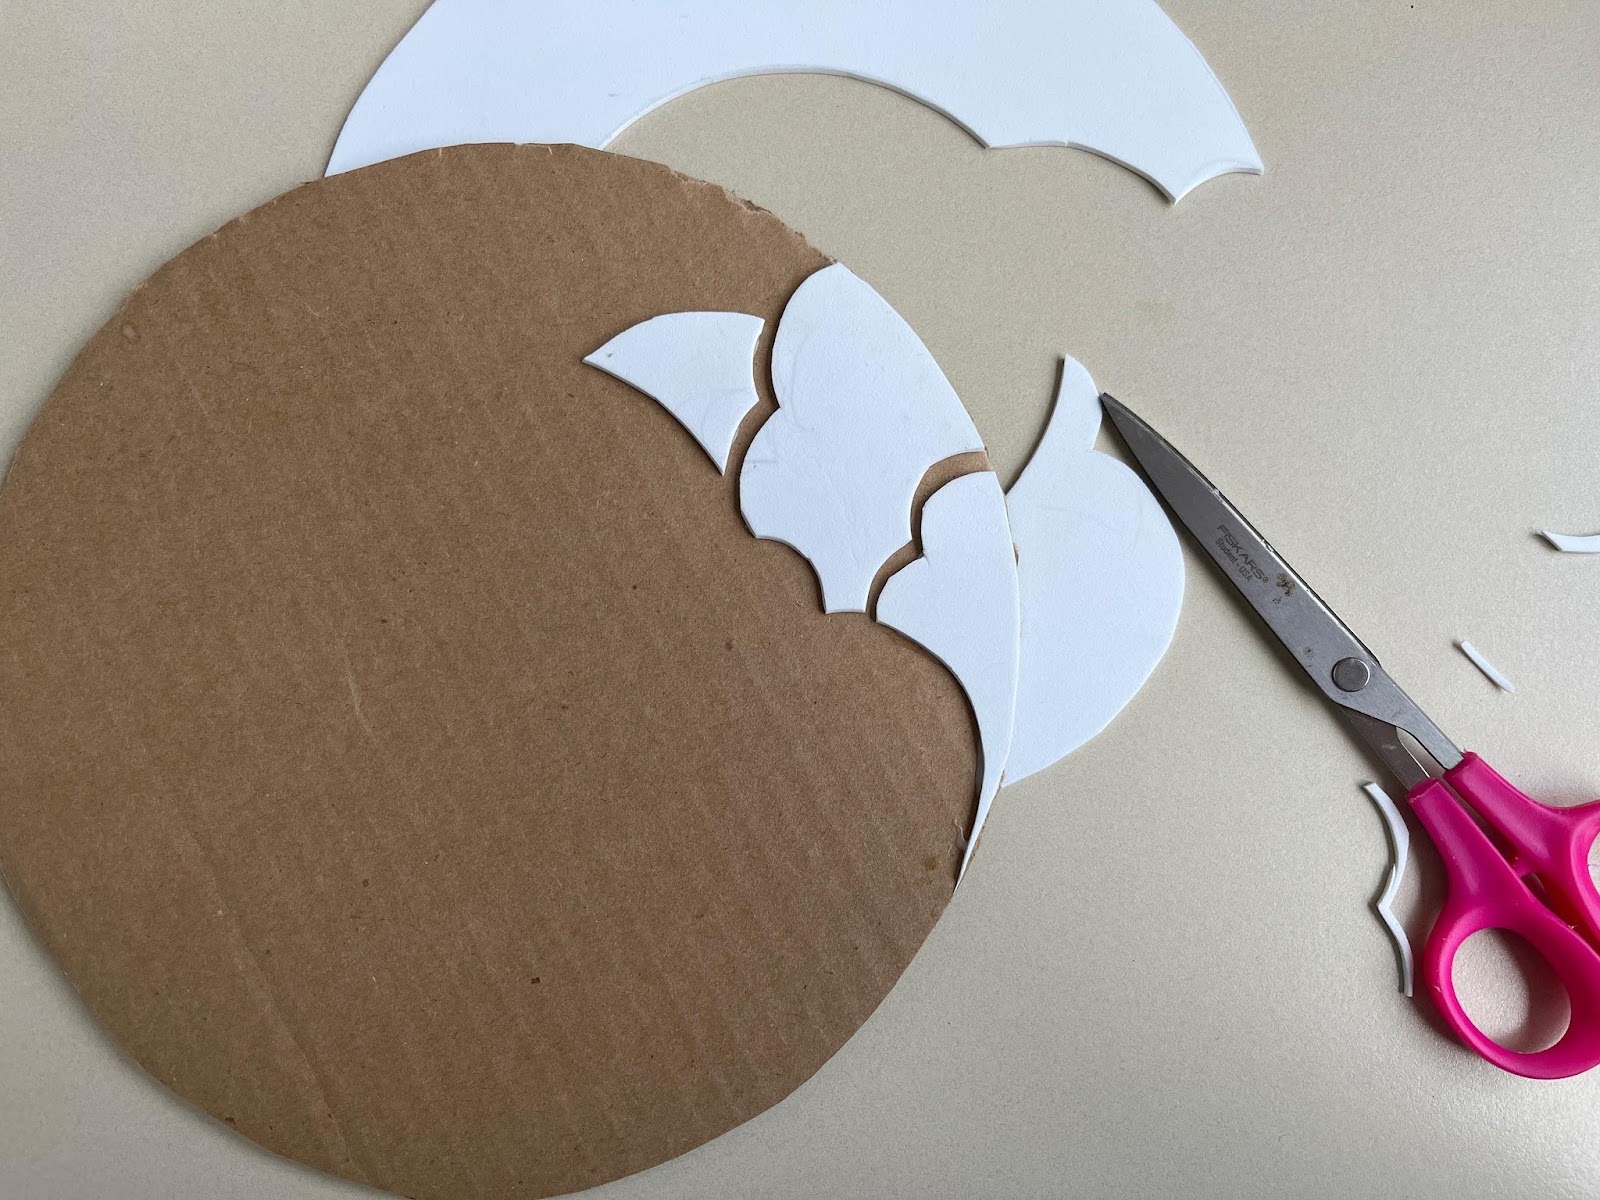
Next, we’ll build our relief sculpture onto the base. I wanted my border of cloud-like shapes to fit within another circle, so I traced the basic shape onto my sheet of craft foam, then cut out the shapes of my pattern.
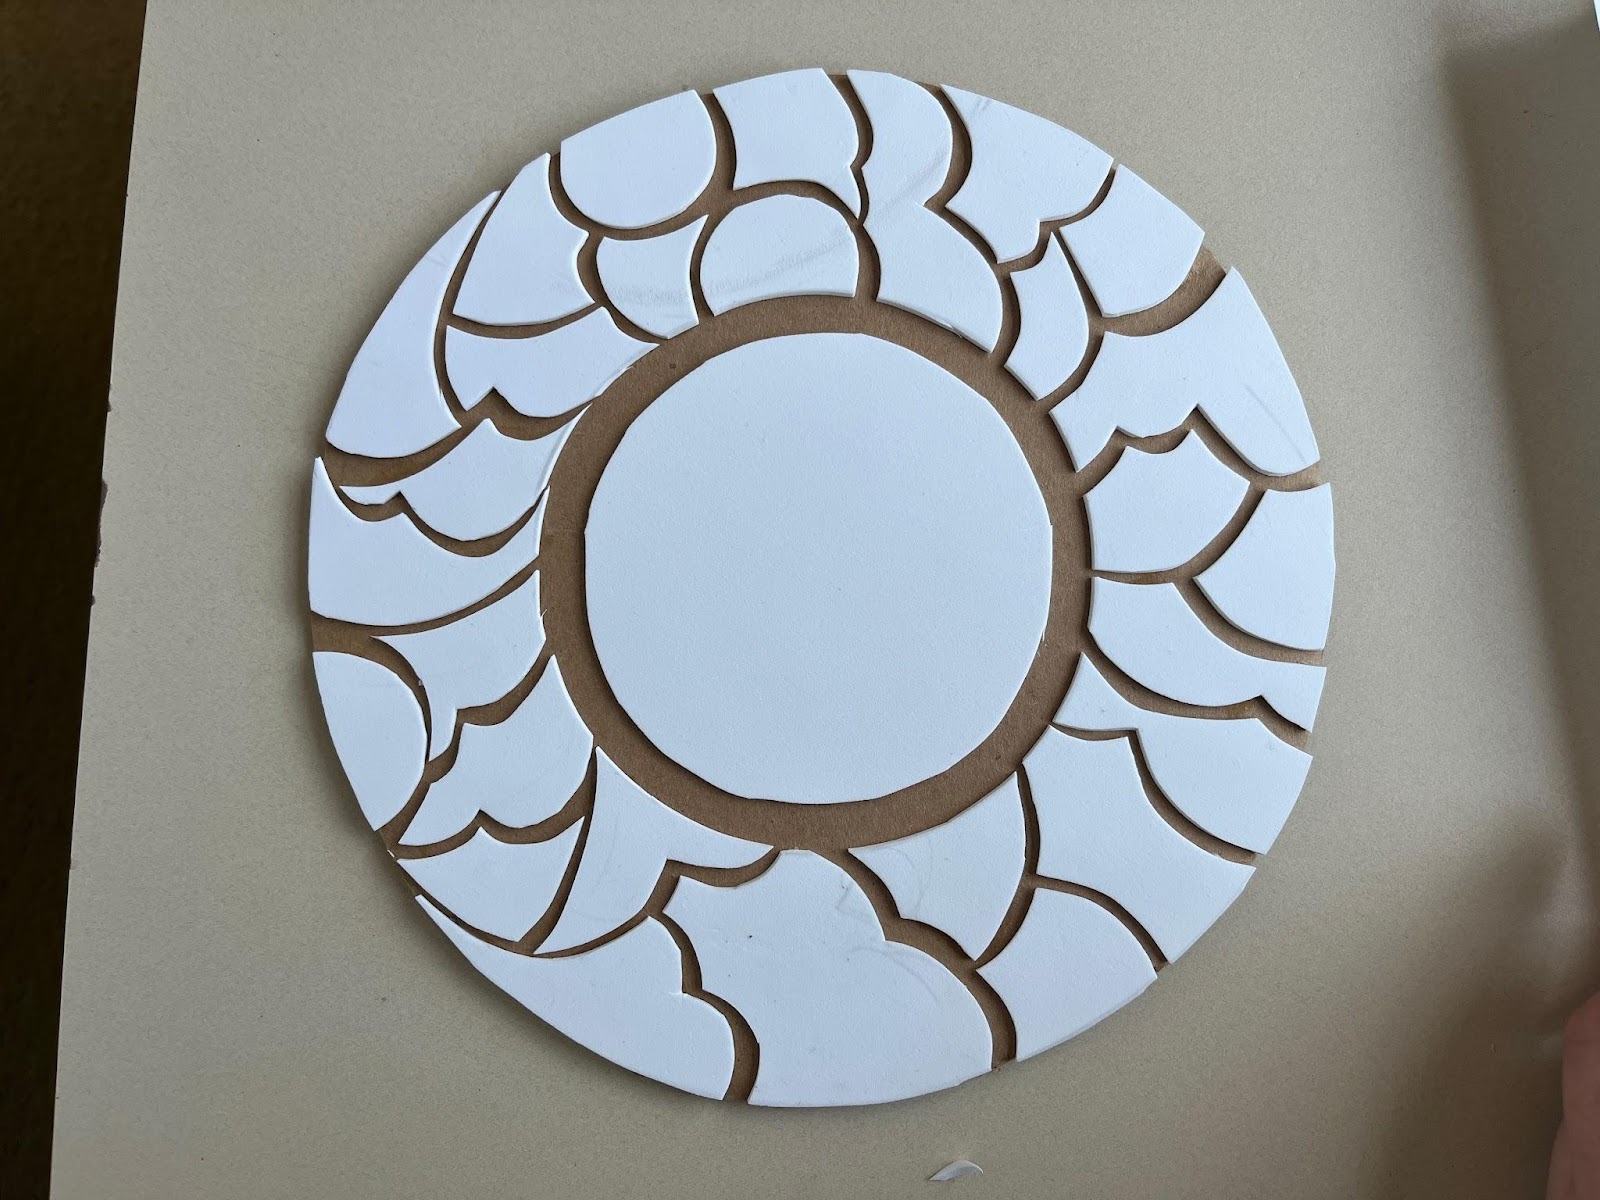
Glue them onto your base as you go. Note that the craft foam I used is very easy to cut with scissors! If you only have Styrofoam, stick with simpler geometric shapes. I also added a base shape to the center so I’d have something to glue my bird onto.
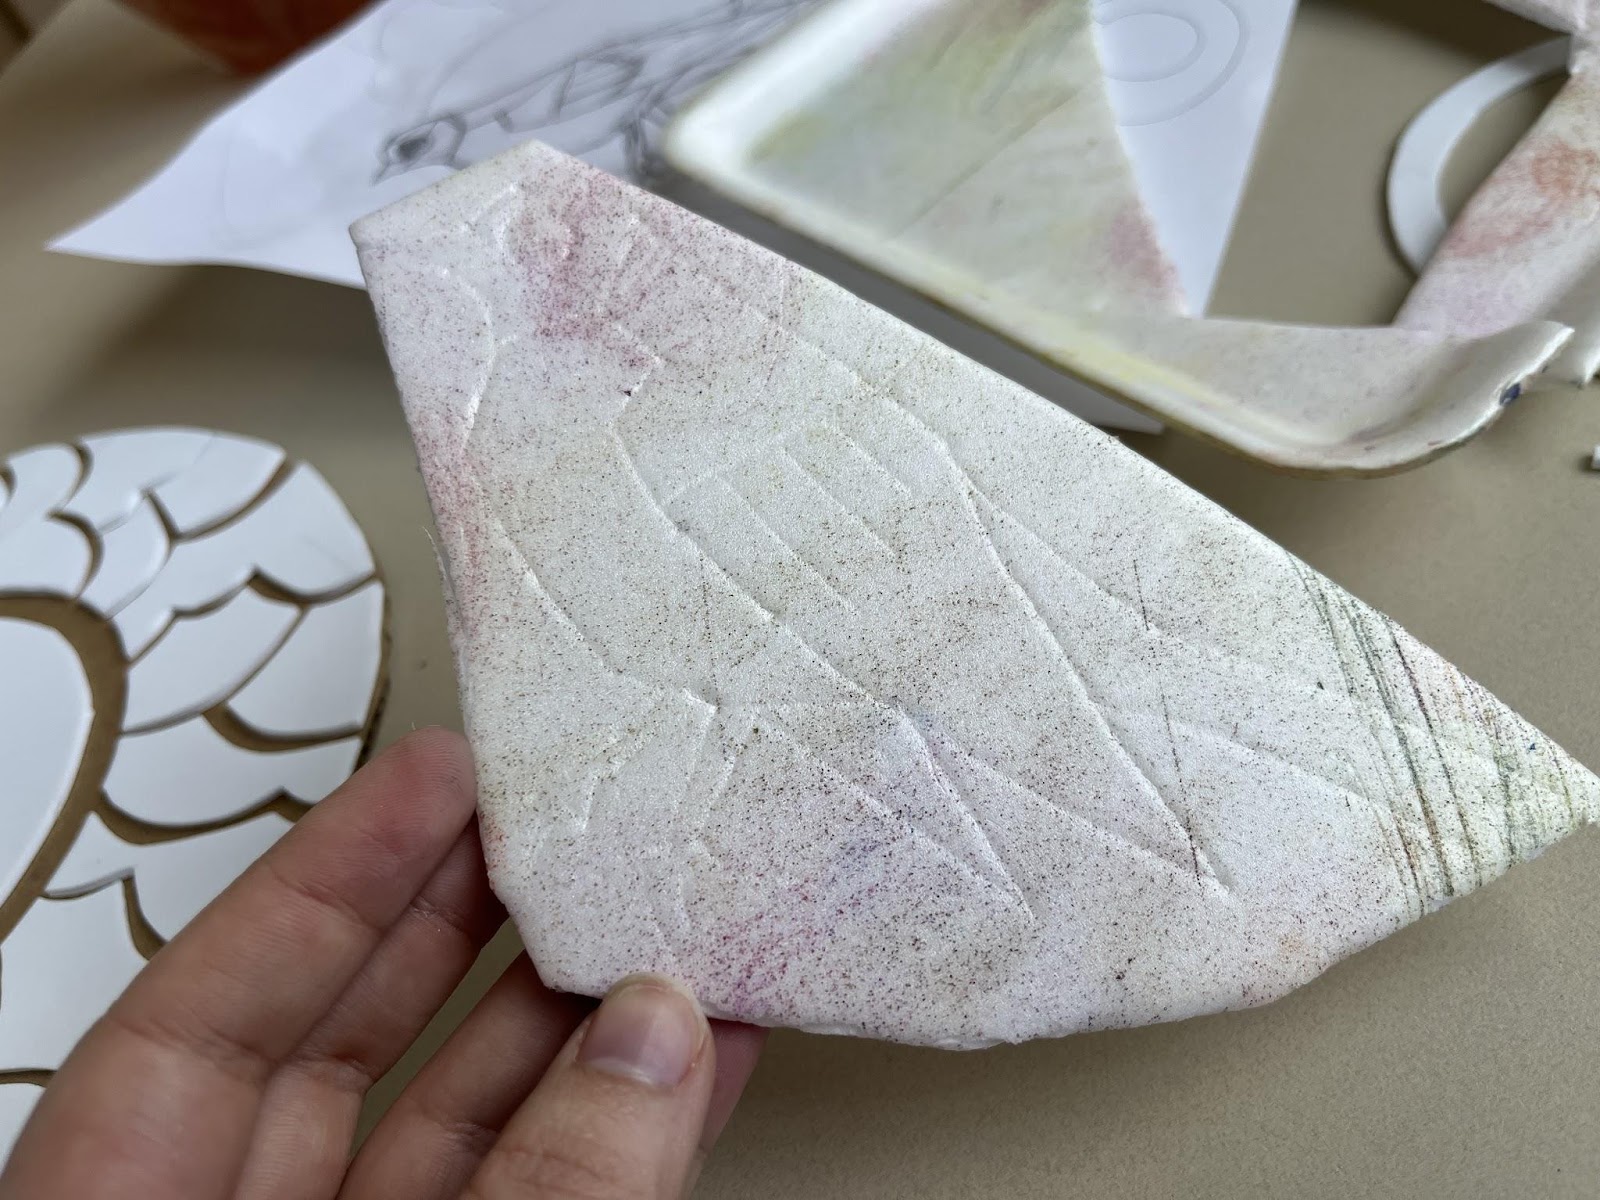
Once you’ve cut and adhered the shapes for your border, move onto the bird. I used styrofoam for this step so I could easily transfer my design: place your sketch on top, then draw over it, pressing firmly enough to indent the foam but not so hard that you rip your paper! During this step, you can further simplify your drawing to make it easier to cut out.
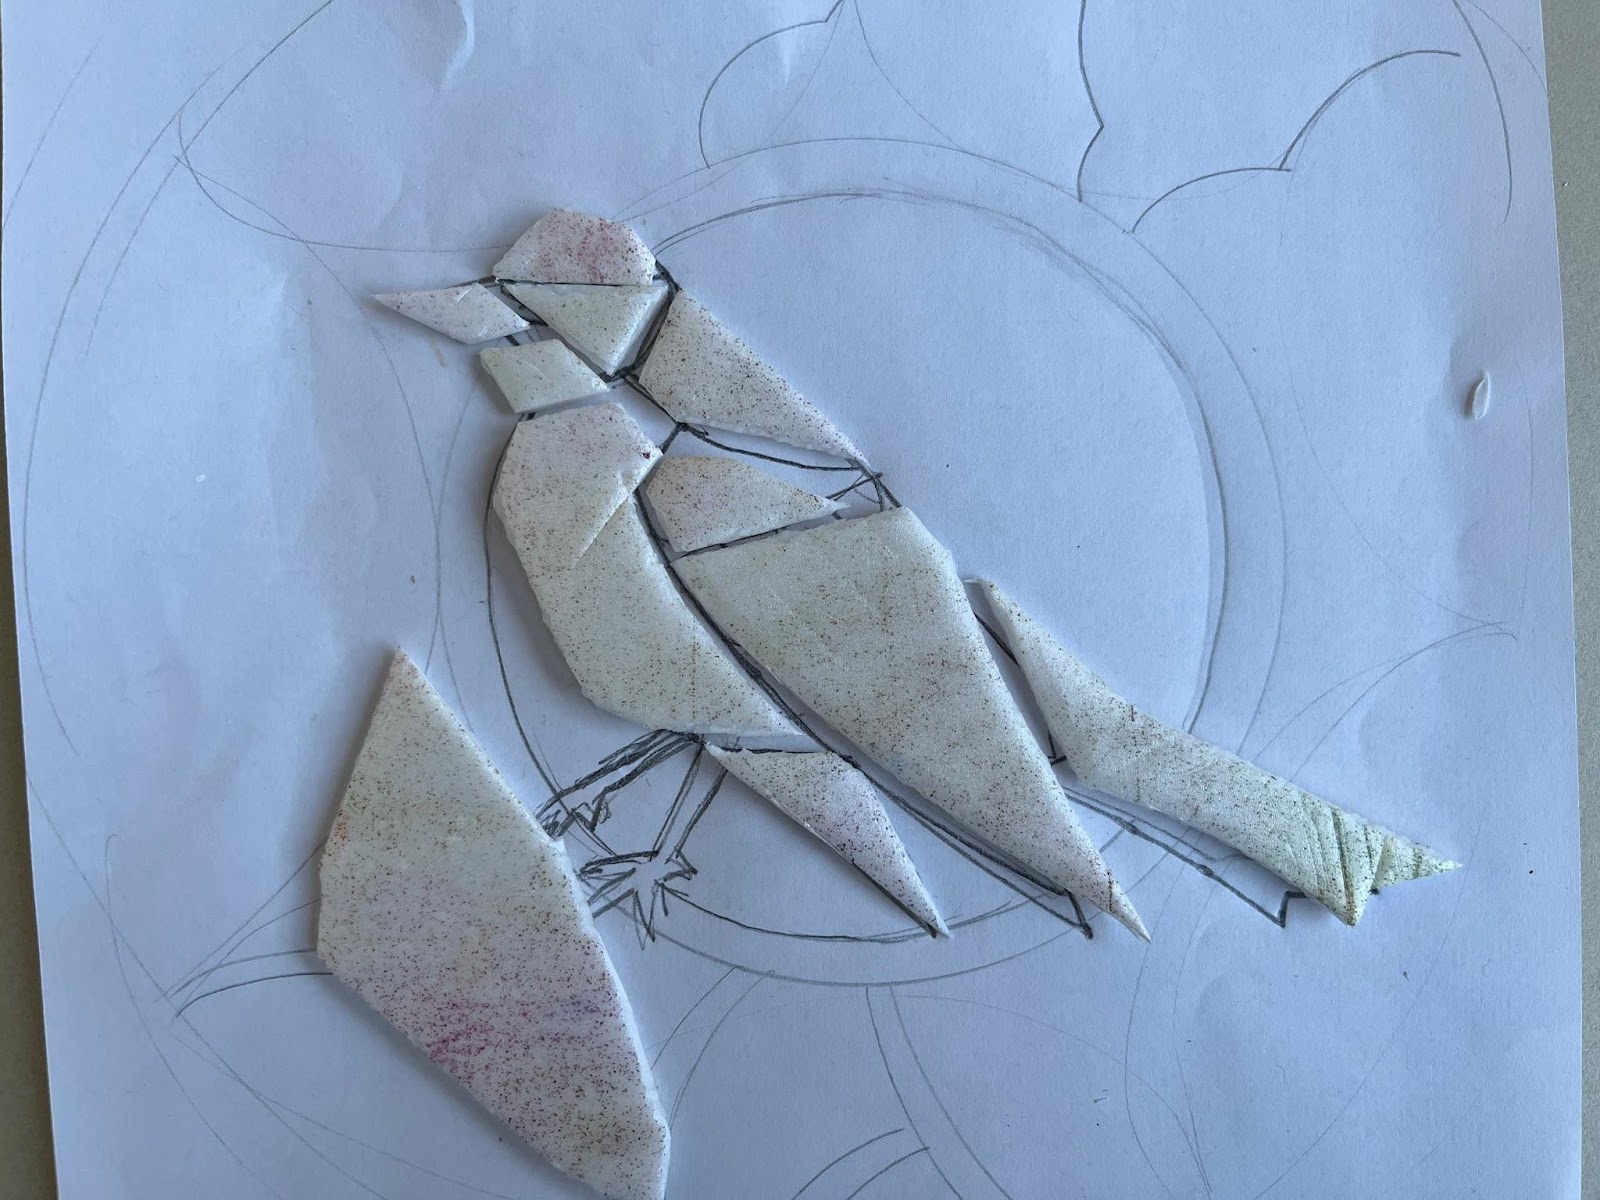
As you cut the shapes, you may want to make them slightly smaller to allow for additional space between them. Arrange the shapes as you cut so you don’t misplace them, then glue them on.
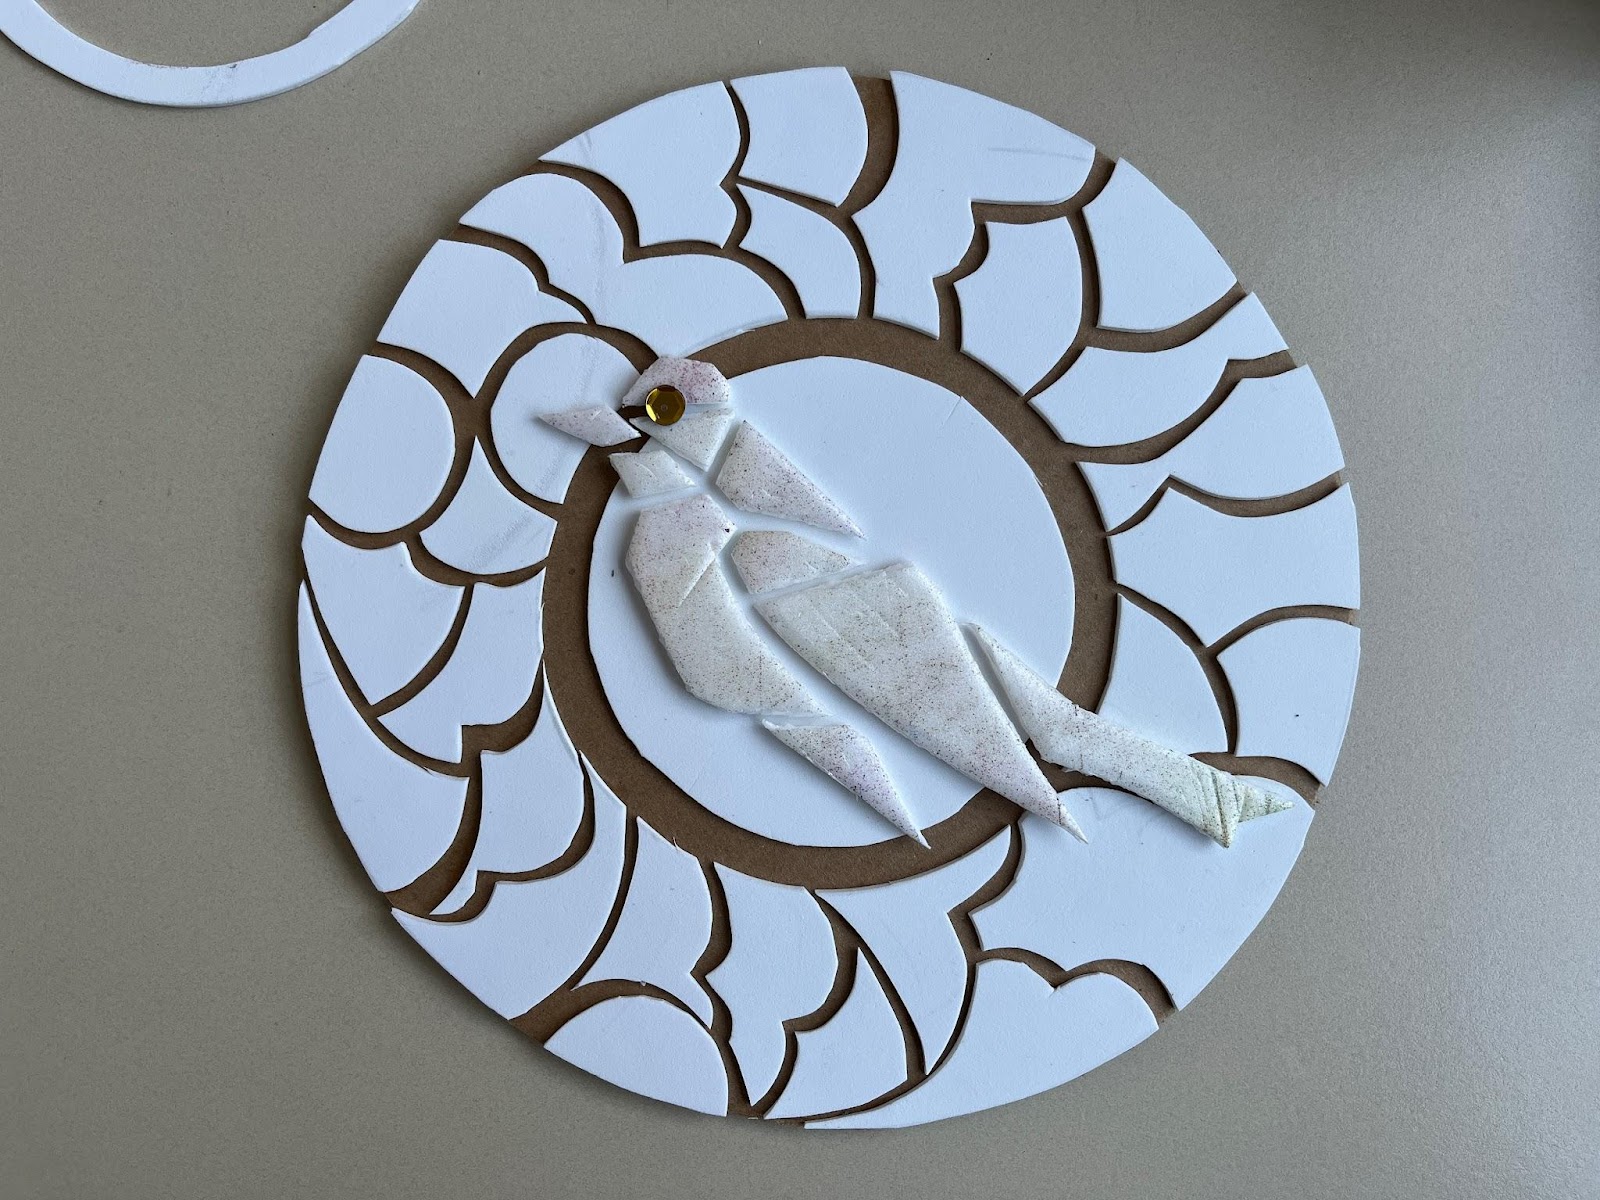
You can use other found objects or textured material to add interest to your design, or even build the foam pieces up another level. I used a sequin for my bird’s eye (it was hard to cut out a circle that small!). Let the glue dry fully before moving onto the next step.
Mix a little glue with water, then brush it all over your design.

Tear off a piece of foil a bit larger than your sculpture and lay it over top, making sure to center your design. Gently start to press the foil into the lines of your design, working from the center out. Continue to massage the foil into place until you can clearly see your design.
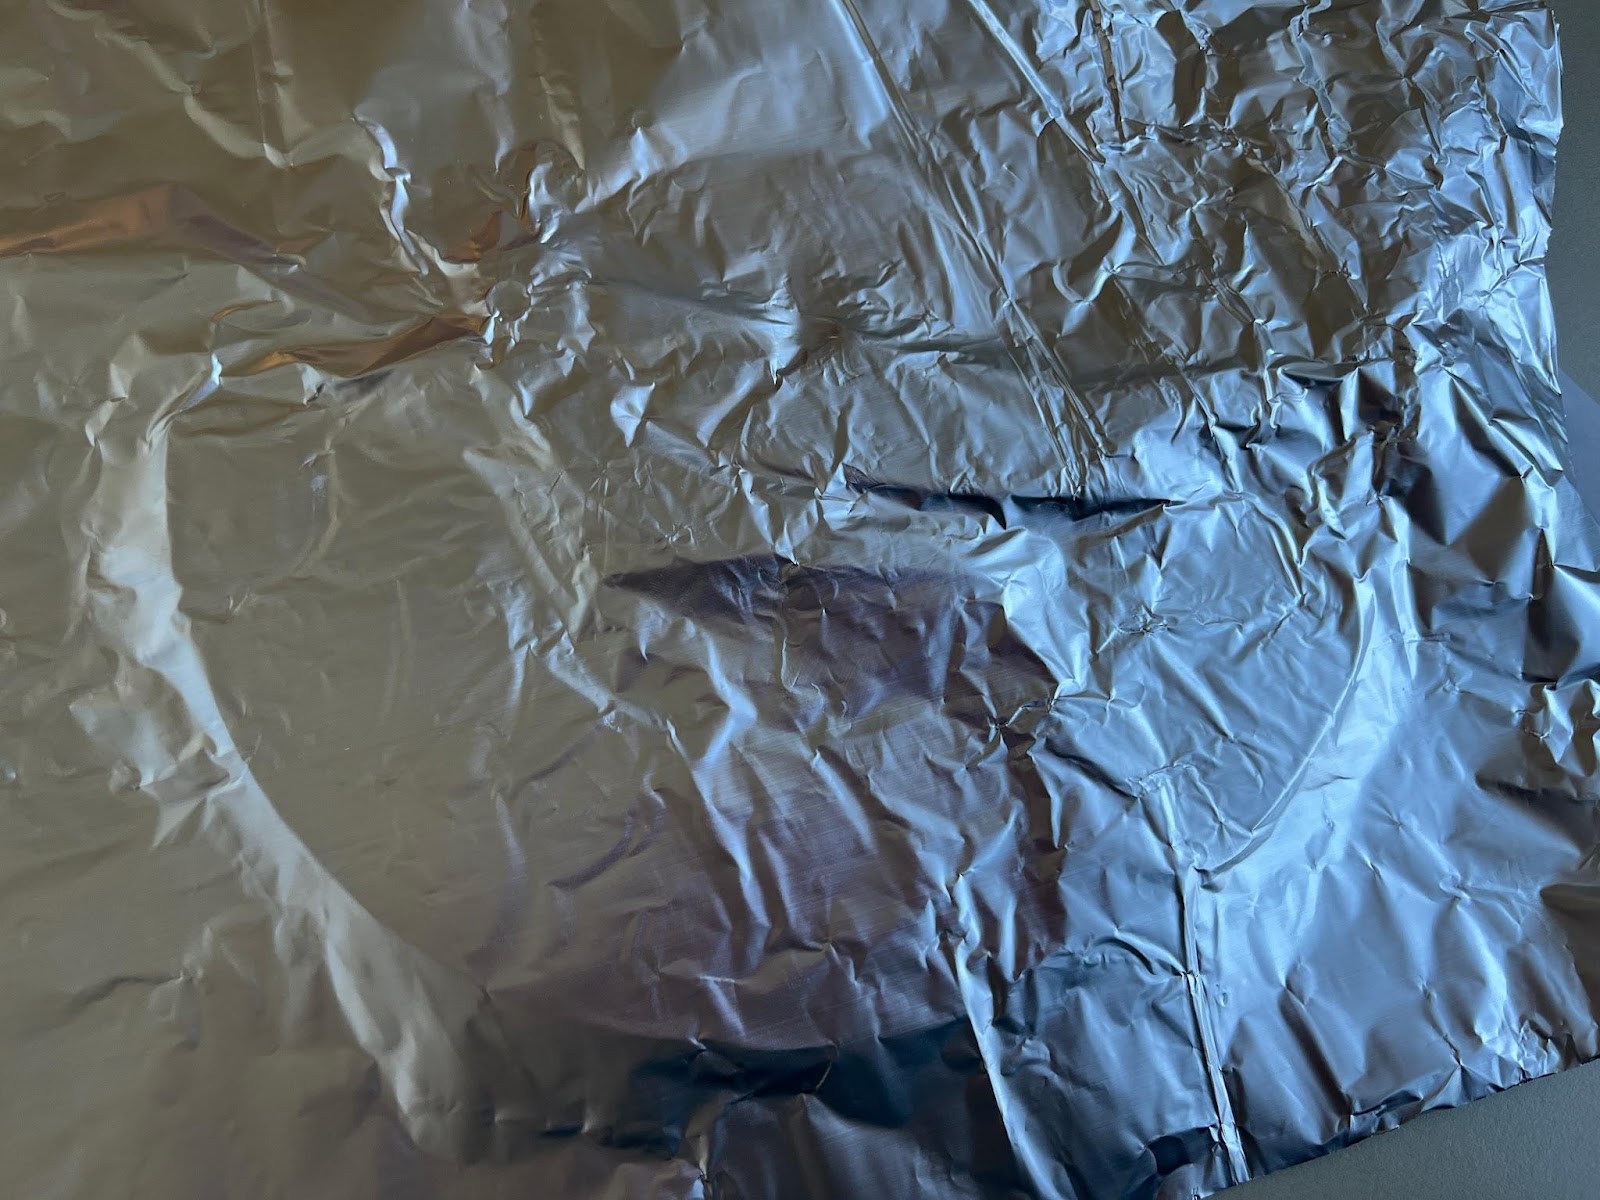
You can use a dull pencil or other tool to help, just don’t press too hard or your foil will rip! Fold the edges of the foil to the back and secure with additional glue if needed.
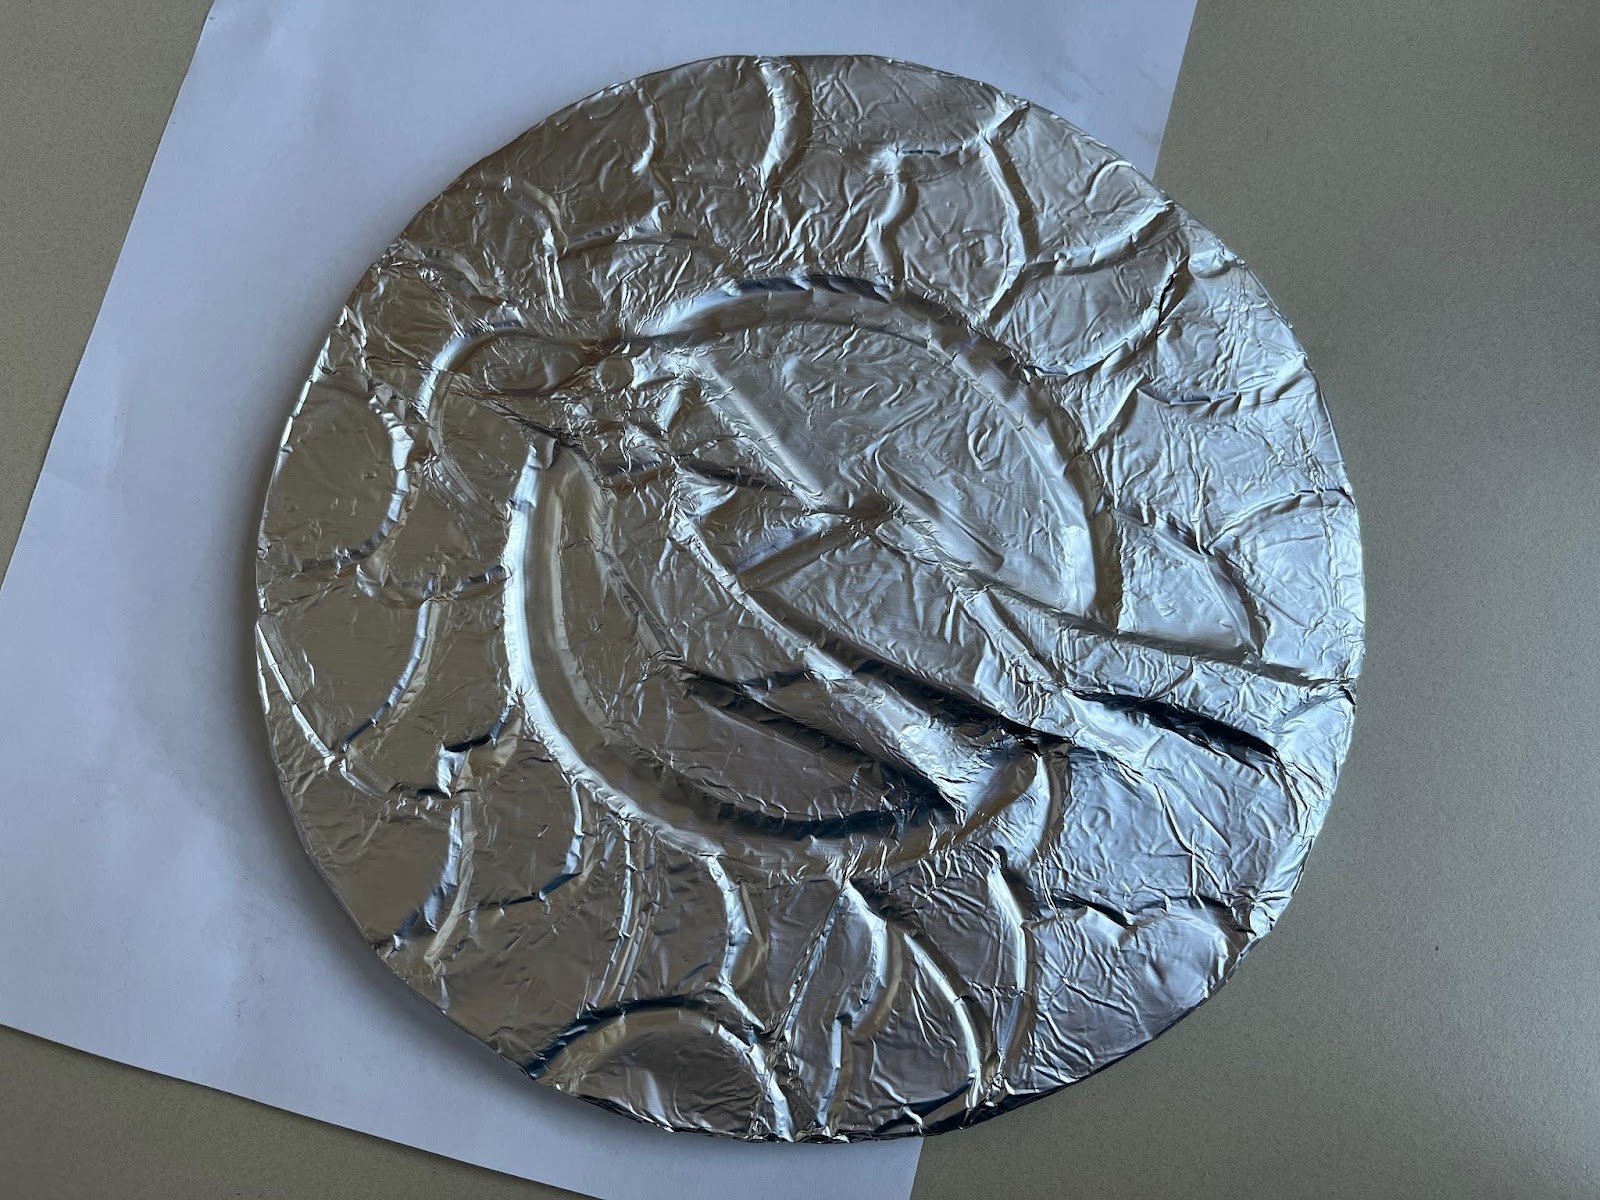
Finally, decide whether you want to add color with permanent markers or keep the sleek, silver foil as-is!

Want to see more birds? Sign up for a guided Second Saturday Family Tour at FWMoA to enjoy the Huchthausen Collection and all our other current exhibitions!