

Alyssa Dumire, Director of Education
When we view glass sculptures during school tours, we often discuss what makes the medium unique and why artists choose to work with it specifically. It often requires special tools and facilities along with a skilled team of assistants, and is only workable at dangerously hot temperatures. Yet the physical properties of glass that make it well-suited for everyday objects like windows and pretty drinking glasses also attract many artists to work through these challenges to create dazzling sculptures. Glass is refractive and reflective, meaning it both bends light and, if shiny enough, bounces it back to the viewer. Some artists emphasize these properties, creating optical illusions within their sculptures, but almost all take advantage of another: its transparency and/or translucency!
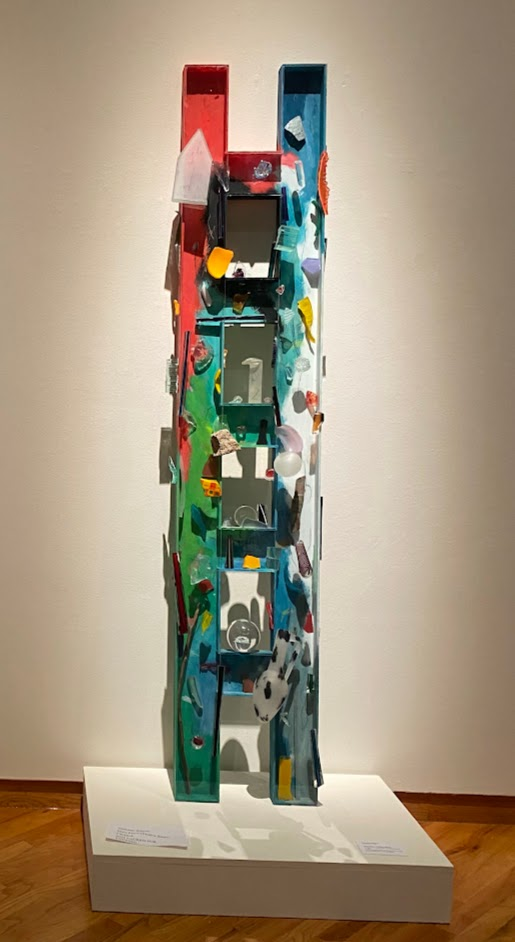
Clear glass is transparent, meaning almost all light shines through. In Doce Pasos (Twelve Steps), Therman Statom used a sheet of clear glass on the front of the ladder, acting as both a window to the inside of the sculpture and a surface on which to attach other elements that appear to float.
There are few other materials that are inherently see-through, which makes it difficult to emulate at home–although FWMoA’s glass collection continues to grow, we’ve done relatively few glass-related projects in the Studio. However, as temperatures drop, a certain translucent material becomes more common…ice! Peter Bremers made that connection in his Icebergs and Paraphernalia series, one of our favorite works. Here, the pink glass is translucent, meaning some, but not all, light passes through it. The light that does get through is tinted pink, with interesting reflections and shadows.
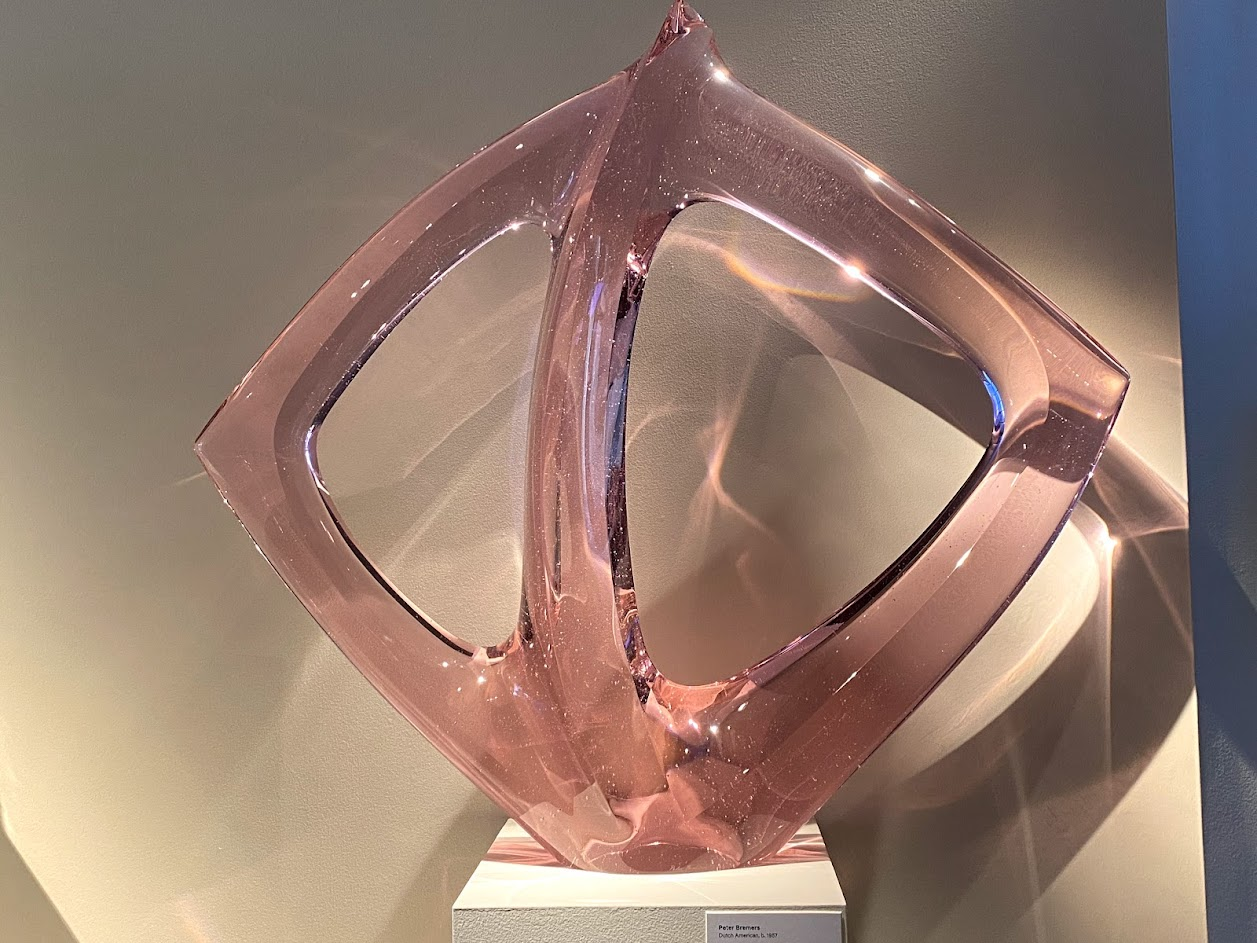
Bremers began creating his cast glass sculptures after a visit to Antarctica; but, today, we’re going to work in the material that inspired them to experiment with translucency and color mixing. While glass melts between 1400 and 1600 degrees, water is, of course, liquid at room temperature, requiring a temperature below 32 degrees to form solid ice. This might be a fun activity to do outside when winter arrives in earnest, but for now, we’ll need to use our freezers!
You need:
- Water
- Jars or other containers for mixing
- Various objects to use as molds: ice cube trays, plastic cups, other containers with interesting shapes
- Food coloring
- A freezer (or a spot outside if it’s cold enough)
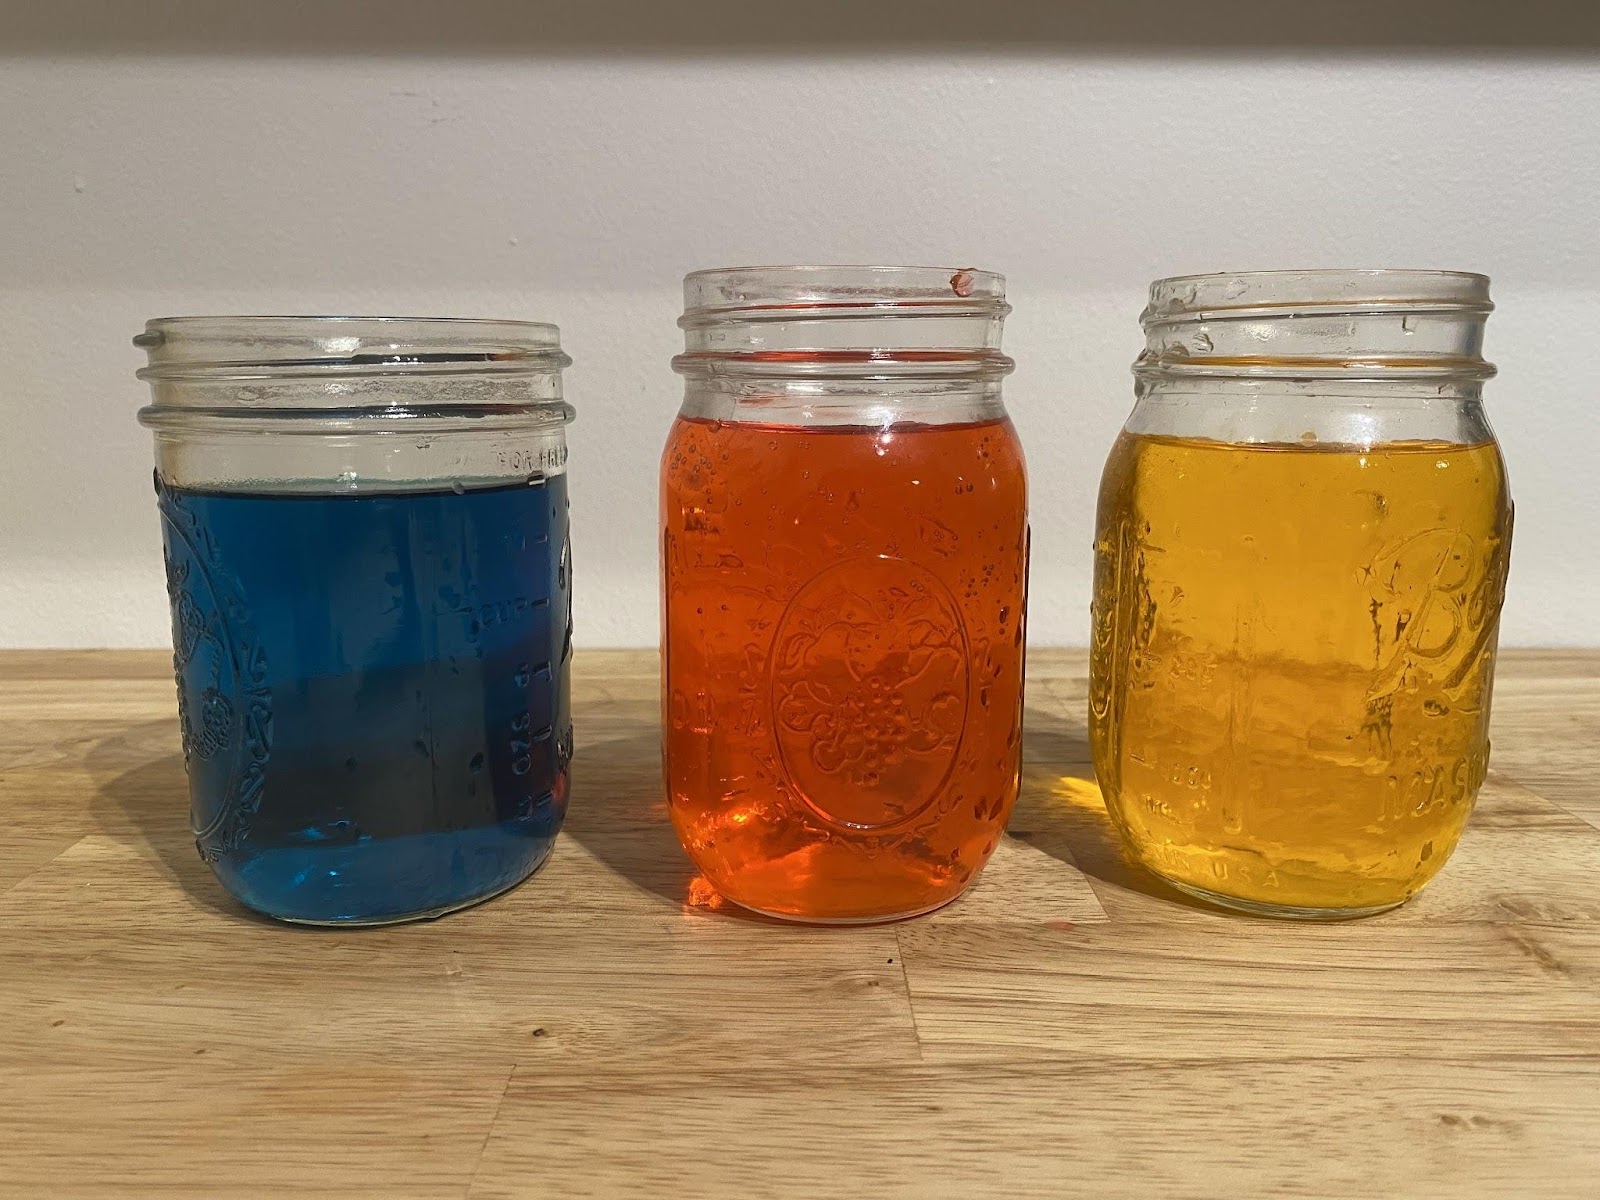
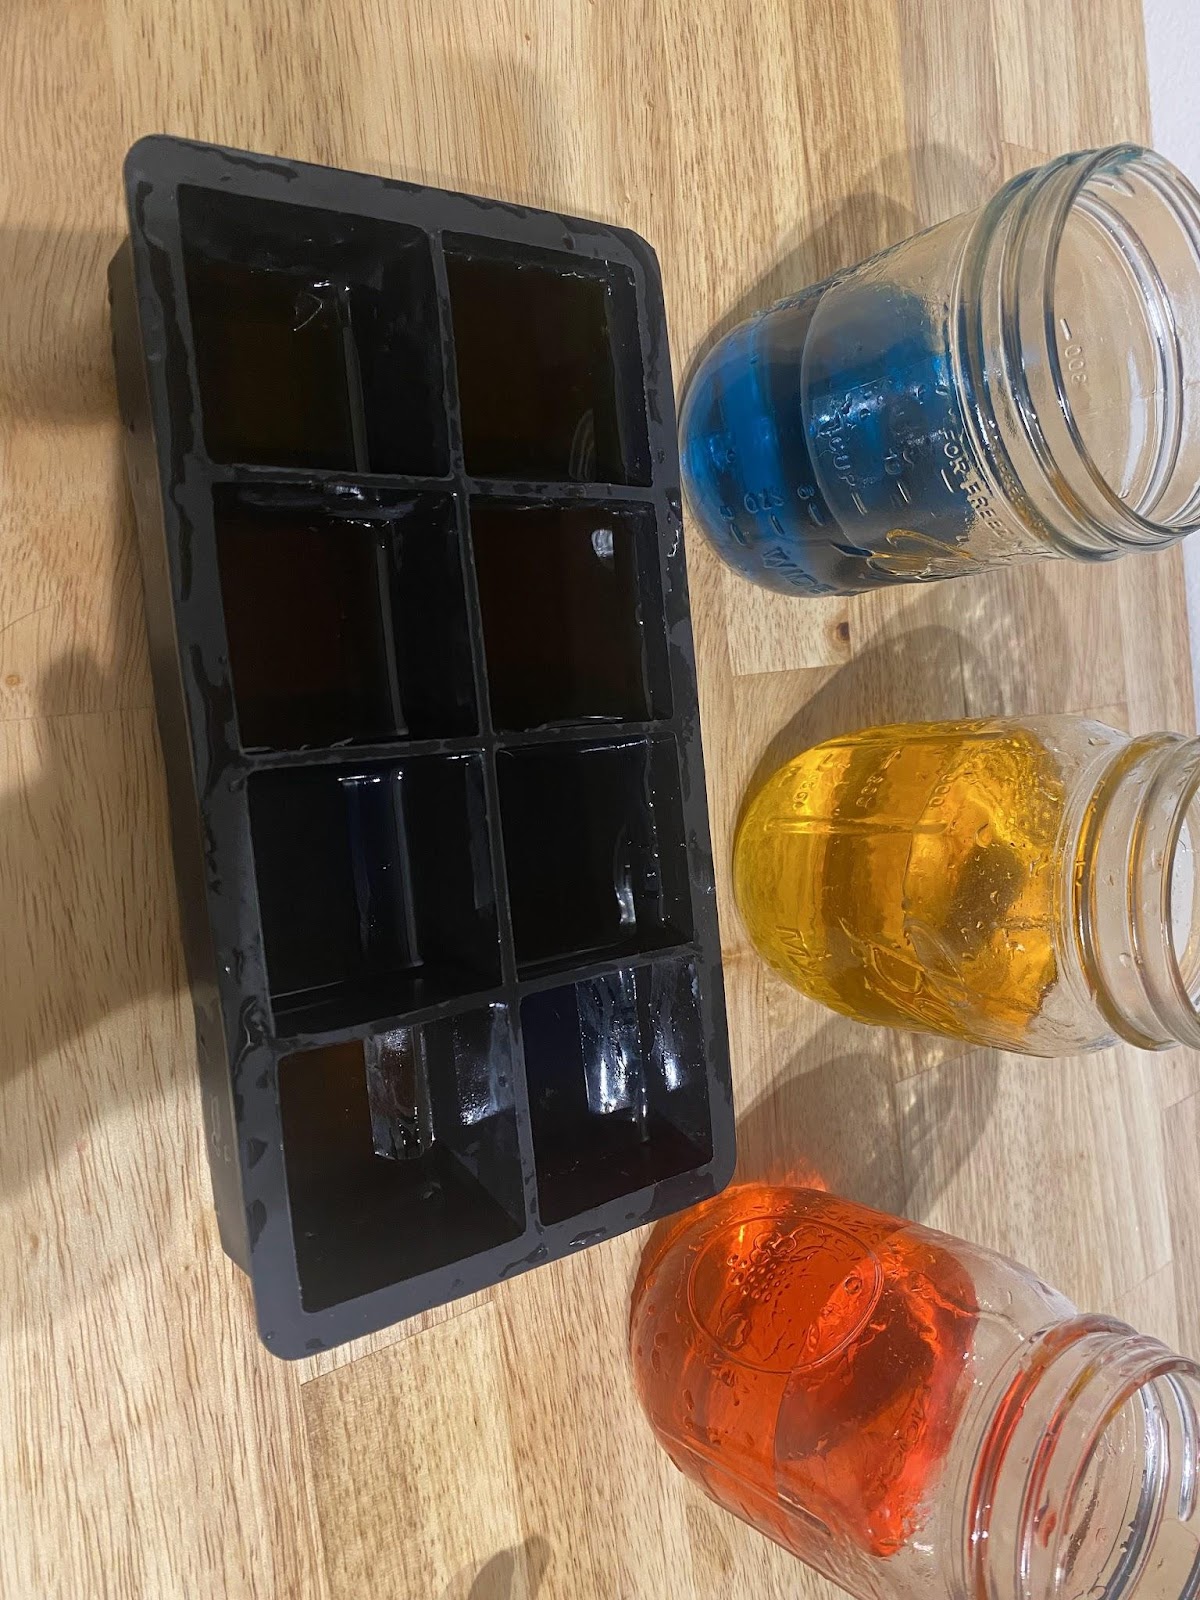
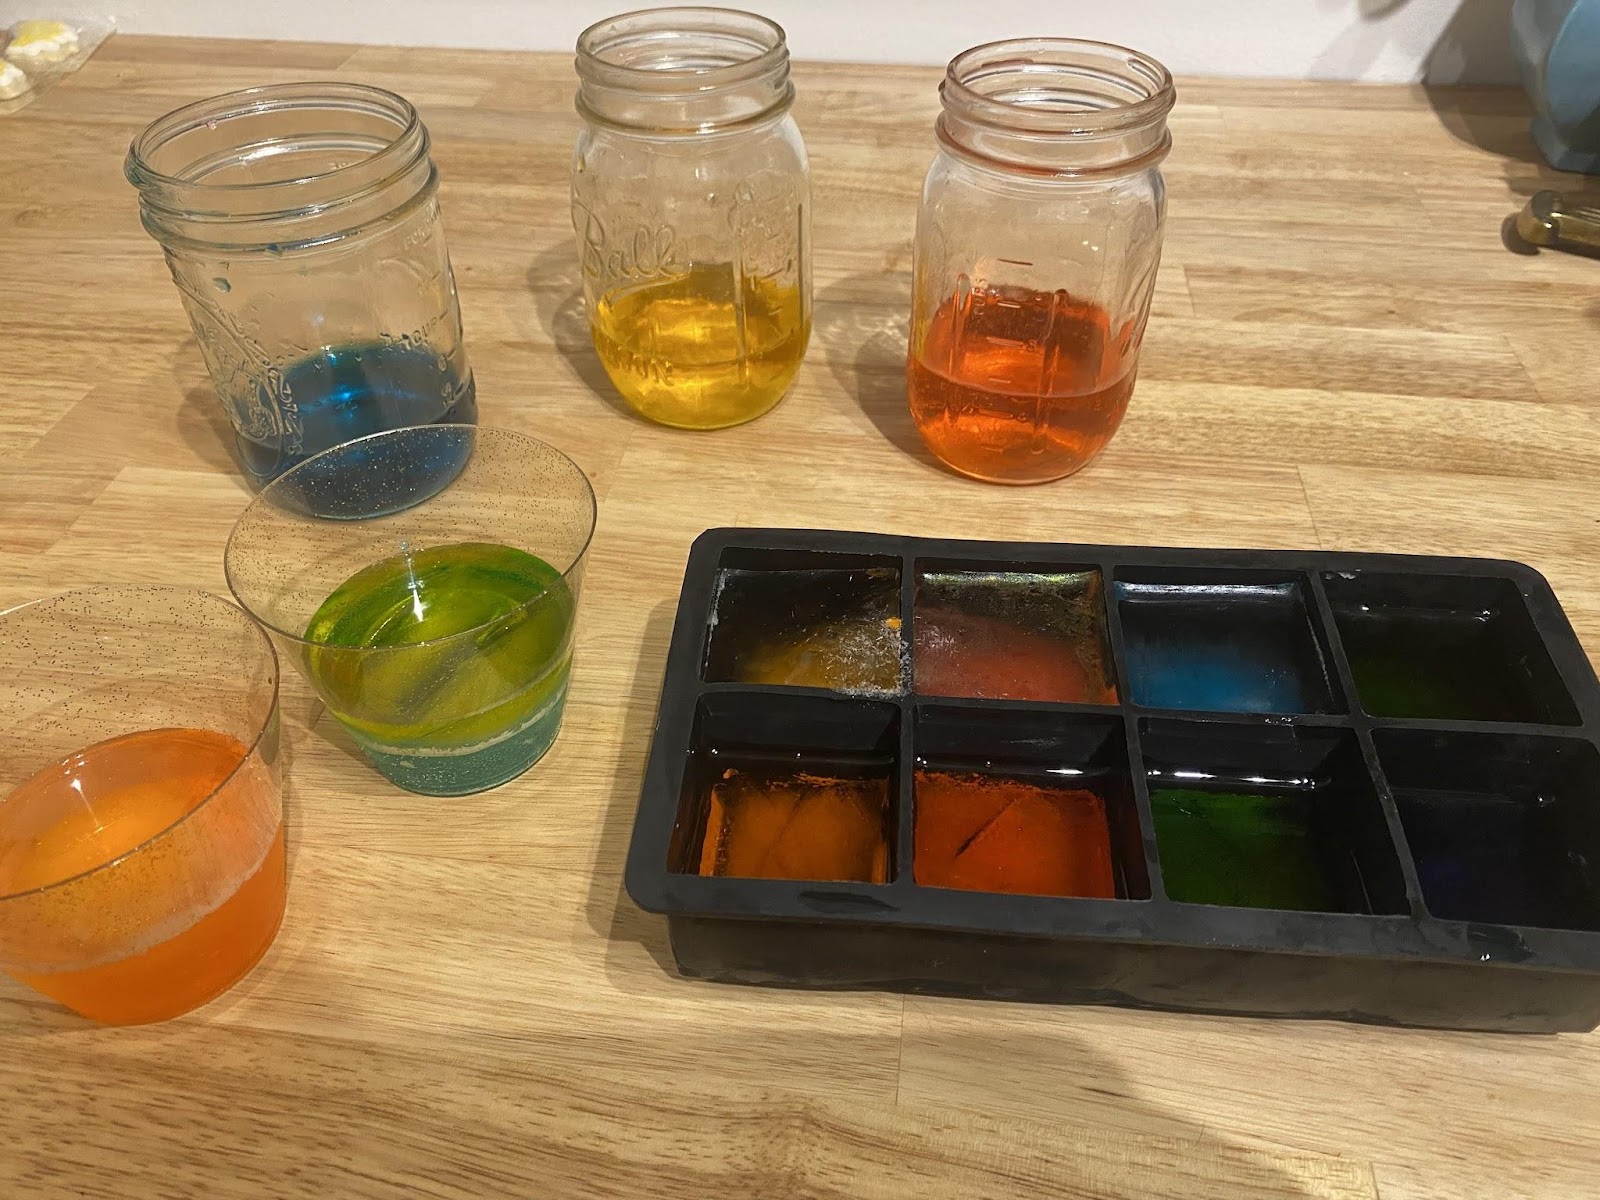
First, mix your colored water! Fill a glass or other container with water and add food coloring by the drop until you reach your desired color, stir, then pour it into your molds. If you want to layer colors, pour a thin layer. Repeat for each of your colors, then place everything in the freezer or outdoors (if below 32 degrees).
Let it freeze for a few hours (or overnight), then layer more colors if desired. Freeze again.
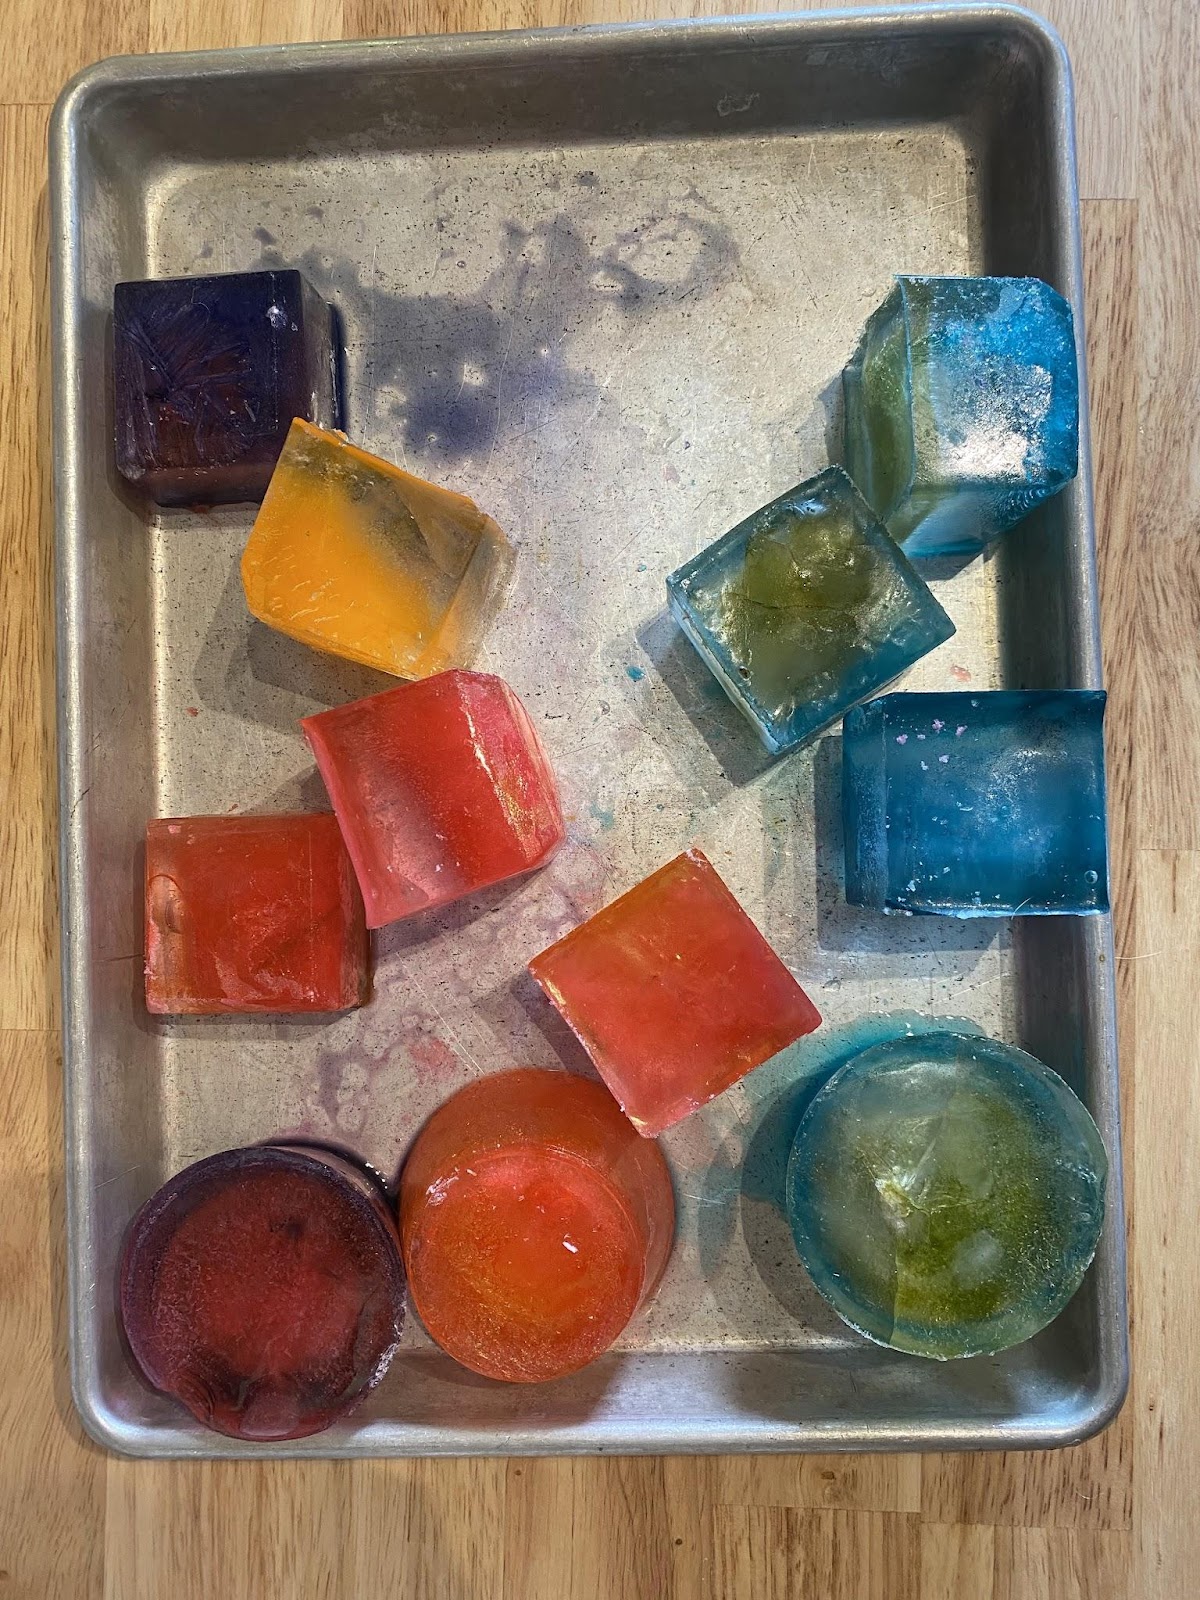
Once you’ve added all the layers you want and the water is frozen solid, unmold your ice by warming the outside of the container with your hands or briefly running it under warm water.
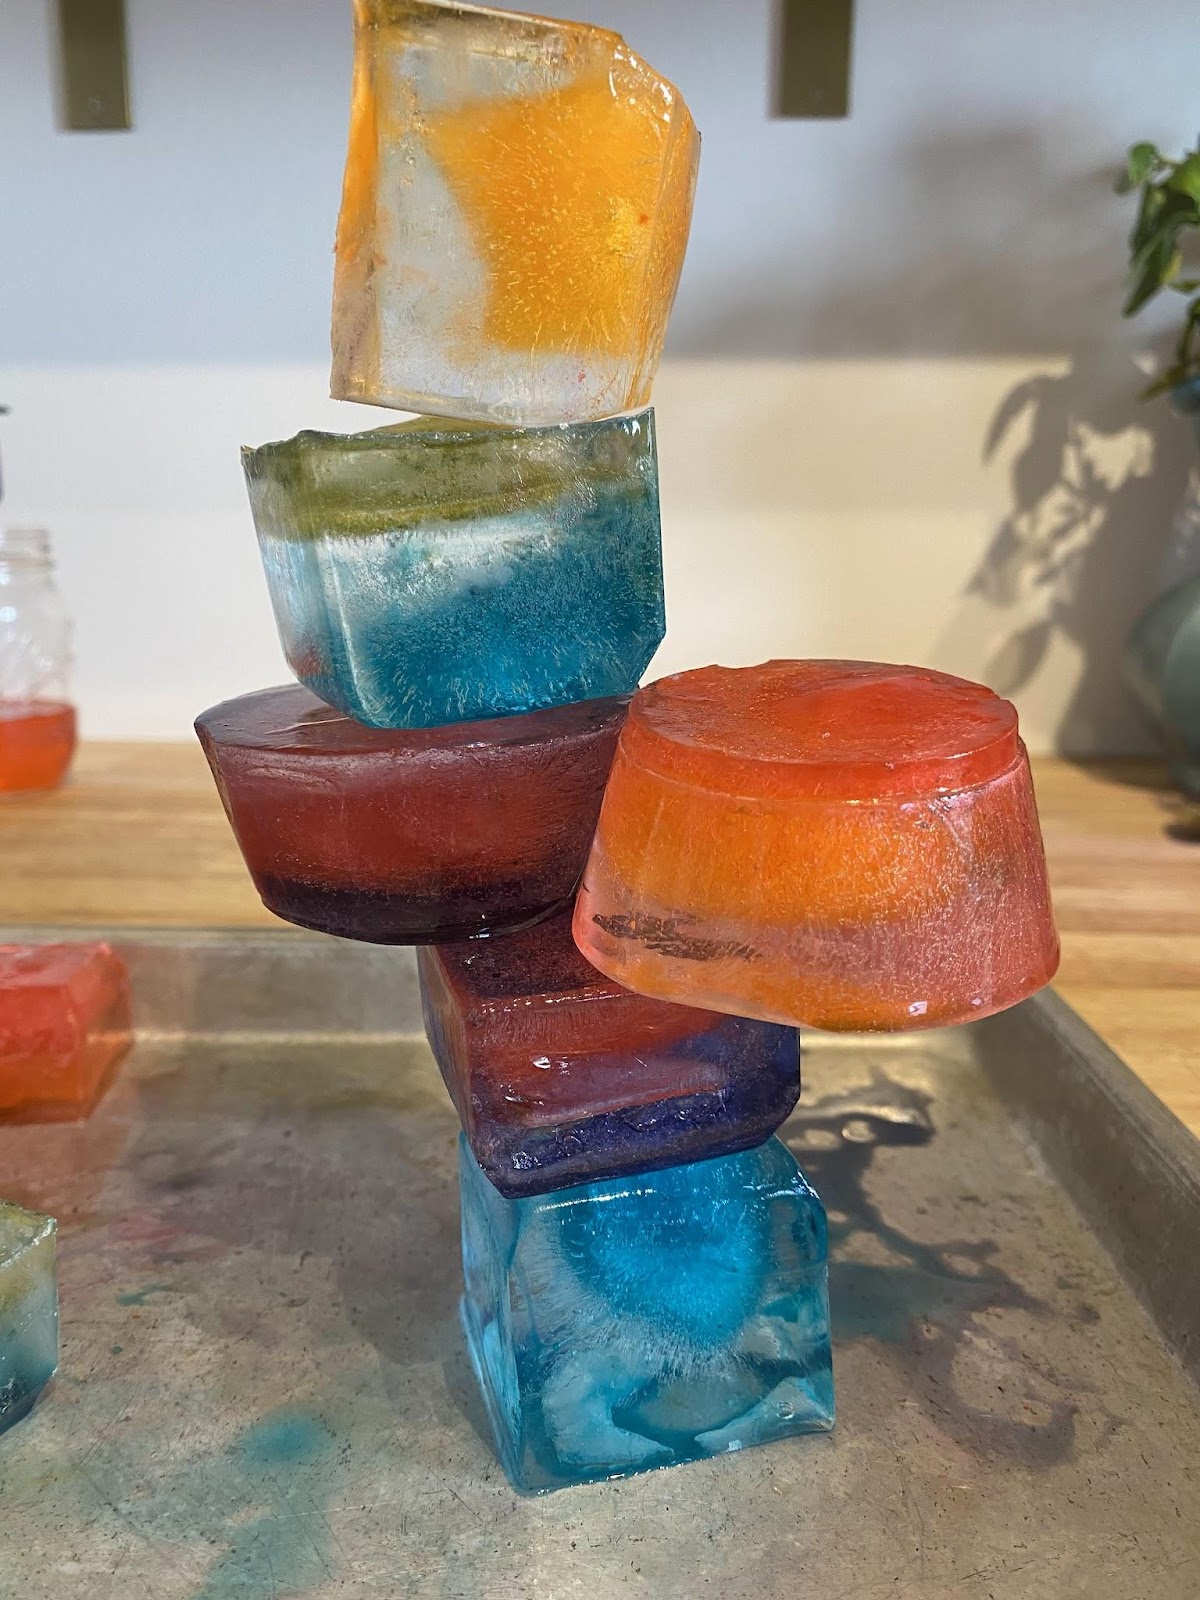
Now it’s time to assemble your sculpture! Stack your elements, using a bit of water as glue (place them back in the freezer for a few minutes if needed so they freeze together). Alternatively, place a few in a larger container and pour clear water around them, then freeze again!

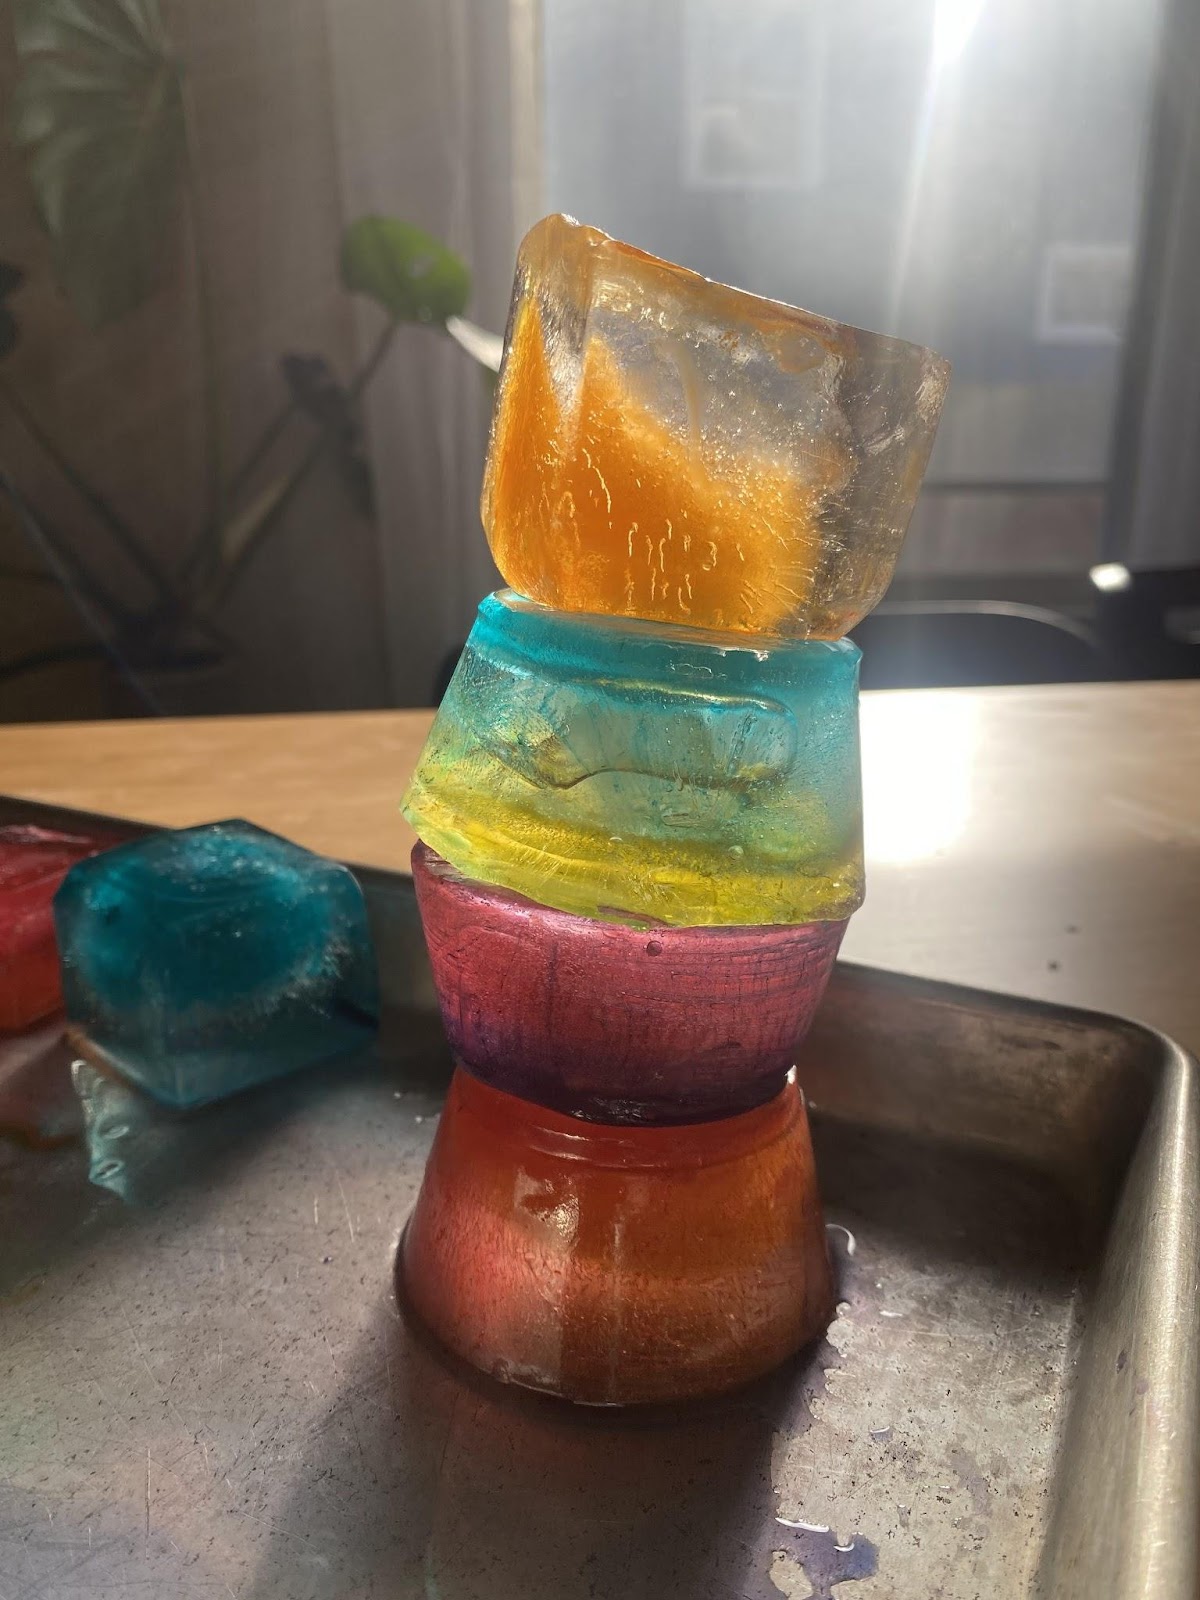
Place your completed sculpture near a sunny window or bright light and observe what happens. Do the colors mix? What kinds of reflections and shadows are created? What happens as it begins to melt?